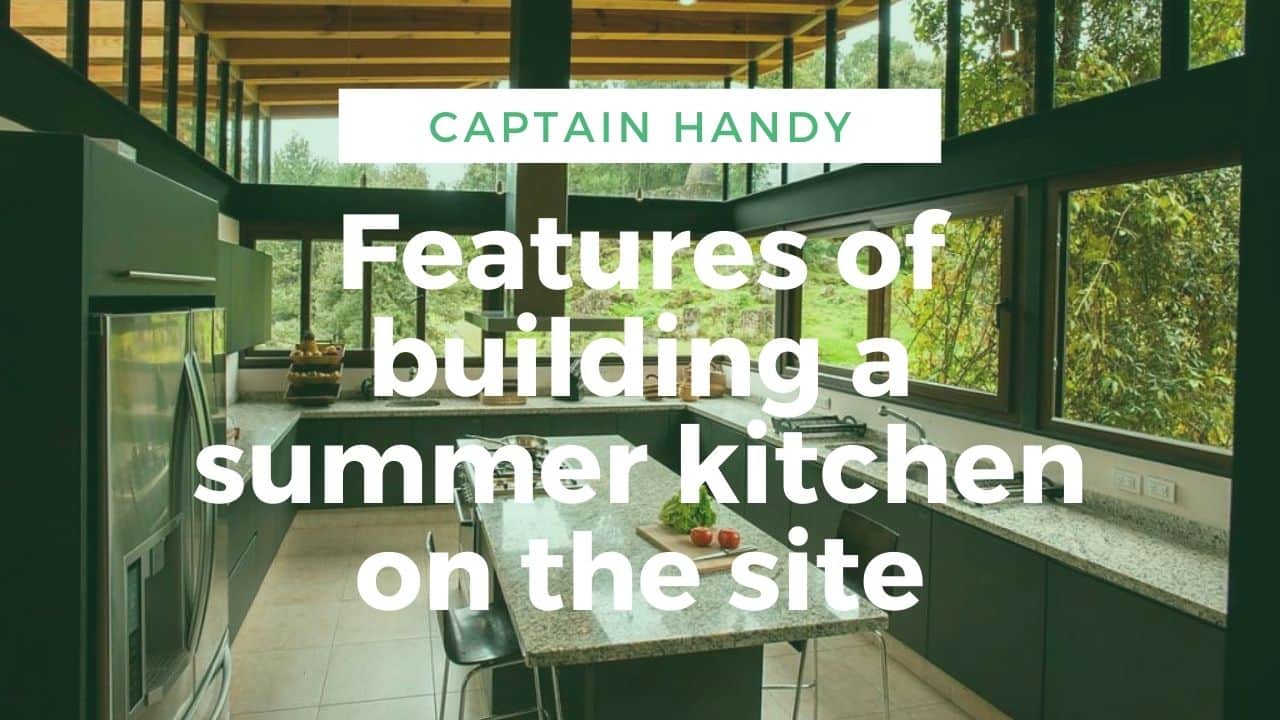
You can endlessly describe the advantages and benefits of a summer kitchen, its necessity for housewives, but this is unnecessary. If the article is open, most likely it is decided: the kitchen must be. But in terms of appearance and content, where to put it, what to build it with, that’s what we’ll talk about.
Table of Contents
A place to build a summer kitchen
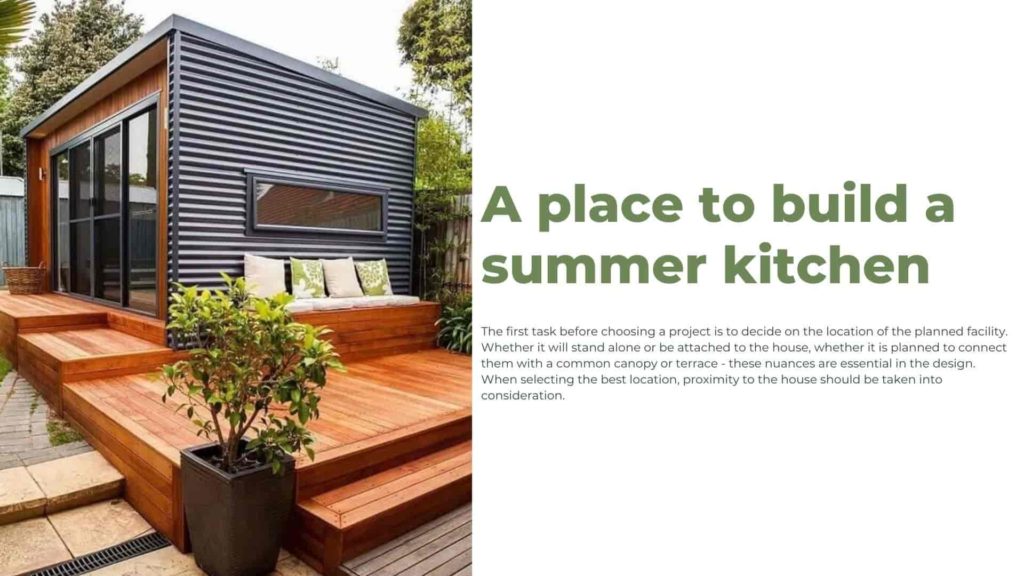
The first task before choosing a project is to decide on the location of the planned facility. Whether it will stand alone or be attached to the house, whether it is planned to connect them with a common canopy or terrace – these nuances are essential in the design. When selecting the best location, proximity to the house should be taken into consideration.
It is a matter of saving money on utility lines. It is also important that it should be as far away as possible from sources with odors that irritate the sense of smell, such as a toilet, dog pen, compost heap, bird, or animal sheds.
In this case, be sure to take into account the more frequent direction of the winds. And even before you start digging the foundation, at least mentally imagine whether the built structure will fit into the overall landscape of the whole territory, what will serve as its general background.
Functionality of a summer kitchen
If the summer kitchen is planned to be used not only for cooking but also for other purposes – dining room, guest room, family recreation place, all these facts should be taken into account.
Very often there are cases where part of the kitchen is intended to be used as a workshop, a closet for household equipment, a drying room for garden products, and even a study, and this is a weighty factor that affects the size of the kitchen area.
Construction of a summer kitchen in a suburban area, which usually occupies no more than 6 acres, it is better to lead a vertical. This refers to the design with a cellar (purpose known) and attic, which can be used on one of the above options.
Important: Preliminary design will save a large part of the budget and avoid possible long-term construction, as it is difficult to calculate the cost of construction by “by sight”.
Summer Kitchen in Toronto. Types of construction
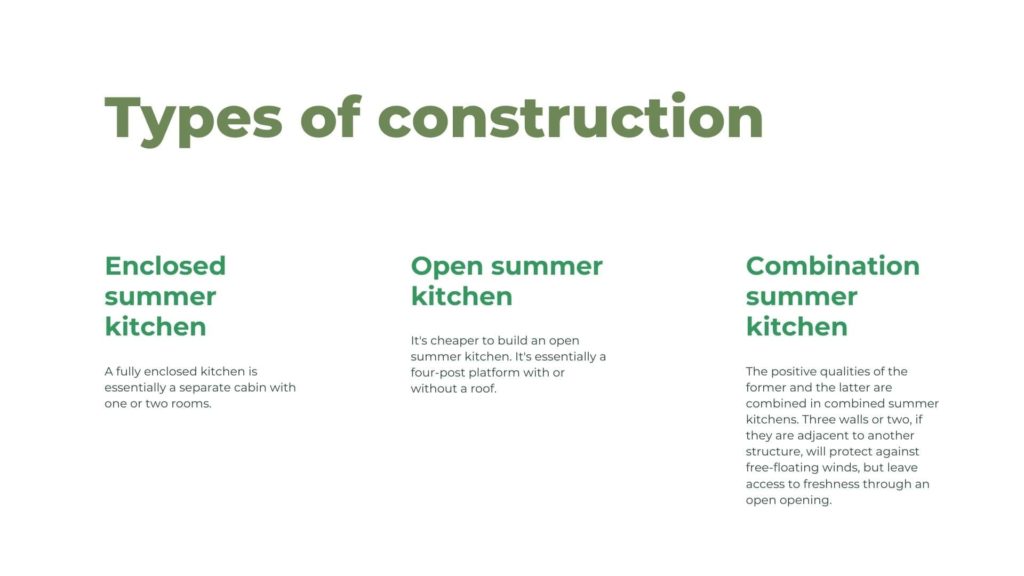
Possible options for summer kitchens can be characterized as open, closed, and combined.
Enclosed summer kitchen
A fully enclosed kitchen is essentially a separate cabin with one or two rooms.
The size depends on the plans for its use. Standard is about 9 to 12 squares. The pluses are that you can use an enclosed summer kitchen all year round, the appliances and furniture are not subject to the vagaries of nature, and free access (if it is a suburban area) by outsiders is limited.
The disadvantages are costly. The foundation must be 50 cm or deeper if an attic or insulated attic is planned. Brick, block, or stone walls and the corresponding roofing materials will also seriously ease the wallet. To avoid discomfort in hot weather, you will need a sufficient number of windows, the price of which, along with installation, will also cost a pretty penny.
Open summer kitchen
It’s cheaper to build an open summer kitchen. It’s essentially a four-post platform with or without a roof.
The presence of walls is not necessary, it depends on the design idea. What is good about this choice is the minimum cost and speed of erection. The foundation is minimal or even absent. Installing the heating, extraction, installation of doors and windows will save money. In the open summer kitchen, you can safely put a barbecue, grill, or smoker.
The absence of walls and free access to fresh air can also be considered a plus, but only if the weather is good. In rainy, windy, and cold seasons, the stay will be unpleasant. This is a significant disadvantage of open summer kitchens.
Combination summer kitchen
The positive qualities of the former and the latter are combined in combined summer kitchens. Three walls or two, if they are adjacent to another structure, will protect against free-floating winds, but leave access to freshness through an open opening.
A variety of building materials can be used for the wall material. For example, bricks, stone, or foam blocks are used up to a height of approx. 1 m and lightweight chipboard panels, glazed frames, polycarbonate, or slatted laths are used above.
Especially note: The roof edges of types 2 and 3 must be moved beyond the perimeter of the kitchen area by up to 50 cm to avoid slanting rain jets getting in during bad weather.
It is also very important if the structure will stand in the sun, to have a ceiling or a cushioning layer under the roof. Otherwise, in hot weather, even the open kitchen will resemble a furnace. Bedding material on the basis of cardboard – roofing felt and roofing felt, on the basis of foil or glass, respectively, foil-isol and glass roofing, hydrosol has an asbestos paper base. Sold in rolls.
Kitchen with a terrace or awning
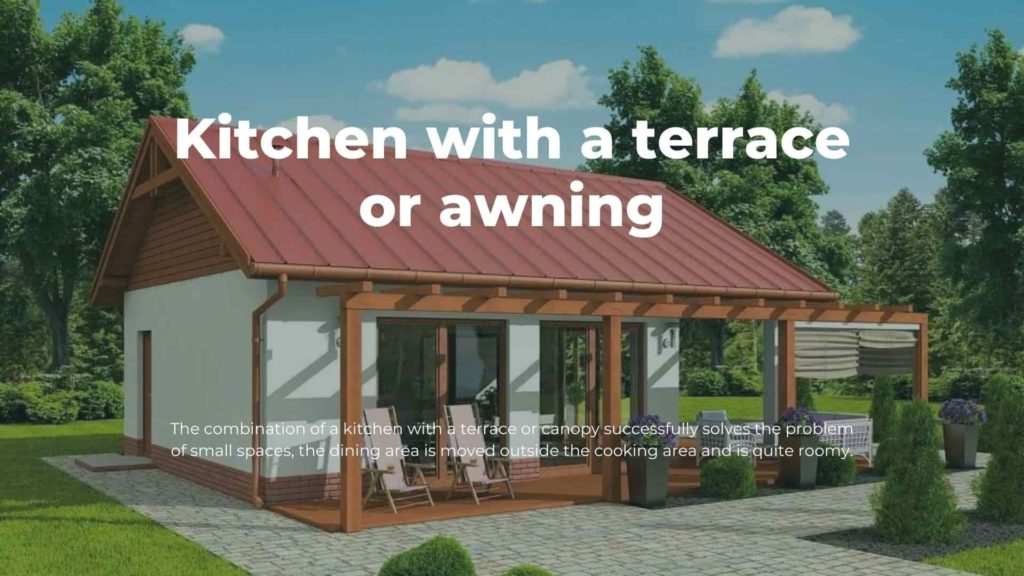
The combination of a kitchen with a terrace or canopy successfully solves the problem of small spaces, the dining area is moved outside the cooking area and is quite roomy.
The construction of the roof is uncomplicated and, if the building material is available, it is done quickly. There can be no floor, it is enough to carefully level the surface. Note, however, that it will be dusty in windy weather and with heavy traffic, so it is better to pave the entire area with paving tiles or natural stone.
A budget option is simply to cement it in. It is undesirable to lay asphalt, as it is toxic. Polycarbonate roof will perfectly protect from natural precipitation and direct sunlight, making it comfortable to stay outdoors.
Polycarbonate is easy to work with, it is lightweight, well-cut, bend, and along with this sufficiently strong. A monolithic sheet is preferred, as the honeycomb has less strength. If you choose the latter, then buy it with a thickness of 6 mm or more.
Summer kitchen in a gazebo
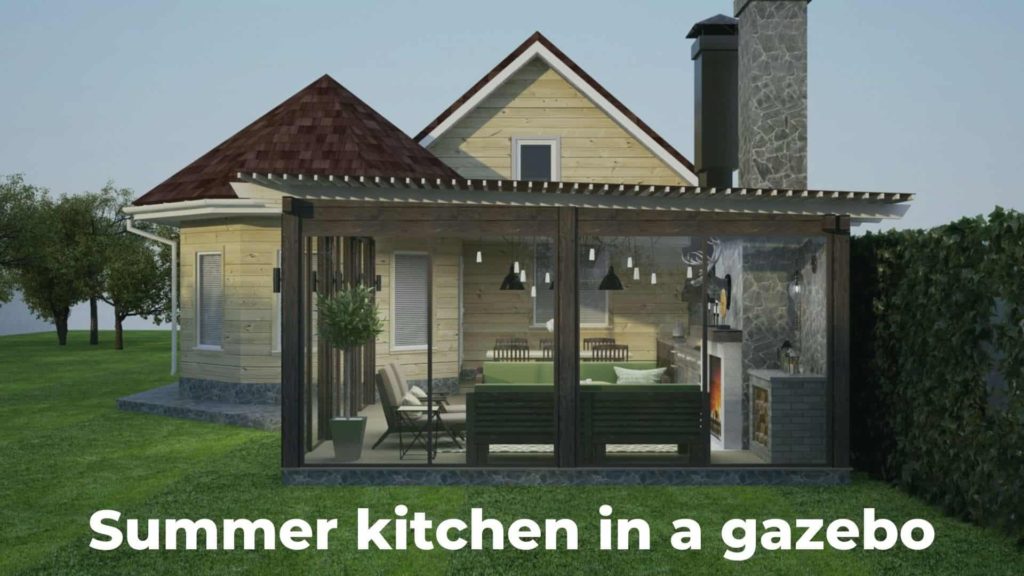
One of the original and quite popular finds is the construction of a spacious indoor gazebo and equipping it with kitchen equipment.
Such designs have their own advantages:
- The simplest foundation of sleepers, asbestos pipes, piles.
- No need for waterproofing and floor insulation.
- Speed of erection, provided the use of wood (bar, plank).
- Glazing opening windows most of the perimeter wall gazebo provides the effect of openness in the warmer months.
The only thing to keep in mind is that any device with an open flame should be placed at least 2 meters away from wood, plastic, and other materials that are prone to rapid ignition, according to fire safety rules.
Grill and barbecue in the summer kitchen
Meat cooked on an open fire is almost a mandatory element of any outdoor feast. Shashlik, pork or lamb ribs, kebab, and many other dishes are cooked on a chargrill, grill, or barbecue.
Almost every private homeowner has an elementary grill. They can be made of iron, cast iron, brick or stone, portable or stationary. It all depends on the capabilities of the owner. In the summer kitchen for the execution of any culinary plans, it is more convenient to put a barbecue with a barbecue, grill, and even a smokehouse.
This stove complex, subject to certain safety precautions, can be built even in rooms made of wood. It is better to entrust the masonry of the stove and its components to professionals, but the foundation can be poured by yourself:
- First of all, an excavation is dug under the foundation. The dimensions should be wider than the furnace base by 10 – 20 cm. The depth of the foundation is up to 50 cm. Sand, well tamped cushion; sprinkling of a mixture of crushed stone, pebbles, broken bricks mixed with sand, a layer of gravel of a small fraction on top. After thorough tamping, cover everything with two layers of roofing felt (roofing felt).
- The perimeter of the excavation is set formwork and reinforcement mesh large mesh over the entire area at a height of 2-3 cm from the base. Filled with concrete mortar, which is mixed in the traditional way of crushed stone, sand and cement in the ratio of 5-3-1. Pour it is recommended 2 to 3 layers.
- After the base has set, usually on 2 – 3 days, a cement screed of the entire area is made, followed by the laying of roofing felt. It will prevent moisture from getting in from the ground and destroying the brickwork of the stove.
Around the furnace, once it is finished, be sure to line the floor with fire-resistant materials such as stone, paving stones, or floor tiles. If the floors are wooden or made of other combustible materials, the area must be lined with metal or other fire-resistant sheets. Up to 3 m in the front, one on the sides is sufficient.
The ceiling or roof over the stove must also be secured against fire by covering it with noncombustible materials or by treating it with flame retardants. Careful observation of simple conditions will reduce the risk factor and help avoid accidental ignition.
Building a summer kitchen
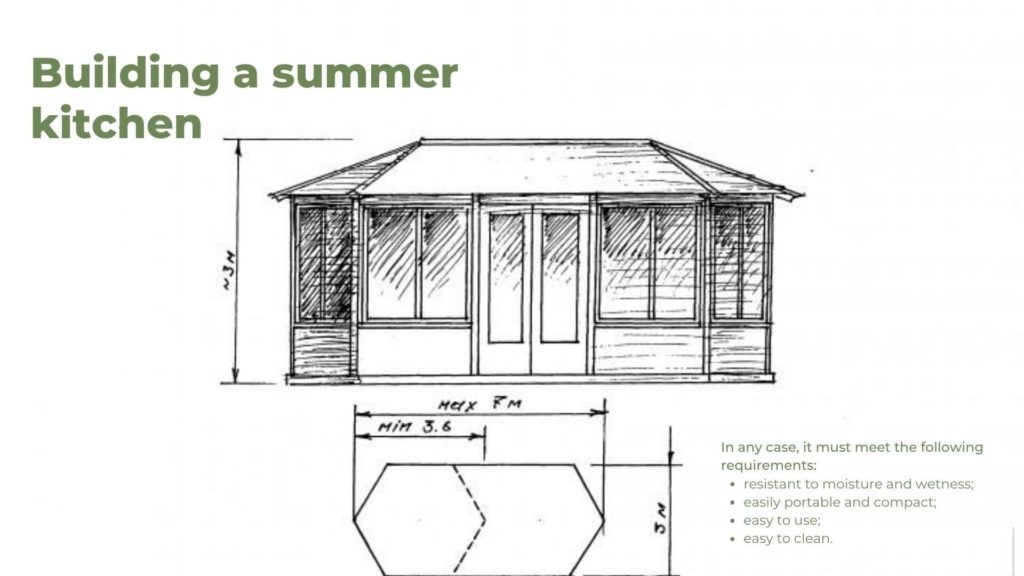
About laying of the foundation, depending on the chosen project, has already been discussed above. The construction of brick walls is carried out in the traditional way. The thickness of brick or half, thicker walls are not necessary.
If the summer kitchen will be wooden, then you need to start with the frame. At the corners of the foundation, install the posts, and on top of them fasten with timbers. Between the corners, in large openings add additional posts.
The size of all rafters and strapping beams should be the same 200X200 mm or 250X250 mm. When the box is assembled, the rafters are placed on the tie beams.
If the roof is planned flat, they are not needed. For gable or single-slope version under the roof is made laths of bars 50X50 mm. When everything is ready treat the entire skeleton of the roof with antiseptic impregnation or primer.
In the store quite a wide selection of these products. You can use folk remedies for antifungal protection. So for the treatment of wooden surfaces used motor oil, linseed oil, or sunflower oil. Finished with impregnation, we switch to the roof.
The choice of roofing material is quite wide: slate, tile, trapezoidal, polycarbonate, and depends on aesthetic and financial considerations.
The roof is the first task in case of bad weather. When it is ready, we make the walls. Leaving openings for windows and doors, the rest of the area is lined with planks.
Then we put window frames and hang doors. From the outside ready walls decorate with colored profiled sheeting with or without insulation – this is a budget version of the summer kitchen.
A more expensive way is cladding with fiber-cement panels, which have cellulose in their composition. It makes the material durable and moisture-resistant. Still use vinyl facade panels, their second name “siding on a brick. They, like the previous, are easy to cut, easy to install.
If the two previously mentioned required frameworks, the polyurethane facade panels (PPU) adhere immediately to the walls of any material, provided that they are flat. Their advantage is that they not only decorate the wall surface but are also insulated. Hence their second name – thermal panels.
When cladding the walls can be used metal siding, but installing it – a very time-consuming process and because of this takes more time.
Take note: When selecting wall material, try to match the design of the kitchen with the house, if they are near or the surrounding landscape.
The possible dissonance of the building with the surrounding world can affect the psychological state of a person for a long time, creating a subconscious sense of discomfort and dissatisfaction.
When the summer kitchen is ready and attached canopy, let’s think about the furniture. If you want to feel free and relaxed, subordinate the entire interior space to this principle.
Light and relaxed interior can provide furniture made of plastic and wood. Do not even think about upholstered sofas and massive chairs, they have no place here. Wicker furniture made of vines or rattan is a good solution.
In any case, it must meet the following requirements:
- resistant to moisture and wetness;
- easily portable and compact;
- easy to use;
- easy to clean.
Add color to monochrome furniture will help bright cushions and pillows of all kinds of colors. They will give the area a sense of warmth and comfort.
Summer kitchen. Conclusion
So, build a summer kitchen yourself or hire a crew, it’s up to you to decide. It is nice, of course, to do everything yourself and cheaper. Save time and effort will help hire workers. The description of options and possibilities could be endless. Whichever one you choose, the main thing, do not skimp on the height. It creates space, a sense of freedom and independence, stimulates performance, and at the same time contributes to a good rest.
And finally, if you have a desire and ability to build a summer kitchen – build it, you will not regret it.
