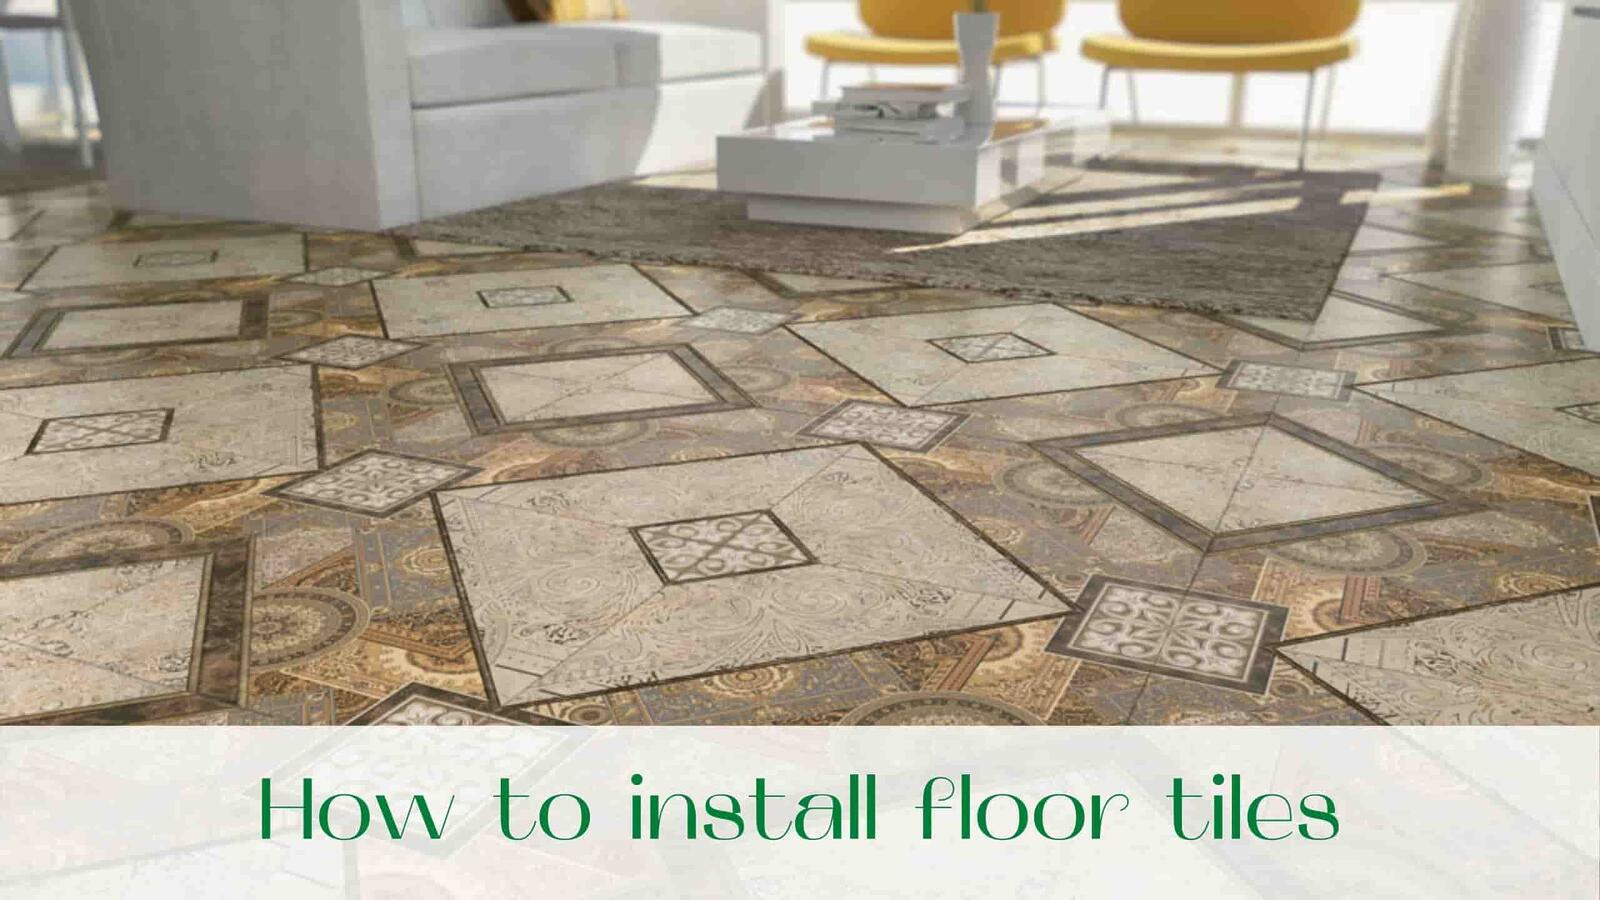
Careful preparation, especially of the surface, is required before laying floor tiles by yourself. And also, special clothes and a set of necessary tools, materials and fasteners. Of course, everything should be at hand before you start the process.
This is important to save time and ensure ease of work. So, let’s figure out how to tile a floor?
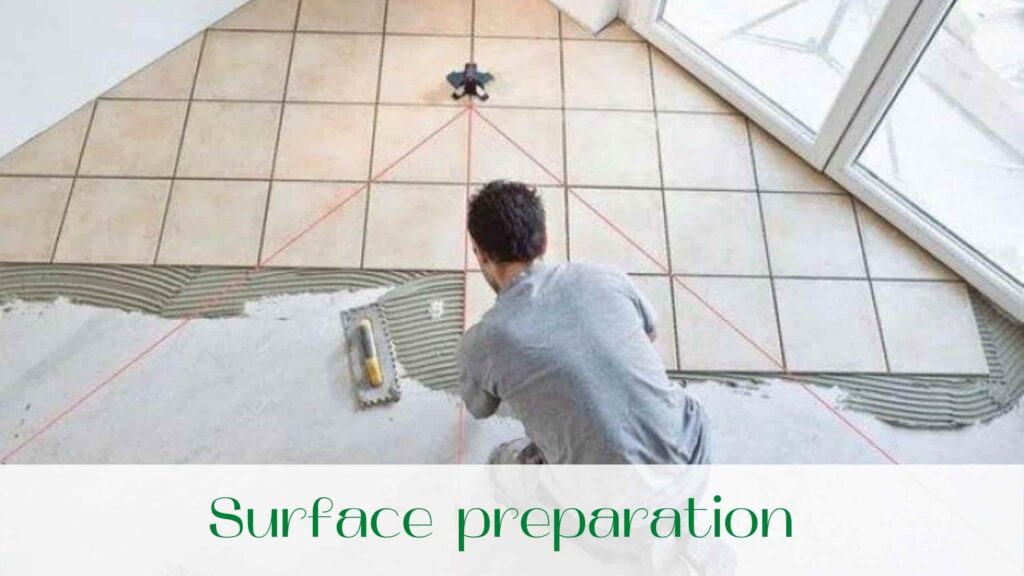
Before you start laying tiles, you must prepare the floor. Different surface requires different preparation, it will depend on the quality of material attachment to the surface.
Table of Contents
Surface preparation for installation of floor tiles
Ideally, the floor on which the floor tiles are laid should be flat. It is desirable to have no defects in the form of hollows or bulges. This condition should also be observed before laying the flooring for gyms. Unfortunately, in practice, the surface often looks far from perfect. And so before laying tiles or roll-up coating, you need to clean and level the floor. If necessary, work should be done in order to reduce the number of defects.
If the surface is concrete, it is cleaned and prepared. All available sprays are eliminated and the surface is leveled. Hypsolite coatings are caught with an axe or chisel.
And the wooden ones require a special approach in the form of strengthening with a metal mesh. If the floor is heterogeneous and it consists of several materials, the joint place can be tightened with a mesh. In this case, a crack is never formed at the seam.
And it will be possible not to worry about the safety of the floor. The solution will not lie on a loose surface. Therefore, it should be beaten to a solid state and leveled with a screed.
Materials and necessary tools for installation of floor tiles
Of course, all work may require a large number of tools and special clothing. All workwear should be comfortable and not embarrassing movements. Additional pockets and knees, of course, will serve as an indispensable convenience. The material can be dense so that the solution does not get through the fabric on the skin.
Except for a robot, you will need the following tool:
- self-tapping screws or nails;
- cutters, chisel, hammer, chisel, knife, pliers;
- level 120 or wooden slat;
- cutter and bulgarian;
- pencil, roulette, corner;
- electrodrill;
- several kinds of spatulas (combed, flat);
- mixing whisk;
- metal hacksaw and extension cord.
In addition, with special clothes and tools may need a respiratory protection agent. It is especially important to wear the dispenser when using Bulgarian. And a simple baby cream will help protect the skin of the hands from drying out and cracking.
Perhaps a moist cloth may be needed in case you need to wipe the surface or hands. By choosing the right crosses, you can provide the surface with a beautiful and smooth seam.
Crosses differ in size and the larger they are, the larger the seam will be. This is how you can adjust the width between the tiles.
Installation of floor tiles requires careful sorting and layout. This saves a lot of time in the future and makes the job easier. Codes, pattern, roughness and so on are checked.
If there are any defects, they are either changed at the place of purchase. Or they are placed in the most discreet places. All boxes of material are placed in the far corner closer to the exit. This will protect it from breakage, mechanical damage and simplify the work with it.
Preparation of mortar with your own hands for floor tiles
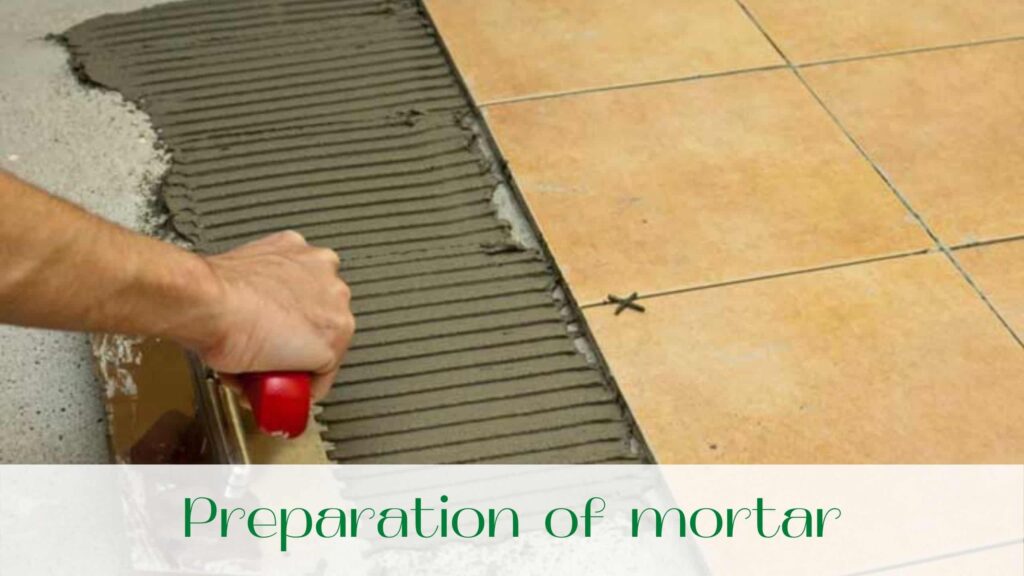
If you are going to install a tile on the floor, the preparation of the mortar is an important point in which it is necessary to observe maximum details. Usually dry mixture is used, which is diluted in ten or fifteen liters bucket. Liquids for such a container require only three liters, which are used to dilute the mixture.
Mix water and the mixture to a homogeneous mass using a whisk and electric drill. Mix it for 5-7 minutes, add water or glue if necessary. Then do the stirring again.
How to prepare a solution for installation tiles? Use the instruction, which is available on each bag with dry mix. It is possible to add additional cement mix to the mortar to make the mortar more viscous.
In addition, this can help to significantly save expensive glue. The consistency of the mortar should not be too liquid, but not too thick. Certainly, it is harder to work with liquid glue.
Because it reduces the quality of tile laying and leads to defects and dirt. In time it is necessary to stir the solution and add water to it. Otherwise, it may become more viscous and thicker. All this can be done manually.
If dust forms during operation, you can wear a protective device such as a respirator.
What kind of marking is needed to put a floor tiles on the floor
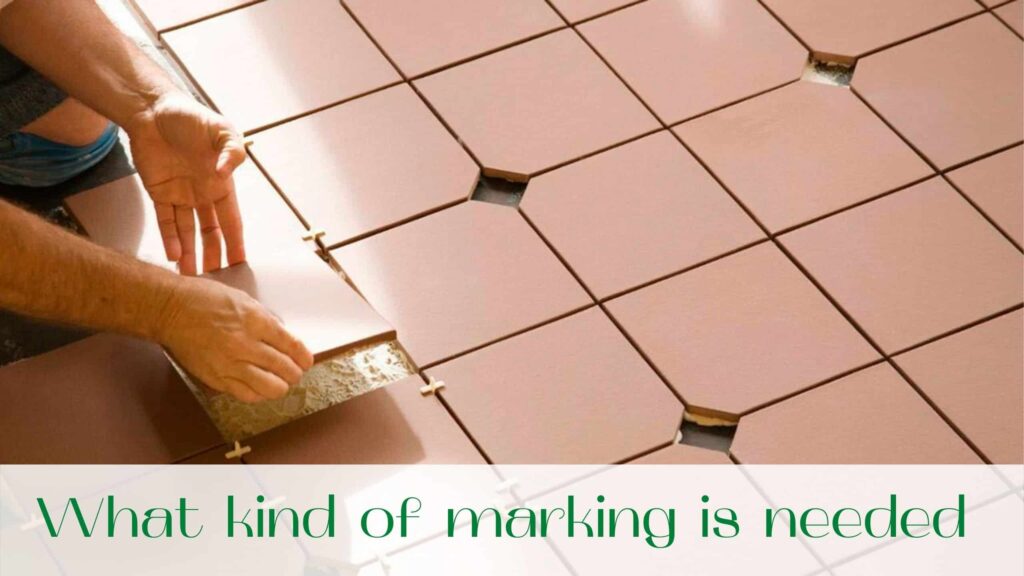
So, first you need to measure all the parameters of the floor length and width. Why does it have to be done? To make the markup as correct as possible.
This will allow you to follow the technology of laying floor tiles. The corners from which you are going to start are marked separately. All the tiles to be cut should be in the corners or in the most inconspicuous places.
Such places are usually covered with furniture or do not fall into the field of view from the entrance. If there is a junction with another kind of tile, then use metal thresholds.
Cut tiles are located in a place where it is closed by a door trim. In all other places, from the floor and in horizontal rows, a solid tile is placed. Correct markings help to avoid undesirable displacements and defects.
By observing it, you can install tiles (or other coating) as beautiful and high-quality as possible. Therefore, it is better to spend enough time on marking.
How to lay tiles on the floor, if the surfaces are different
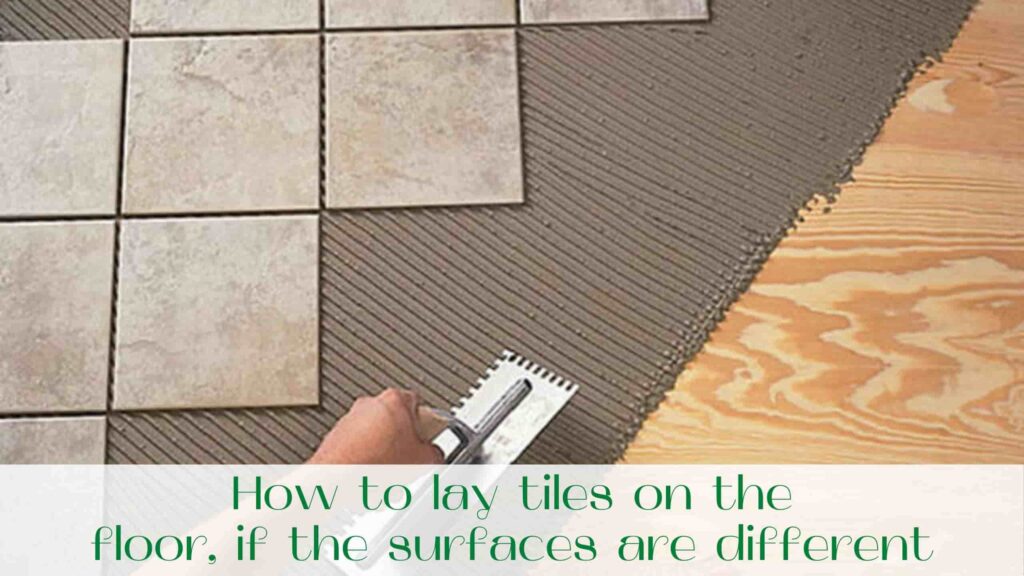
Depending on the surface on which the tiles are supposed to be placed, let us consider the main recommendations:
- screed. Installation of floor tiles on the concrete screed is the easiest. Why, you ask?
Because the prepared surface has everything you need. Thanks to it, the coating will retain its properties and qualities for as long as possible. On the prepared surface, the adhesive is applied in small portions.
And then, it is evenly distributed on a small area, on which the tiles are quickly placed. The tools you will need in this process are the same as for other surfaces. Let’s look at some types of laying on the surface:
- how to lay tiles on a staircase? If you ask this question, the answer is quite simple. The finishing is the same as for any other surface.
With the only consideration that there will be more small details. And the cuts should be facing inside the stairs. The laying is done from top to bottom, taking into account all the instructions and safety regulations. The outside corner requires the installation of a metal corner or the final profile, the installation of a plastic corner here is excluded;
- how to lay tiles on a wooden covering? Of course, it is not possible to put tiles on a wooden floor. So in order to do this, you must first prepare the surface.
To be more precise, replace rotten or damaged boards. Then create a good ventilation to ensure that the floors are safe. Then install gypsum fiber sheets, preferably in 2 layers.
It is on them with ordinary glue and will be laid tiles. The technique is exactly the same as when it is laid on another surface.
How to install floor tiles in Toronto with your own hands: technology
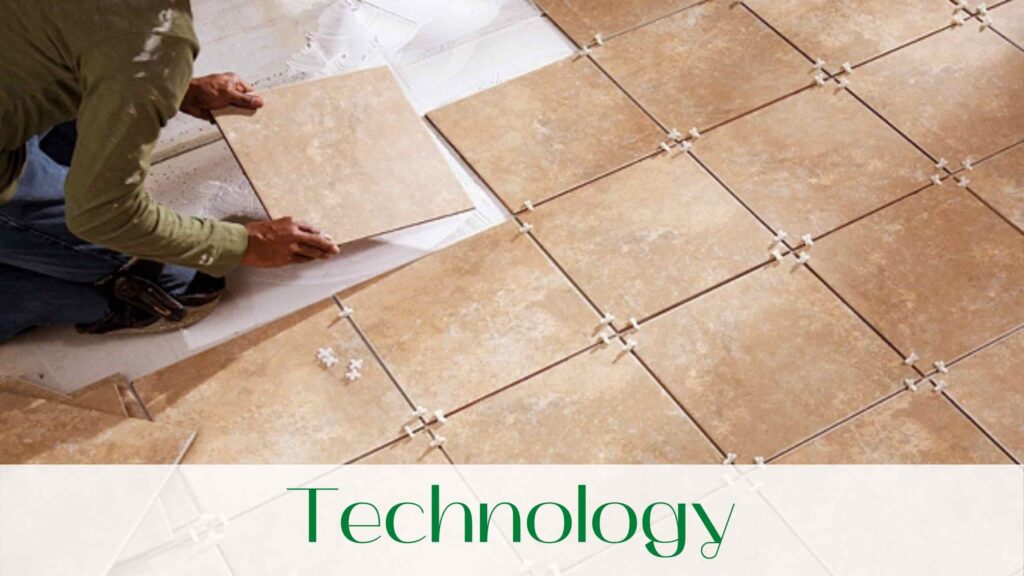
After all the necessary preparatory work has been done, you can start the cladding itself. Use a toothed spatula, which is held at an angle of 40-45 degrees. With its help, glue is applied to the surface.
The surface itself should be small. Since the glue quickly dries, and the layer is uniform and not thick. This area is covered with tiles as soon as possible.
If there are difficulties in properly applying glue to the floor, the solution is applied directly to the tile. The pressure on the tile should not be strong. A strong pressure may cause a shift in tile position.
It is always necessary to check the correctness of the installation using a level or an angle. To increase the strength and adhesion, the tile is tapped with a rubber or wooden kiyan. Junction between the tiles are filled with crosses, they help to determine the same size of the seam and uniformity of laying tiles.
We do the same with the rest of the rows. If you need to cut the material, then measure the size of the tape measure and draw the cut lines with a corner.
Cut off the tiles with a tile cutter and smear. Glue the remaining pieces. In an hour you can remove the crosses. And after 24 hours, the seams can be dried and treated with sealant.
Remains of adhesive and embroidery can be removed with a damp cloth. This can be done more often so that the surface was beautiful, and the laying – better quality.
Installation of floor tiles in joint with laminate
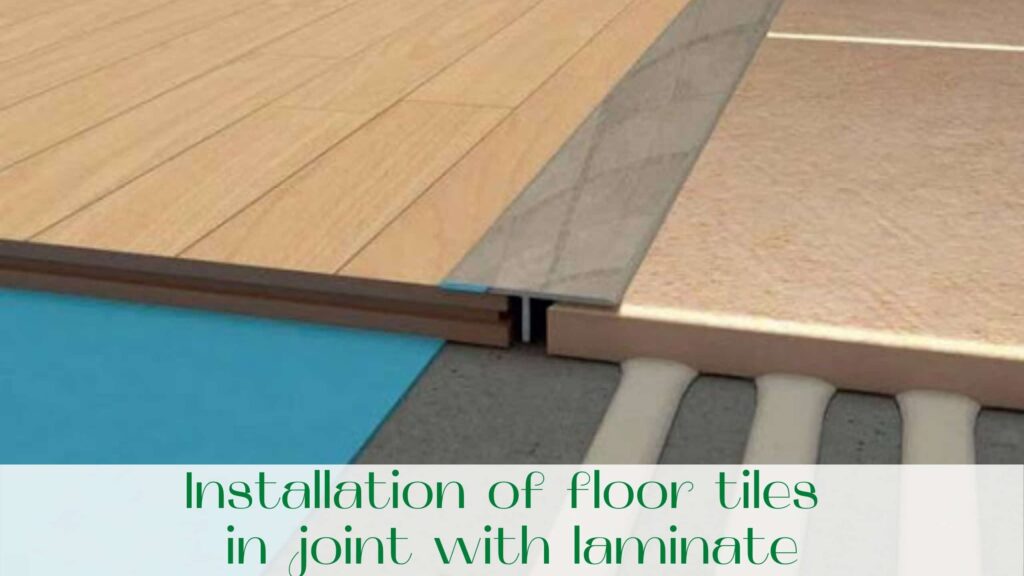
Sometimes the difficulty may arise in how to properly connect the joint of laminate and tiles. How to lay a tile in this case? To make a joint externally attractive and beautiful sometimes difficult, but you can not say that it is impossible.
The finishing of this moment is usually done with a wooden or laminated powder. Plastic and metal are rarely used.
Junction between laminate and tile requires not only the choice of the powder, but also its quality fixing. A distinction is made between an open method and a hidden method, when the screws are not visible. Everyone chooses for himself, depending on individual needs.
After installing a tile, its surface needs to be treated with a wet cloth with a detergent solution. This will help to maintain its attractive appearance and remove the remnants of glue or embroidery from the surface. The end of the job also involves cleaning the tool and clothing from dirt and material.
Insufficient attention to this issue will lead to rapid wear and tear of not only clothes, but also the tool. Since after drying the glue and embroidery are difficult, if not impossible to remove.
So, we discussed the question: how to lay a floor tile in Toronto itself? As can be seen from this article laying tiles, in fact, not such a terrible thing to do. If you follow the instructions and do not rush to perform the work, you can quickly gain experience. Then installing floor tiles in Ontario and GTA will be a familiar experience for you.
We are waiting for your comments, questions and remarks. We are not only ready to transfer knowledge, but also to offer our services. You can order the installation of floor tiles by contacting our company “Captain Handy”, because the installation of floor tiles sometimes only to the specialists.
Read our blog!
Award-winning Landscaping Company
CONTACT US TODAY
for a Free Estimate!
Contact us and speak with one of our service professionals to schedule a visit today!
GET A FREE QUOTE