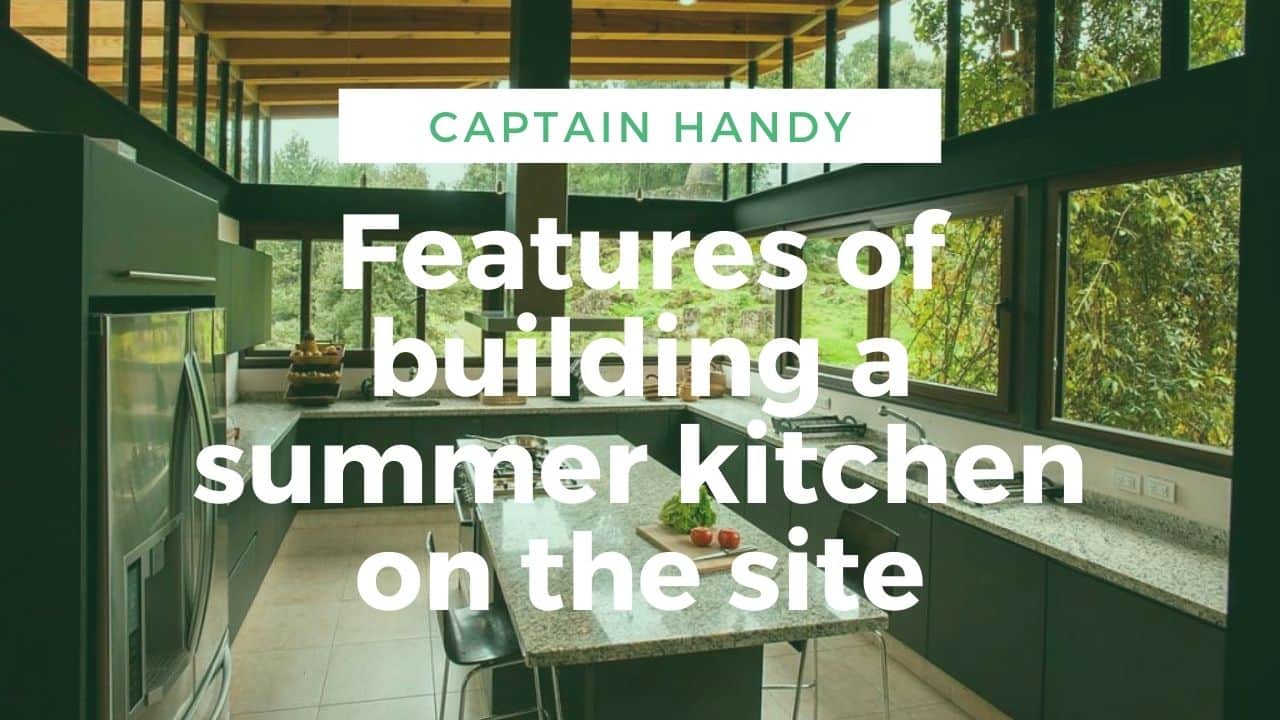
You can endlessly describe the advantages and benefits of a summer kitchen, its necessity for housewives, but this is unnecessary. If the article is open, most likely it is decided: the kitchen must be. But in terms of appearance and content, where to put it, what to build it with, that’s what we’ll talk about.
A place to build a summer kitchen
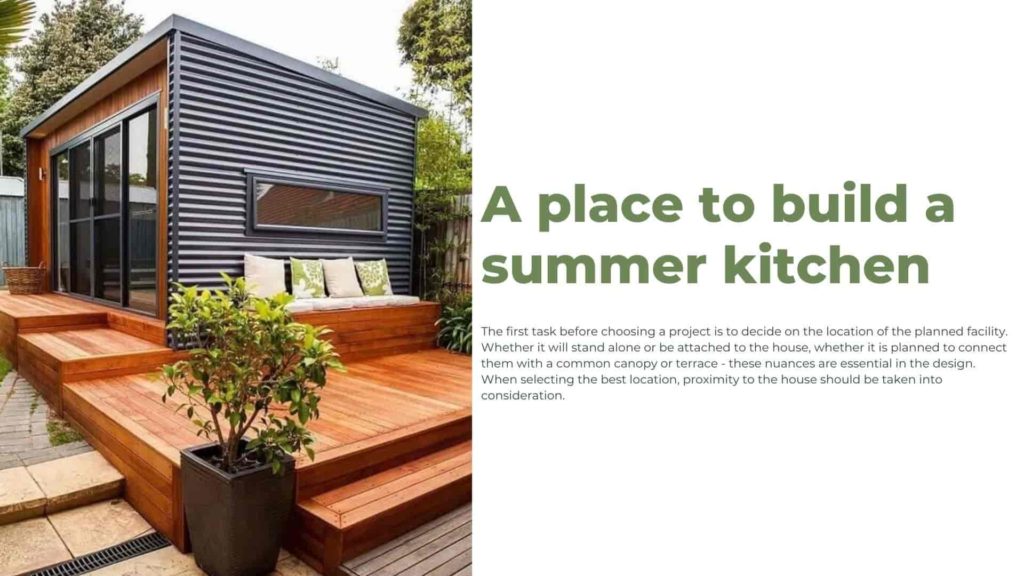
The first task before choosing a project is to decide on the location of the planned facility. Whether it will stand alone or be attached to the house, whether it is planned to connect them with a common canopy or terrace – these nuances are essential in the design. When selecting the best location, proximity to the house should be taken into consideration.
It is a matter of saving money on utility lines. It is also important that it should be as far away as possible from sources with odors that irritate the sense of smell, such as a toilet, dog pen, compost heap, bird, or animal sheds.
In this case, be sure to take into account the more frequent direction of the winds. And even before you start digging the foundation, at least mentally imagine whether the built structure will fit into the overall landscape of the whole territory, what will serve as its general background.
Functionality of a summer kitchen
If the summer kitchen is planned to be used not only for cooking but also for other purposes – dining room, guest room, family recreation place, all these facts should be taken into account.
Very often there are cases where part of the kitchen is intended to be used as a workshop, a closet for household equipment, a drying room for garden products, and even a study, and this is a weighty factor that affects the size of the kitchen area.
Construction of a summer kitchen in a suburban area, which usually occupies no more than 6 acres, it is better to lead a vertical. This refers to the design with a cellar (purpose known) and attic, which can be used on one of the above options.
Important: Preliminary design will save a large part of the budget and avoid possible long-term construction, as it is difficult to calculate the cost of construction by “by sight”.
Summer Kitchen in Toronto. Types of construction
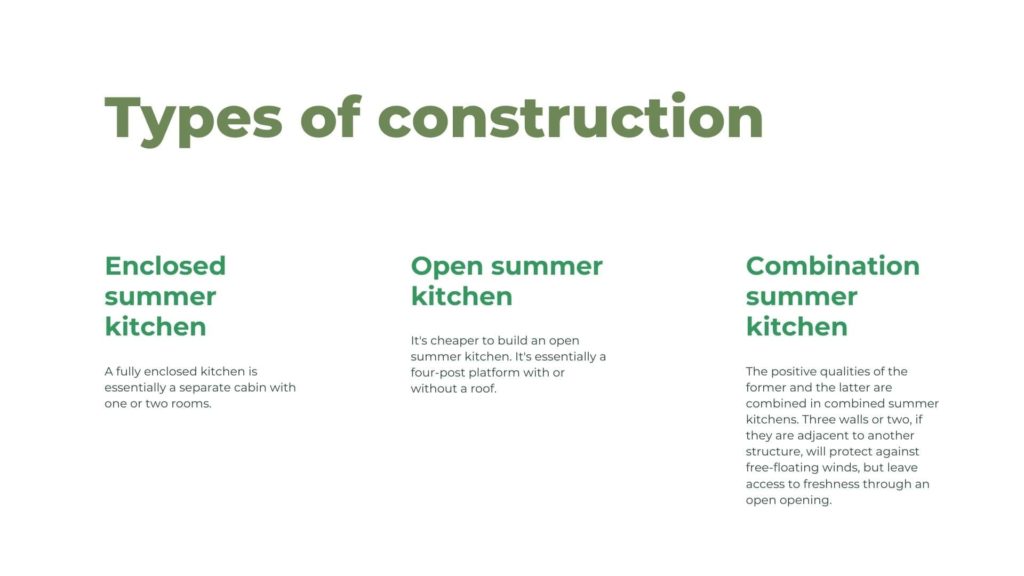
Possible options for summer kitchens can be characterized as open, closed, and combined.
Enclosed summer kitchen
A fully enclosed kitchen is essentially a separate cabin with one or two rooms.
The size depends on the plans for its use. Standard is about 9 to 12 squares. The pluses are that you can use an enclosed summer kitchen all year round, the appliances and furniture are not subject to the vagaries of nature, and free access (if it is a suburban area) by outsiders is limited.
The disadvantages are costly. The foundation must be 50 cm or deeper if an attic or insulated attic is planned. Brick, block, or stone walls and the corresponding roofing materials will also seriously ease the wallet. To avoid discomfort in hot weather, you will need a sufficient number of windows, the price of which, along with installation, will also cost a pretty penny.
Open summer kitchen
It’s cheaper to build an open summer kitchen. It’s essentially a four-post platform with or without a roof.
The presence of walls is not necessary, it depends on the design idea. What is good about this choice is the minimum cost and speed of erection. The foundation is minimal or even absent. Installing the heating, extraction, installation of doors and windows will save money. In the open summer kitchen, you can safely put a barbecue, grill, or smoker.
The absence of walls and free access to fresh air can also be considered a plus, but only if the weather is good. In rainy, windy, and cold seasons, the stay will be unpleasant. This is a significant disadvantage of open summer kitchens.
Combination summer kitchen
The positive qualities of the former and the latter are combined in combined summer kitchens. Three walls or two, if they are adjacent to another structure, will protect against free-floating winds, but leave access to freshness through an open opening.
A variety of building materials can be used for the wall material. For example, bricks, stone, or foam blocks are used up to a height of approx. 1 m and lightweight chipboard panels, glazed frames, polycarbonate, or slatted laths are used above.
Especially note: The roof edges of types 2 and 3 must be moved beyond the perimeter of the kitchen area by up to 50 cm to avoid slanting rain jets getting in during bad weather.
It is also very important if the structure will stand in the sun, to have a ceiling or a cushioning layer under the roof. Otherwise, in hot weather, even the open kitchen will resemble a furnace. Bedding material on the basis of cardboard – roofing felt and roofing felt, on the basis of foil or glass, respectively, foil-isol and glass roofing, hydrosol has an asbestos paper base. Sold in rolls.
Kitchen with a terrace or awning
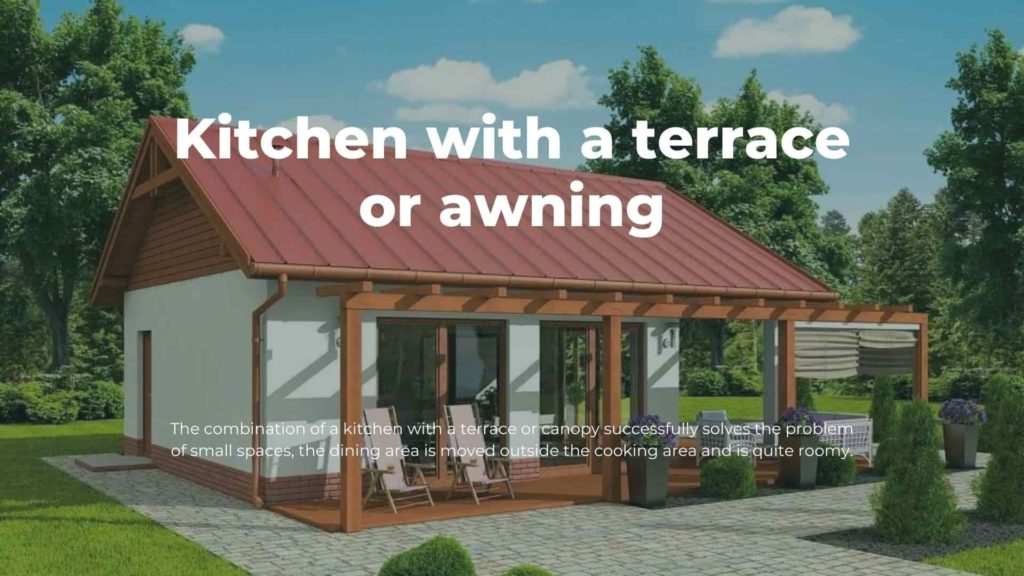
The combination of a kitchen with a terrace or canopy successfully solves the problem of small spaces, the dining area is moved outside the cooking area and is quite roomy.
The construction of the roof is uncomplicated and, if the building material is available, it is done quickly. There can be no floor, it is enough to carefully level the surface. Note, however, that it will be dusty in windy weather and with heavy traffic, so it is better to pave the entire area with paving tiles or natural stone.
A budget option is simply to cement it in. It is undesirable to lay asphalt, as it is toxic. Polycarbonate roof will perfectly protect from natural precipitation and direct sunlight, making it comfortable to stay outdoors.
Polycarbonate is easy to work with, it is lightweight, well-cut, bend, and along with this sufficiently strong. A monolithic sheet is preferred, as the honeycomb has less strength. If you choose the latter, then buy it with a thickness of 6 mm or more.
Summer kitchen in a gazebo
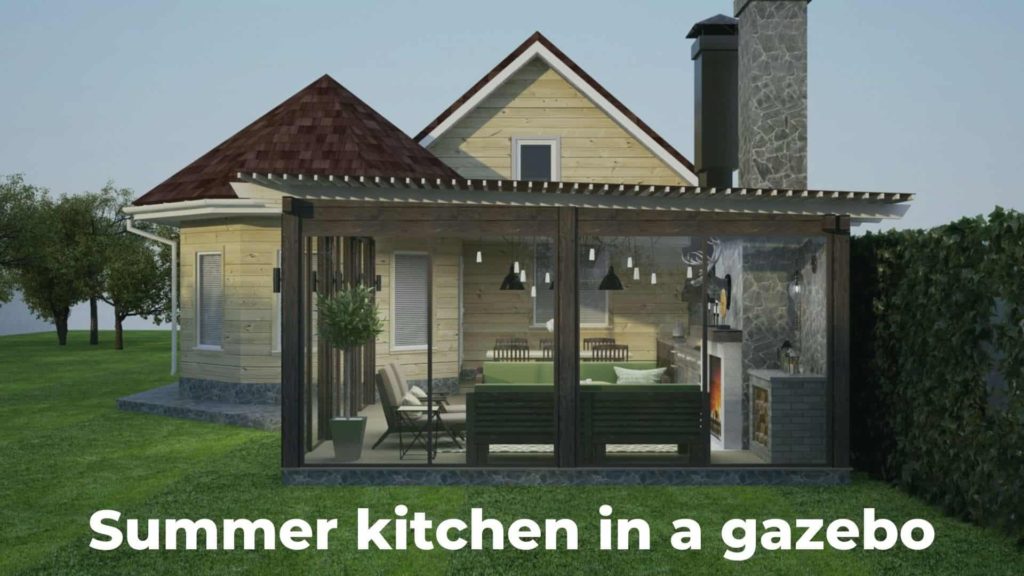
One of the original and quite popular finds is the construction of a spacious indoor gazebo and equipping it with kitchen equipment.
Such designs have their own advantages:
- The simplest foundation of sleepers, asbestos pipes, piles.
- No need for waterproofing and floor insulation.
- Speed of erection, provided the use of wood (bar, plank).
- Glazing opening windows most of the perimeter wall gazebo provides the effect of openness in the warmer months.
The only thing to keep in mind is that any device with an open flame should be placed at least 2 meters away from wood, plastic, and other materials that are prone to rapid ignition, according to fire safety rules.
Grill and barbecue in the summer kitchen
Meat cooked on an open fire is almost a mandatory element of any outdoor feast. Shashlik, pork or lamb ribs, kebab, and many other dishes are cooked on a chargrill, grill, or barbecue.
Almost every private homeowner has an elementary grill. They can be made of iron, cast iron, brick or stone, portable or stationary. It all depends on the capabilities of the owner. In the summer kitchen for the execution of any culinary plans, it is more convenient to put a barbecue with a barbecue, grill, and even a smokehouse.
This stove complex, subject to certain safety precautions, can be built even in rooms made of wood. It is better to entrust the masonry of the stove and its components to professionals, but the foundation can be poured by yourself:
- First of all, an excavation is dug under the foundation. The dimensions should be wider than the furnace base by 10 – 20 cm. The depth of the foundation is up to 50 cm. Sand, well tamped cushion; sprinkling of a mixture of crushed stone, pebbles, broken bricks mixed with sand, a layer of gravel of a small fraction on top. After thorough tamping, cover everything with two layers of roofing felt (roofing felt).
- The perimeter of the excavation is set formwork and reinforcement mesh large mesh over the entire area at a height of 2-3 cm from the base. Filled with concrete mortar, which is mixed in the traditional way of crushed stone, sand and cement in the ratio of 5-3-1. Pour it is recommended 2 to 3 layers.
- After the base has set, usually on 2 – 3 days, a cement screed of the entire area is made, followed by the laying of roofing felt. It will prevent moisture from getting in from the ground and destroying the brickwork of the stove.
Around the furnace, once it is finished, be sure to line the floor with fire-resistant materials such as stone, paving stones, or floor tiles. If the floors are wooden or made of other combustible materials, the area must be lined with metal or other fire-resistant sheets. Up to 3 m in the front, one on the sides is sufficient.
The ceiling or roof over the stove must also be secured against fire by covering it with noncombustible materials or by treating it with flame retardants. Careful observation of simple conditions will reduce the risk factor and help avoid accidental ignition.
Building a summer kitchen
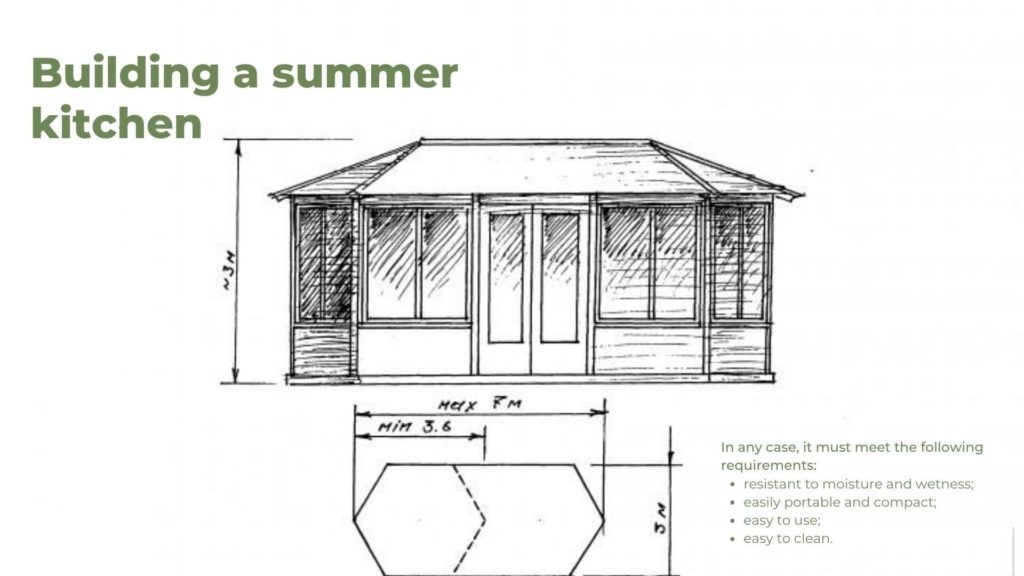
About laying of the foundation, depending on the chosen project, has already been discussed above. The construction of brick walls is carried out in the traditional way. The thickness of brick or half, thicker walls are not necessary.
If the summer kitchen will be wooden, then you need to start with the frame. At the corners of the foundation, install the posts, and on top of them fasten with timbers. Between the corners, in large openings add additional posts.
The size of all rafters and strapping beams should be the same 200X200 mm or 250X250 mm. When the box is assembled, the rafters are placed on the tie beams.
If the roof is planned flat, they are not needed. For gable or single-slope version under the roof is made laths of bars 50X50 mm. When everything is ready treat the entire skeleton of the roof with antiseptic impregnation or primer.
In the store quite a wide selection of these products. You can use folk remedies for antifungal protection. So for the treatment of wooden surfaces used motor oil, linseed oil, or sunflower oil. Finished with impregnation, we switch to the roof.
The choice of roofing material is quite wide: slate, tile, trapezoidal, polycarbonate, and depends on aesthetic and financial considerations.
The roof is the first task in case of bad weather. When it is ready, we make the walls. Leaving openings for windows and doors, the rest of the area is lined with planks.
Then we put window frames and hang doors. From the outside ready walls decorate with colored profiled sheeting with or without insulation – this is a budget version of the summer kitchen.
A more expensive way is cladding with fiber-cement panels, which have cellulose in their composition. It makes the material durable and moisture-resistant. Still use vinyl facade panels, their second name “siding on a brick. They, like the previous, are easy to cut, easy to install.
If the two previously mentioned required frameworks, the polyurethane facade panels (PPU) adhere immediately to the walls of any material, provided that they are flat. Their advantage is that they not only decorate the wall surface but are also insulated. Hence their second name – thermal panels.
When cladding the walls can be used metal siding, but installing it – a very time-consuming process and because of this takes more time.
Take note: When selecting wall material, try to match the design of the kitchen with the house, if they are near or the surrounding landscape.
The possible dissonance of the building with the surrounding world can affect the psychological state of a person for a long time, creating a subconscious sense of discomfort and dissatisfaction.
When the summer kitchen is ready and attached canopy, let’s think about the furniture. If you want to feel free and relaxed, subordinate the entire interior space to this principle.
Light and relaxed interior can provide furniture made of plastic and wood. Do not even think about upholstered sofas and massive chairs, they have no place here. Wicker furniture made of vines or rattan is a good solution.
In any case, it must meet the following requirements:
- resistant to moisture and wetness;
- easily portable and compact;
- easy to use;
- easy to clean.
Add color to monochrome furniture will help bright cushions and pillows of all kinds of colors. They will give the area a sense of warmth and comfort.
Summer kitchen. Conclusion
So, build a summer kitchen yourself or hire a crew, it’s up to you to decide. It is nice, of course, to do everything yourself and cheaper. Save time and effort will help hire workers. The description of options and possibilities could be endless. Whichever one you choose, the main thing, do not skimp on the height. It creates space, a sense of freedom and independence, stimulates performance, and at the same time contributes to a good rest.
And finally, if you have a desire and ability to build a summer kitchen – build it, you will not regret it.
Sealing principles
Asphalt sealing of pavement takes place in layers. If the technology is followed, asphalt sealing consists of several layers:
- the bottom layer;
- binder layer;
- wear layer.
For the wear layer (surface layer) classic asphalt concrete, crushed-mastic asphalt concrete, and porous asphalt concrete are used.
The asphalt concrete should be asphalt sealing to a degree that increases the density or decreases the porosity of the asphalt layer. The number of air cavities should be reduced to the recommended values to achieve the required degree of compaction.
As a result, the stability of the layer is improved and thus its resistance to deformation is increased. The durability of the surface layer also depends on the degree of asphalt sealing.
Together with the asphalt sealing work, there must be simultaneous leveling to ensure ride comfort, so the wear layer must have a continuous and smooth surface, but provide maximum traction of the wheels with the road.
Influence of mixture composition on compaction
Asphalt mixture can be different in composition depending on the purpose (it is necessary to consider the nature of the load on the roadway) and climatic conditions. That is why the formulation of asphalt mixtures varies and with it the asphalt sealing properties. The properties are primarily influenced by the composition and size of the mineral components included in its composition. Another important component on which the viscosity depends is the bitumen and its temperature.
For heavily-used roads, mixtures with high resistance to deformation under load are used. As a rule, such mixtures include large-sized minerals, i.e. they contain a large number of stones of large fractions, crushed stones in crushed sand, and thick bituminous mortar. Such mixtures are very difficult to compact and require a great deal of effort and heavy machinery.
When paving low-intensity roads, mixtures with less stone content and significantly more sand are used, as well as soft bituminous mortar. Such mixes are easily compacted, but due to their characteristics they can easily be deformed during laying, so they require special control and time for curing. If the process cycle is violated, the material itself may shift or waves may form on the roadway.
Asphalt Sealing. Influence of mixture temperature on compaction
The effort required to lay asphalt is affected by the temperature of the mixture. As a rule, asphalt sealing begins when the temperature drops to 140-100 degrees and is finished when the mixture cools down to 100-80 degrees. These temperature requirements are due to the properties of the bitumen in the mixes: the lower the temperature of the bitumen, the greater its viscosity, and the more force the roller will need for asphalt sealing work. At higher temperatures, bitumen acts as a lubricant and reduces friction between the rollers and the mineral inclusions.
Asphalt sealing methods
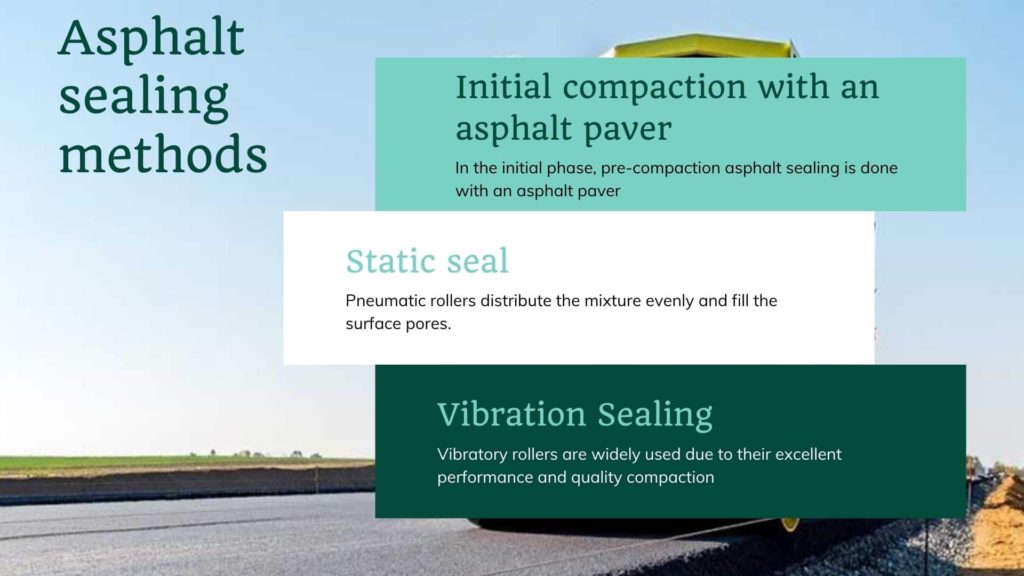
Initial compaction with an asphalt paver
In the initial phase, pre-compaction asphalt sealing is done with an asphalt paver. Precompaction with this type of equipment has an excellent effect on the initial layer and its characteristics, and also contributes to a better subsequent rolling, as long as the temperature of the mixture is high enough. This technology allows rolling to be done in less time, due to fewer passes by the roller.
If you start rolling without pre-compaction, you can disturb the evenness of the pavement, if the roller is too heavy, and even cause displacement of the material. If, however, compacting is carried out, it is recommended not to use the vibration mode during the first two runs of the tandem rollers.
Static seal
Due to the roller’s own mass, asphalt is statically compacted; for this purpose, both tandem and pneumatic rollers are used, but they give rather a poor compaction compared to vibrating rollers. Tandem rollers compact due to the linear load (kg/cm) of the drum, and pneumatic rollers due to the load from the wheels (t) and the air pressure in the wheels (MPa).
The use of these two types is advisable only after pre-compacting with an asphalt paver, or if it is necessary to lay a thin layer (wear layer) or asphalt with high porosity.
Pneumatic rollers have proven themselves for pre-profiling and compaction of soft mixtures or for asphalt sealing of road surfaces with low traffic volume. Pneumatic rollers distribute the mixture evenly and fill the surface pores.
Vibration Sealing
Vibratory rollers are widely used due to their excellent performance and quality compaction. They require fewer passes, thereby significantly saving time. Vibration from the roller reduces the friction of the material inside the mixture, and due to the weight of the roller and the dynamic load the density of the asphalt surface increases. Thus, for a vibratory roller, the key indicators are weight and vibration indicators: frequency and amplitude.
If the pavement of several layers is to be compacted, then heavy tandem vibratory rollers are used, which are capable of producing different amplitudes and frequencies of vibration of the rollers.
The operating speed for such rollers ranges from 3 to 6 km/h.
However, vibratory rollers should be used with caution, as a large number of passes can lead to loosening of the material and disturb the structure of the pavement due to excessive vibration.
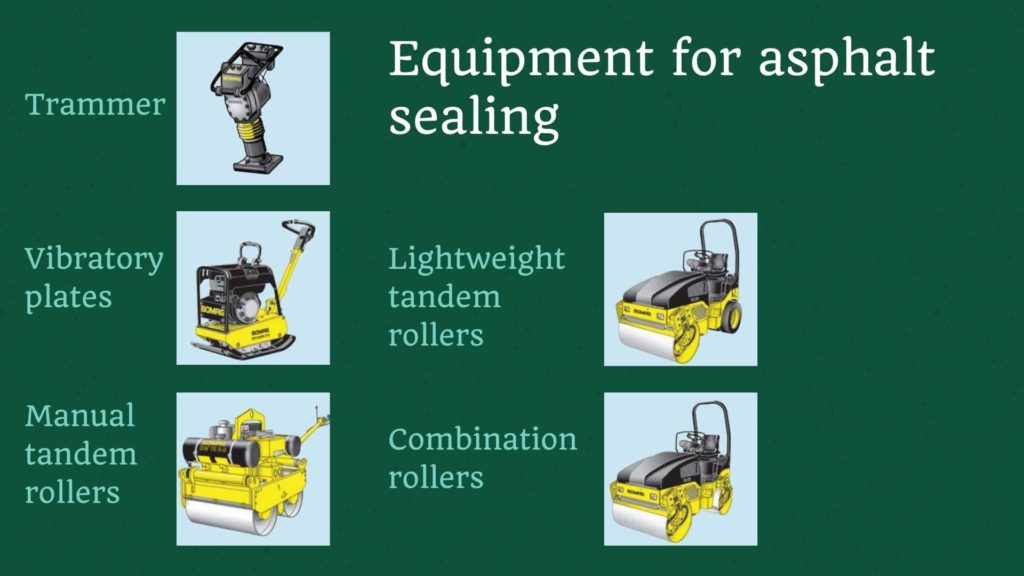
Equipment for asphalt sealing
Manual equipment for asphalt compaction
Trammer
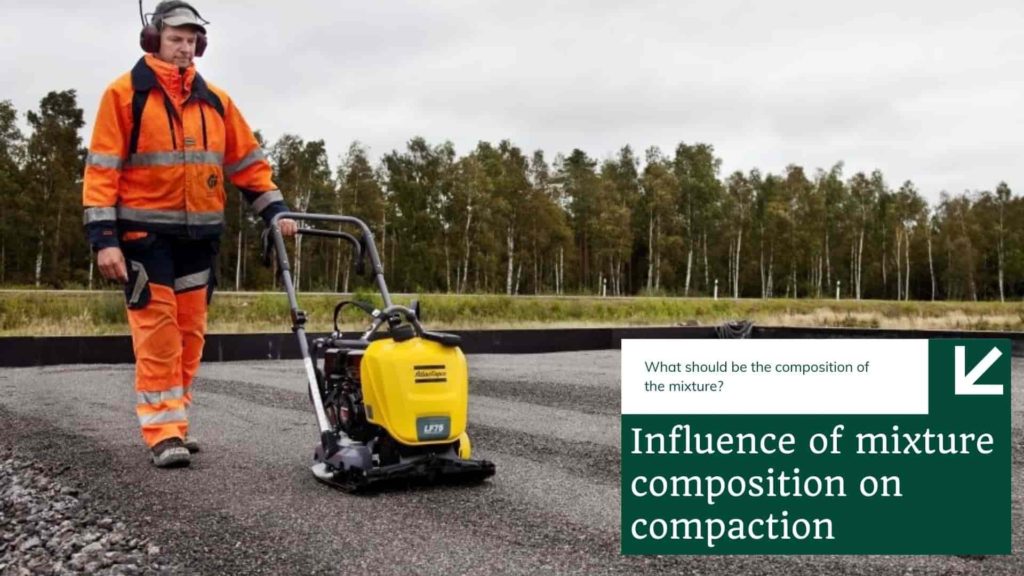
Vibratory rammers (rammers) refer to the means of small-scale mechanization. Their main area of application is limited spaces inside buildings, in areas adjacent to walls, fences, communication elements (e.g. manholes), etc. The weight of such rammers usually does not exceed 60-80 kg and are equipped with 4-stroke gasoline or, less often, diesel engines. The crank drive transmits a rapid vertical reciprocating motion to the ramming shoe.
Vibratory plates
Vibratory plates also belong to small-scale mechanization and are used for compacting small areas in confined spaces, they can be straight-running and reversible, their weight varies between 50 and 150 kg, and their working width is between 45 and 60 cm. They are equipped with gasoline or diesel engines. The directional vibrator is driven by a V-belt and a centrifugal clutch. The movement is controlled by adjusting the direction of action of the vibrator.
Manual tandem rollers
The weight of the accompanying rollers is 600-1000 kg, and the working width is from 60 cm to 75 cm. The drive of the rollers is either mechanical – with a two-stage gearbox, or hydrostatic, they work with double vibration.
Lightweight tandem rollers
The lightweight tandem rollers with articulated frames are available from 1.3 to 4.2 t in weight and working widths from 80 cm to 138 cm. Both rollers are hydrostatically driven and have a vibratory system.
Combination rollers
Combi rollers are based on a vibrating roller and a set of wheels. They are great for compaction of asphalt on sloped surfaces, as well as for repair work and rolling of footpaths and parking lots. The combination rollers are available in weight from 1.5t to 2.5t, and 7t to 10t.
Steering systems
On rollers with controlled drums, they can turn simultaneously (synchronized operation) or each individually (front or rear), and also allow crabbing (with drum offset of up to 120 mm). These rollers are optimally suited for work on small sites (intersections, traffic circles, sharp turns) as well as for work on large construction sites (highways and freeways).
With rollers with steerable drums, the possibility of “crabbing” is an advantage. The “crabbing” allows the weight of the roller to be distributed over a large area, while the roller itself is not too deep. With this method, the initial compaction of sensitive materials with high asphalt temperature is greatly simplified, and “ironing” of large areas is possible, and the center of gravity of the roller is shifted away from the unstable edge of the asphalt surface.
In tandem rollers with the articulated frames, the drums are connected to each other by a central pivot.
The design allows the drums to move on the same path even when making turns. In “crabbing” mode, the rear roller is offset to the left or right in relation to the front roller. Due to the design, the rollers can be offset in relation to each other.
The benefits of using the “crabbing stroke” are obvious: it’s also possible to work near curbs or close to walls of buildings or fences, rational work with the edge compaction cone, as well as the ability to avoid the formation of traces from the roller with sharp edges on the surface of the asphalt.
Basic differences, comparison, pros and cons of irrigation systems in Toronto.
The irrigation system offered by Captain Handy realizes the watering of plants in two main ways: overhead irrigation system and drip irrigation.
The entire plot is divided into watering zones. Each zone can have one of the two watering methods and its own schedule, which is necessary for optimal watering of the plants that grow in that zone.
The irrigation system can be automatic or semi-automatic:
A semi-automatic irrigation system is controlled by taps installed on each irrigation zone. The taps are manually operated and a person is needed to follow the watering schedule of the zones and to open the tap at a designated time and close the tap after a designated time.
When the faucet is opened, the water pressure in the mainline drops, and the pump turns on. It maintains the water pressure in the pipes. This pressure is used to actuate all the actuators needed for irrigation. Sprinkler rods are lifted from the ground, nozzles are turned to the desired sector, water is filtered, and pressure reducers are actuated.
A semi-automatic system does not use electronics, weather sensors, or electrically controlled valves. This undoubtedly leads to lower cost of the entire irrigation system and increased reliability, as there are fewer components that can fail.
The main disadvantage of this semi-automatic system, however, is the human factor. A person must be present at all times to monitor the filling of the storage tanks, pump operation, pressure in the system, weather conditions, and watering schedules. At the same time do not forget to open taps in time and, just as importantly, close them in time, because overwatering for plants is as harmful as lack of moisture.
The automatic system is equipped with an electronic control unit – the auto irrigation controller. Electrically controlled valves and various sensors.
The automatic system is more expensive than the semi-automatic is its main disadvantage. An automatic irrigation controller takes care of all routine functions, which are the responsibility of man in the case of a semi-automatic system. The automatic opens and closes the valves. The controller monitors the moisture and temperature of the soil; if it rains, watering is reduced or canceled altogether.
Тhe irrigation schedule is automatically adjusted to seasonal variations in average daily temperature. Therefore, human involvement is kept to a minimum. Usually, it is only necessary to make small adjustments to the irrigation schedule 2-3 times per season.
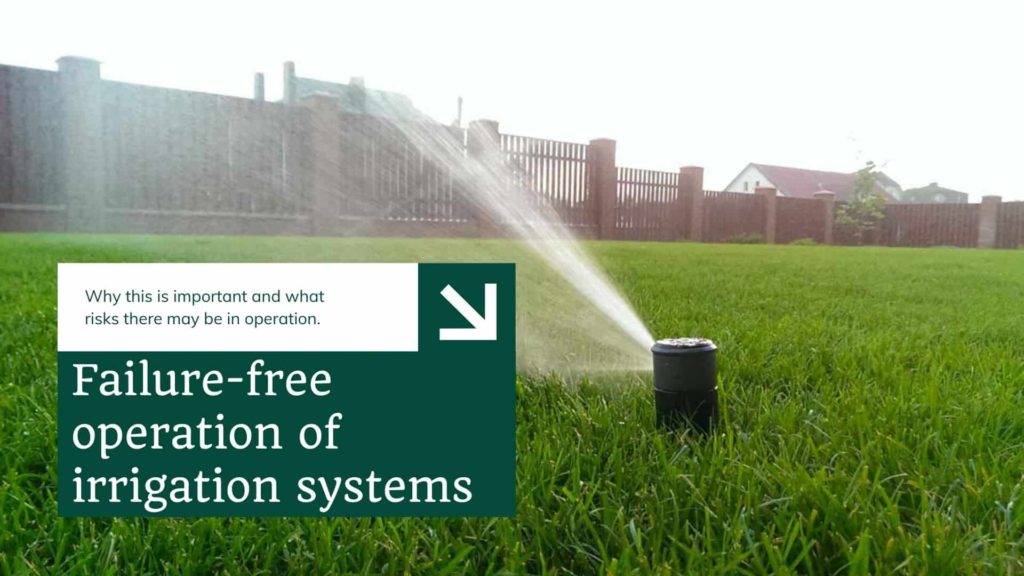
Failure-free operation of irrigation systems
Equally important is trouble-free operation. The Captain Handy irrigation controllers pay a lot of attention to this. The fact is that the irrigation system is an engineering system that serves the benefit of man, but sometimes it can cause harm. The irrigation system usually stores a large amount of water in storage tanks of 3000-5000 liters, or water is supplied from the water utility. A powerful pump is used, which creates a lot of pressure and has a fairly decent capacity.
Let’s consider a hypothetical situation: one night in a corner of the site for some reason there is a depressurization or burst the main pipe. The main pipe is usually installed with 32-40 mm pipe, the flow rate of which can be up to 4-5m³ water per hour. The pressure in this pipe is 5 atm. What will happen in a semi-automatic system: the pump will work continuously and unsuccessfully, trying to create pressure in the main. After about an hour, the entire 5,000 liter supply of water from the storage tanks, or an even larger volume if a central water supply line is used, will be poured out under pressure into a single point of the garden plot.
The consequences of this event can be very disastrous not only for the plants and landscape but also for the capital structures located near the accident point. A man may not have time to react in such a short time. The automatic system will not allow the accident to happen. The controller sees a sudden pressure drop and if it happens when there is no irrigation, the pump is blocked and an alarm is sent to the dispatcher.
Another situation that a less experienced semi-automatic irrigation system user may not even feel is that the filters are partially clogged. During irrigation, the pump can not create enough pressure for normal and quality irrigation of the area. The controller sees this and sends a message to the dispatcher.
Another situation is when the containers run out of water during irrigation. A person probably won’t notice it right away, but the dispenser will work quickly and reliably.
The best time to water is in the late evening, at night, or early morning hours of 4-6 am. No one will want to turn on the taps at that time, and the dispenser does not mind it here either.
The advantages of an automatic system are many, but there is another disadvantage worth mentioning, which is overall reliability. Electronics can fail, yes they can. No one is immune to that. Sometimes everything breaks down: computers, phones, televisions any household, and even industrial electronics. The automatic system is not deprived of this flaw either.
In this case, there is a way out: the automatic system can be switched to the semi-automatic mode for the period of repair. The pump can be switched on and off manually, independent of the controller. The solenoid valves can also easily be unlocked and the water can be supplied to the zone bypassing the electrical signal from the controller.
Award-winning Landscaping Company
CONTACT US TODAY
for a Free Estimate!
Contact us and speak with one of our service professionals to schedule a visit today!
GET A FREE QUOTE