November 2020 - Captain Handy
+1 (647) 830-4834
image-Which-facade-materials-to-choose-for-exterior-decoration

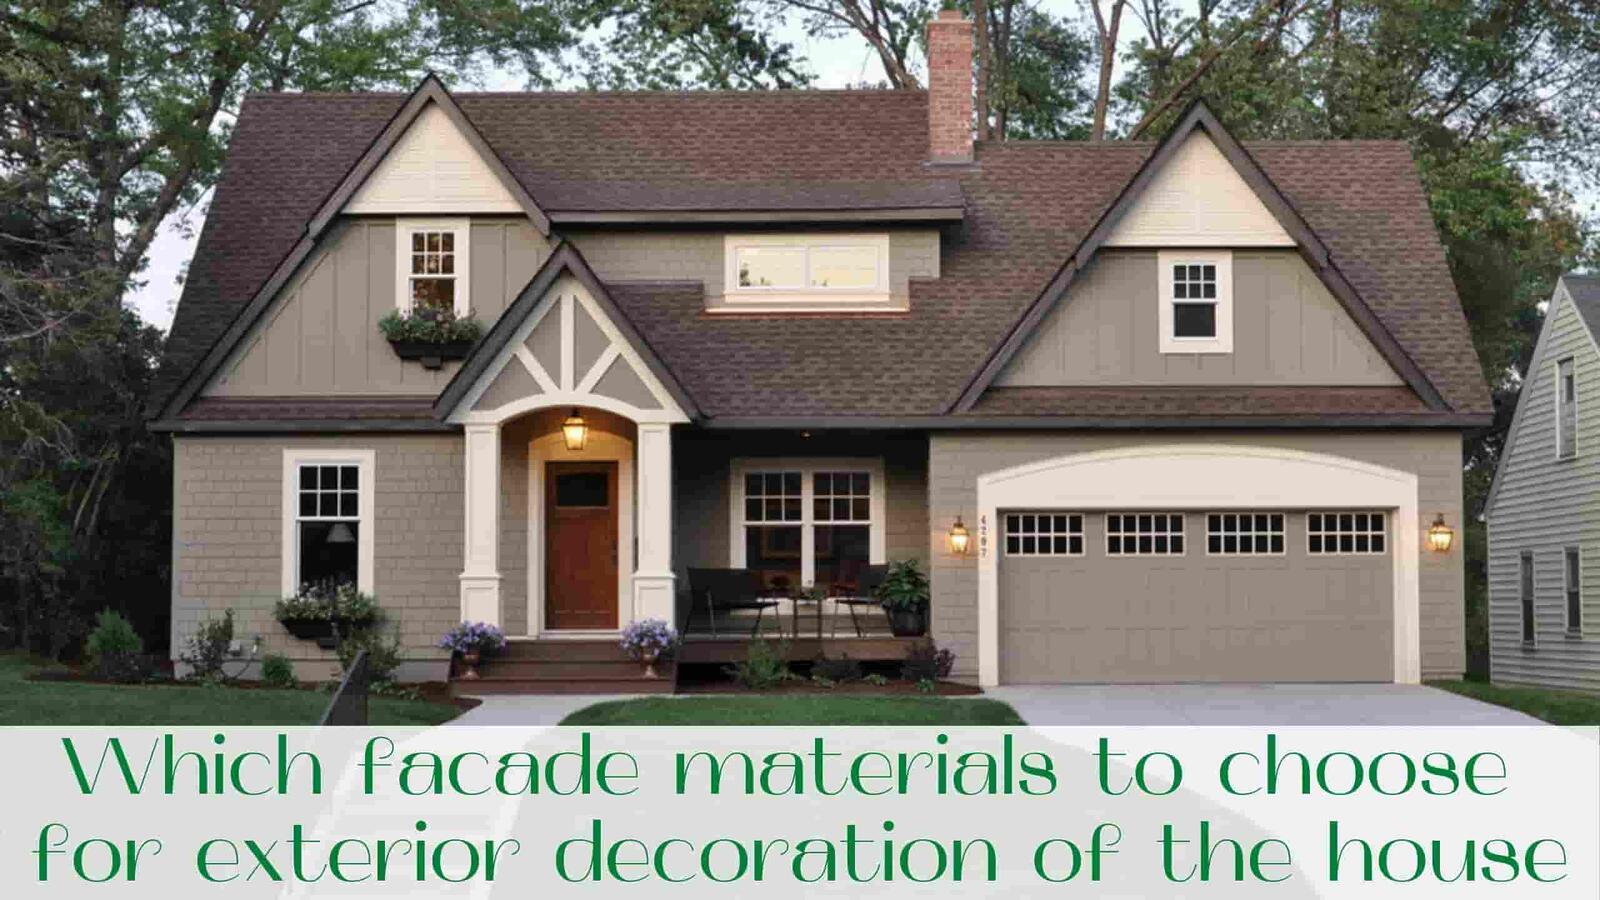
Outdoor decoration is important for the home. It not only gives a complete look, but also decorates the structure. Facade cladding forms a reliable sound and thermal insulation, protects the house from the negative effects of the environment. The exterior cladding extends the service life of the building and prevents destruction, strengthens the structure of the house.

Today they produce various materials for exterior decoration of house facades. You can easily select products by quality, price and appearance. When choosing a material to consider the operational properties and aesthetics.

High-quality facade materials in Toronto for exterior decoration of the walls of the house should protect the structure from wind, steam and moisture, temperature changes. The cladding should be resistant to fungi and mold, which lead to the formation of cracks in the house. In addition, it should fit harmoniously into the landscape of the site.

In this article we will consider in detail what types of cladding materials are produced today.

Facade plaster

Plaster is a usual and common finishing material, which is used for work both inside and outside the house. Decorative plaster for facade in Toronto is distinguished by its availability and low cost, a wide range of colors and textures, resistance to damp. With the right technology of installation of the material well tolerate temperature fluctuations, does not burst in the cold and does not crumble over time. Easy application of plaster will perform the installation of their own hands without involving specialists.
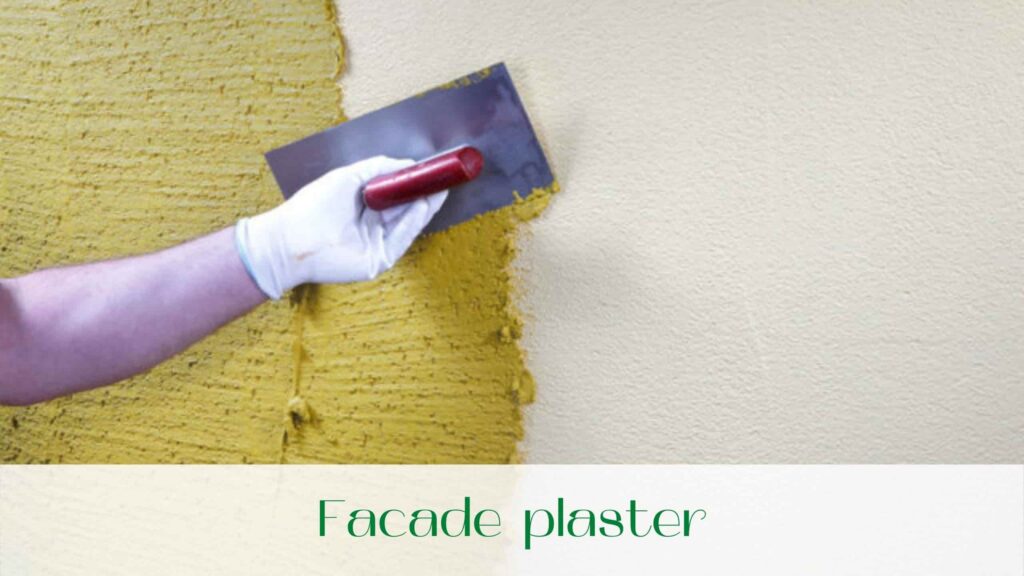
There are several types of plaster, including mineral, acrylic, silicate and silicone. Let’s look at the specifics of each:

  • Mineral plaster is the most common type of plaster with a low price and a wide range of colors. This material is characterized by its resistance to microorganisms, moisture and ultraviolet. It does not burn, but has low elasticity. Therefore, when the house is shrunk, the finish cracks;
  • Acrylic plaster is more elastic and can easily withstand shrinkage, so it is quite suitable for a wooden house. It is distinguished by its durability and long service life, resistance to frost and moisture. However, the walls with this finish quickly get dirty. Acrylic plaster is easily inflammable, so the material can not be used for walls insulated with mineral wool;
  • Silicate plaster – the most durable material, finishing which will last 20-30 years. During this time, it retains its appearance and performance qualities. Walls with such finishing are practically not dirty and are resistant to moisture. Silicate plaster does not break when shrinking the house, but requires certain skills in installation, as the material to be applied very quickly. In addition, it has a limited choice of colors;
  • Silicone plaster is a wear-resistant material that will last for several decades. It is non-polluting, easy to apply and has no problems with shrinkage and moisture. Experts recommend this particular material for the exterior decoration of the house. The only disadvantage of silicone plaster is its high cost.

Regardless of the view, to keep the plaster long, you need to thoroughly prepare the walls. The surface is cleaned from old finishes, dirt and dust. Wooden walls are polished, necessarily treated with antiseptics and fire retardants, insulated.

Facade materials – Siding

Siding is a modern material that has gained popularity due to its availability and low price, easy installation and aesthetic appearance. Panels are easy to install with your own hands. They look neat and harmonious. Besides, they are universal. Siding is used to decorate buildings of any material. It is easy to wash, effectively protects the structure from the negative effects of the environment.
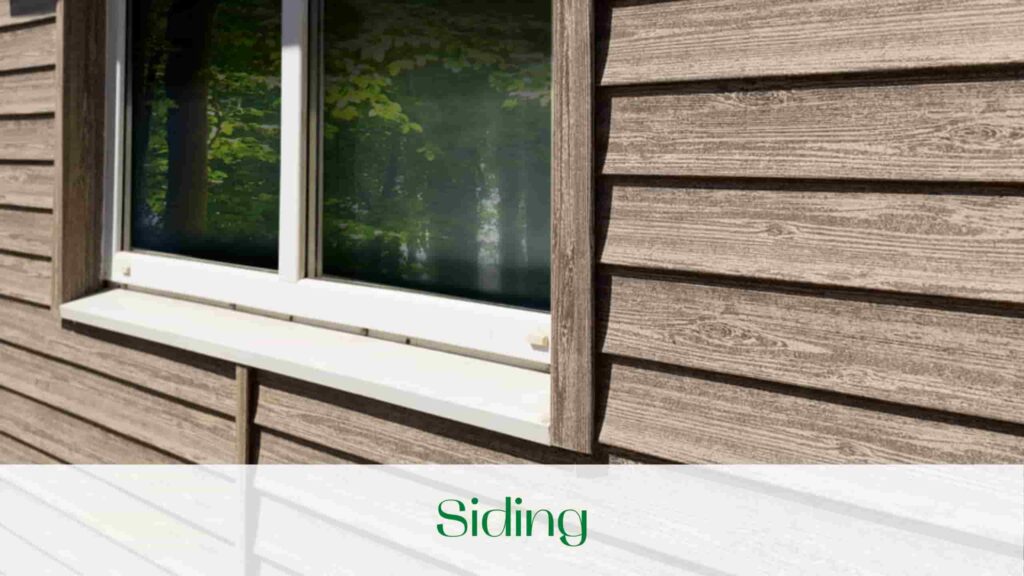
Today, the following types of siding are produced:

  • Vinyl siding in Toronto is a separate panel of PVC, which imitate stone, brick or wood. It does not dry up and does not rot, endures temperature changes, is resistant to frost and ultraviolet. Vinyl panels are lightweight, so they do not give a strong load on the walls and foundation of the house;
  • Wooden siding in Ontario is made from dried and treated wood. It is the most environmentally friendly and safe material, so it is suitable for finishing the house from log or timber. It looks neat and harmonious and keeps warm well. However, wooden siding has a high cost and requires constant care. Treatment with antiseptics, flame retardants and various paintwork materials is done every 3-7 years, depending on the type of products. Without the necessary care wooden siding will not serve long;
  • Metal siding in Toronto is made of aluminum and steel. It is resistant to temperature changes and easy to clean, has a high strength and durability. However, the metal is not resistant to moisture and when the top layer of the panels is damaged, corrosion begins. In addition, metal siding increases the weight of the house and increases the load on the foundation.

Before installing siding in Toronto, the wall surfaces are prepared and the old finish, dirt and dust are removed. Then install a crate of bars, which are located at a distance of 0.5 m from each other. The purlin will ensure proper ventilation. In addition, between the bars put insulation, waterproofing and vapor barrier films. Already on top of the purlin fasten the panel.

Facade materials – Sandwich panels

Such panels are two or three dense layers, between which the insulation is laid. This is an aesthetically appealing material with a wide range of colors. It is lightweight, fireproof and durable, resistant to moisture and can be repaired. If one of the panels is damaged, you do not need to update the cladding completely, it is enough to replace the damaged panel.
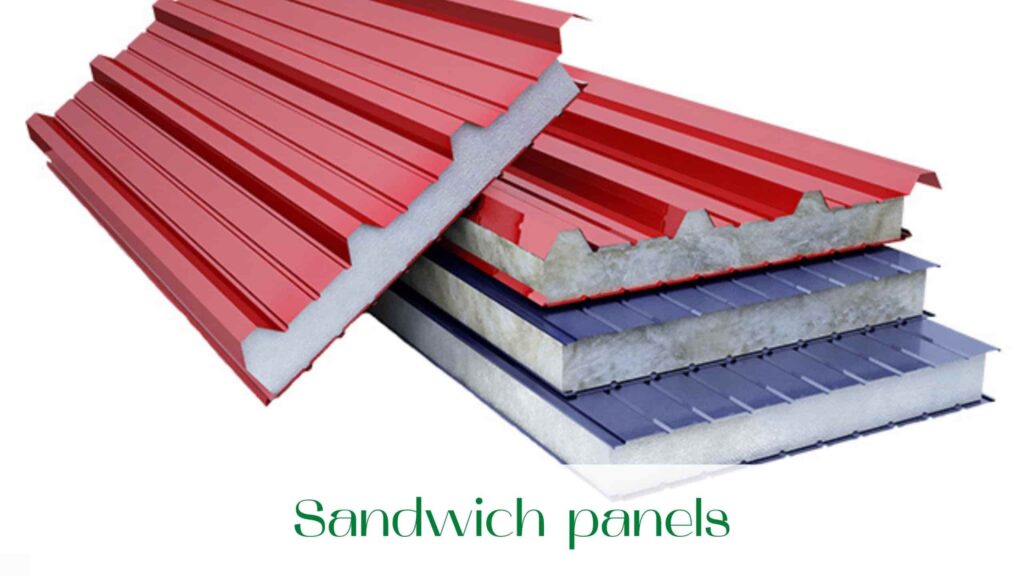
As a heater in sandwich panels use mineral wool, polystyrene foam or glass fiber. The panels themselves are also made from different materials, among which:

  • Galvanized steel – the most common option due to the affordable price and ease of installation. This is a durable product, which, however, over time, burns out, darkens and loses its original color;
  • Aluminum and zinc alloy – a more expensive material, which is characterized by increased resistance to mechanical damage and high anti-corrosion qualities;
  • The plasterboard is environmentally friendly and safe. It is a strong and plastic material with light weight. Resistant to fire;
  • Plastisol and Purul are reliable and durable materials that are resistant to mechanical damage, corrosion and ultraviolet. Plastic products are easy to process and install;
  • Polyester – economical material with high quality, which is suitable for any climate. It is resistant to temperature drops, frost, UV and moisture. It is not afraid of mechanical damage.

The big plus of sandwich panels is that they are already with insulation. This allows you to save on heating and home insulation. The material is distinguished by its easy installation in a short time. However, during installation, it is important to comply with technology and standards, otherwise the material will quickly become unusable, and the insulating properties will be greatly reduced. During installation, you can not use a sealing tape. Otherwise, the connection points of the panels will freeze.

Facade materials – Ceramic granite

Decorative material with a wide range of colors and textures can make the house original and unique. Porcelain stoneware is characterized by strength, wear resistance and durability. It is resistant to moisture and low temperatures, abrasion and mechanical damage. The material does not burn or lose color during use. Ceramic granite will provide a reliable and high-quality finish, will embody the most daring and interesting design solutions.
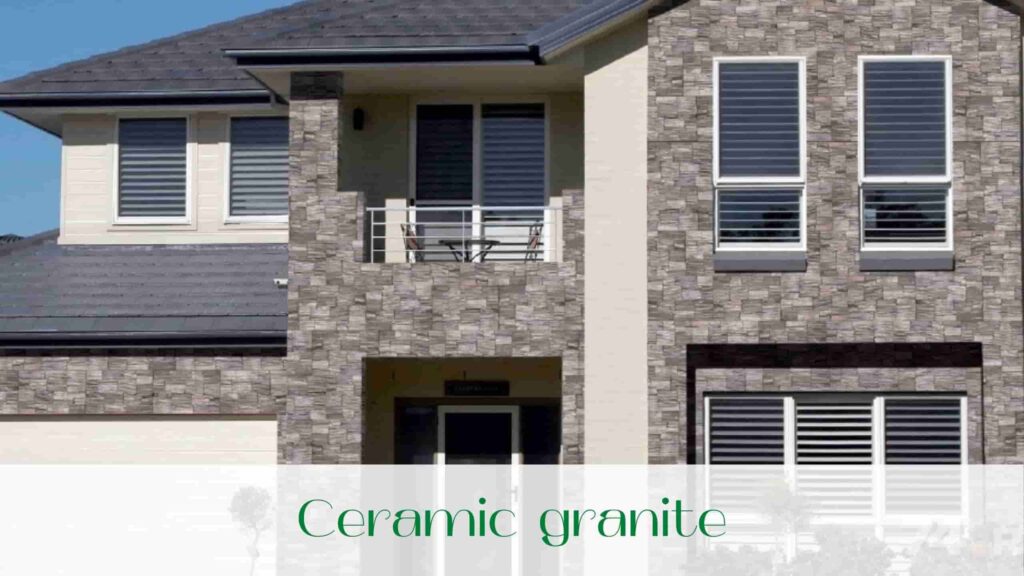
Produced the following types of porcelain stoneware:

  • Matt products have a natural look and high performance;
  • Flax or satin material has a surface with a noble waxy luster. This shine is obtained through the use of mineral salts in the manufacture of the material. Cucumber porcelain stoneware is similar in properties to matte, but is more expensive;
  • Glazed porcelain stoneware in appearance similar to ceramic tiles, but it is much stronger and more reliable;
  • The polished products have a rich sparkling color. This material is used for both interior and exterior decoration;
  • Semi-polished porcelain tiles combine shiny and matt areas;
  • Structured products have a rich texture. Structured porcelain stoneware is both embossed and patterned. They produce materials with a texture that imitates wood or stone;
  • Mosaic porcelain tile transforms and makes the building luxurious. However, this type of materials is characterized by complex and time-consuming installation.

Among the disadvantages of the material, we note the specific and complex installation. Ceramic granite attached to a special adhesive or metal frame. In no case should not install the material on the cement mortar, as it will fall off in the cold.

Facade materials  – Clinker brick
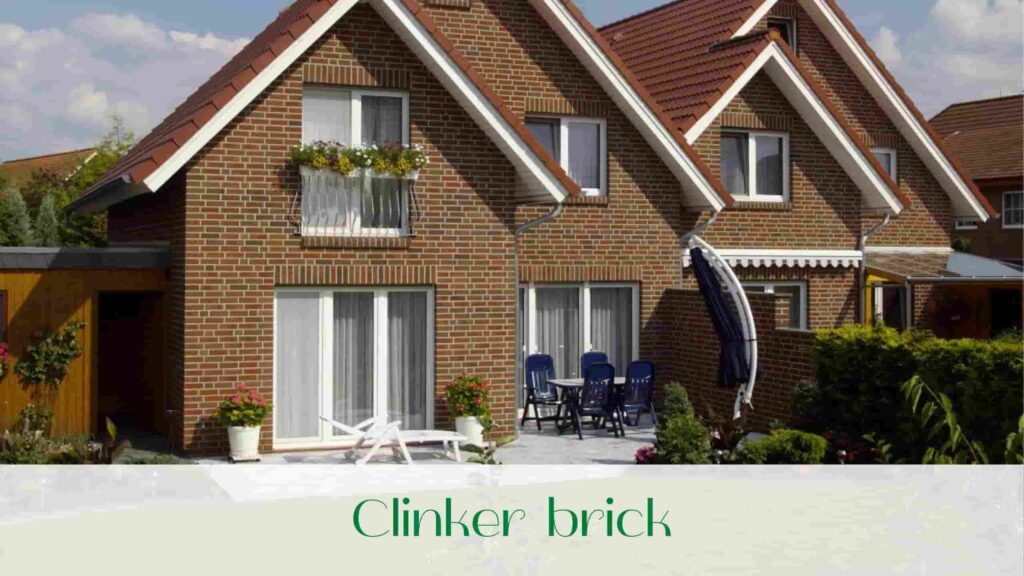
Clinker brick looks like a building brick. It is a natural material, which is made of clay and natural dyes. They produce bricks for facade and sidewalk. In addition, there are clinker tiles, which are also made from natural raw materials. Today you will find hundreds of types of material with different textures and colors. The surface can be embossed, grooved, glossy, matt or glazed.

Clinker materials do not absorb water and are easy to wash. They are durable and durable, resistant to household cleaning chemicals. Tiles and bricks tolerate frost, aggressive UV exposure and temperature changes. However, the materials are expensive and difficult to install.

Other facade materials in Toronto

Sometimes natural or artificial stone is used for exterior decoration of the house. This is an expensive cladding, but reliable and durable. Artificial products are cheaper and more diverse. Natural stones are used for finishing marble and granite, basalt and sandstone, shale and other types.

Another type of facade finishing in Toronto is metal cassette. Such cladding is used for ventilated facades. This is a reliable and durable material, resistant to mechanical stress and negative environmental impact. On the market there is a wide range of colors, textures and sizes. The only disadvantage of metal cassettes is the high cost.
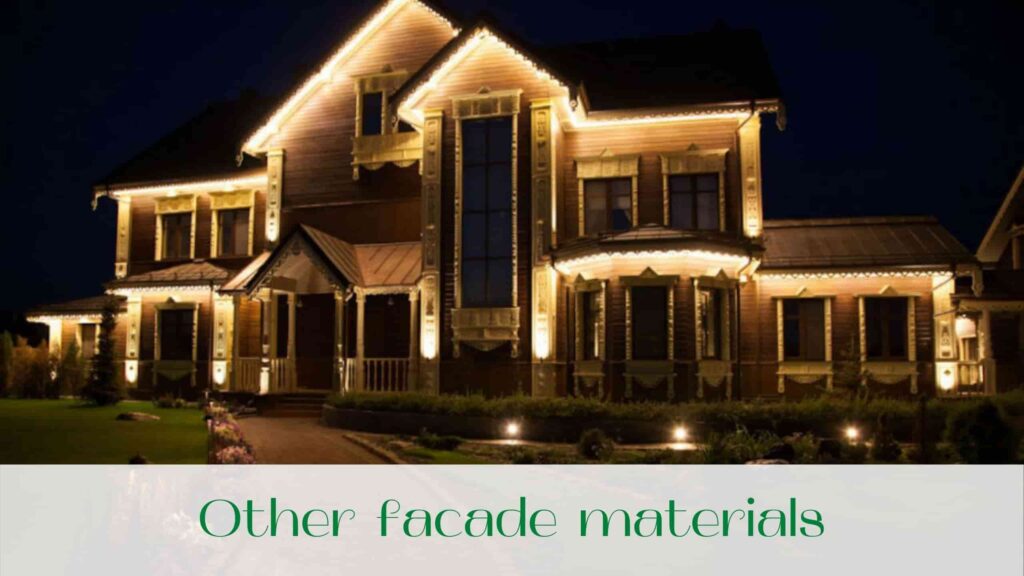
Whichever finishing material you would not choose, it is important to properly perform the installation. Non-compliance with building codes will lead to rapid destruction of the cladding. Facade will lose its previous appearance. In addition, on the walls of the house may appear cracks, and the structure will deteriorate. To avoid such problems, contact the professionals!

The experts of the company “Captain Handy” will select quality fecade materials in Ontario, reliably and quickly perform the work on the facade finishing in Ontario. We repair houses and verandas, conduct and connect engineering networks on the land plot, make internal and external finishing “turnkey”!

Read our blog!

image-How-and-what-to-treat-a-hardwood-flooring-in-a-house

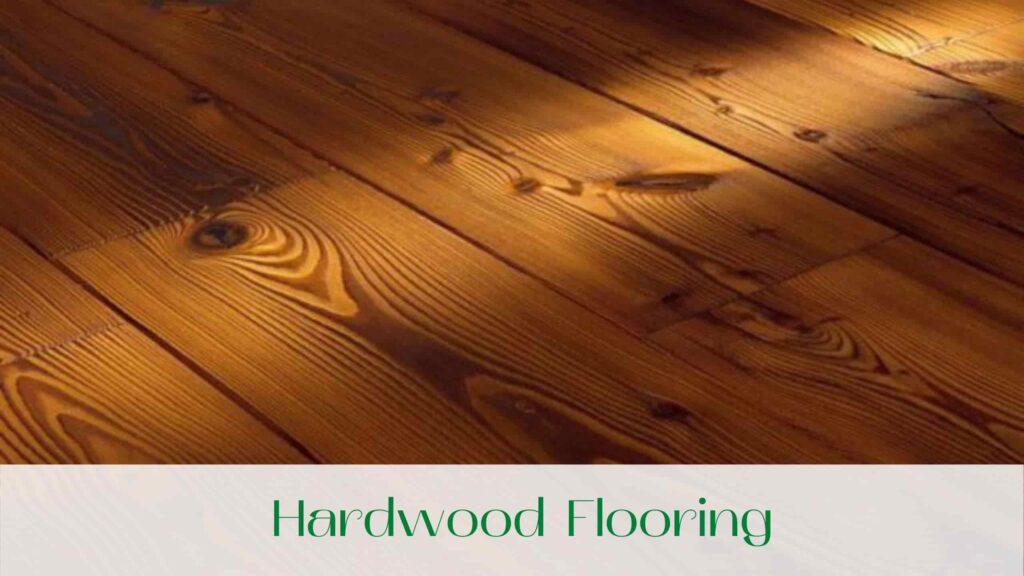
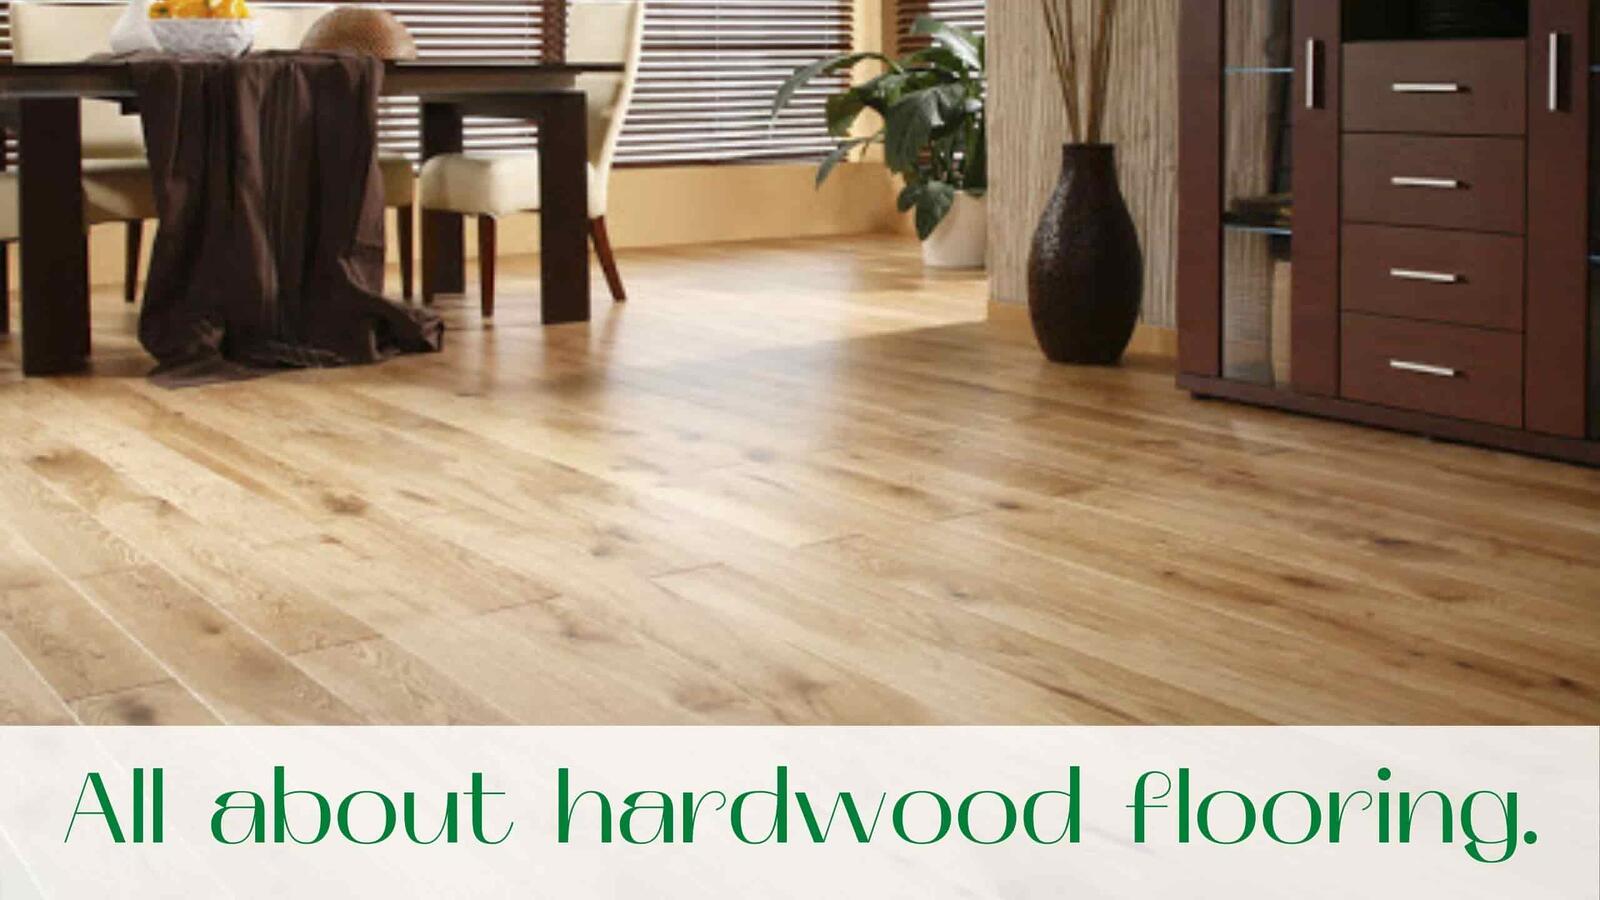
The hardwood flooring is an environmentally friendly and safe coating that maintains a comfortable indoor climate. Unlike synthetic materials, natural wood exudes a pleasant forest aroma and does not release toxic substances. The wood is distinguished by its durability and aesthetic appearance. It is pleasant to the touch and has a beneficial effect on human well-being.

Advantages of hardwood flooring:

  • Promotes oxygen renewal and maintains a comfortable atmosphere in the house;
  • Durable and reliable coating;
  • Long service life;
  • Safe and environmentally friendly. The material does not emit any hazardous substances and does not cause allergies. Wood, on the contrary, has a positive effect on human condition and mood;
  • Accessibility;
  • Good heat and noise insulation;
  • Wear resistance and maintainability. If necessary, you can easily replace damaged parts of the floor by yourself.

Experts recommend choosing only wood for finishing of log houses and cottages in order not to disturb the aesthetics and ecology of the room. Solid or standard trimming boards, parquet and laminate, cork coverings are chosen as hardwood flooring for log houses. By the way, the latter option will also serve as an excellent insulation.

Despite its positive properties, wood needs to be protected and treated. Natural raw materials are subject to the negative impact of moisture and insects. Without special means, the coating will gradually crack and rot. Protective compounds will protect the living material from such problems. They will not only extend the service life, but also improve the appearance of the floor.

Today there are a lot of different products, including lacquers, paints and wax. Wax is very rarely used today. It contains beeswax, linseed oil and other additives in small quantities. This composition is resistant to moisture, but it does not provide effective protection against mechanical damage, such as blows from heels, traces of furniture and so on. Therefore, we will take a closer look at the paints and learn how to properly treat the hardwood floor.

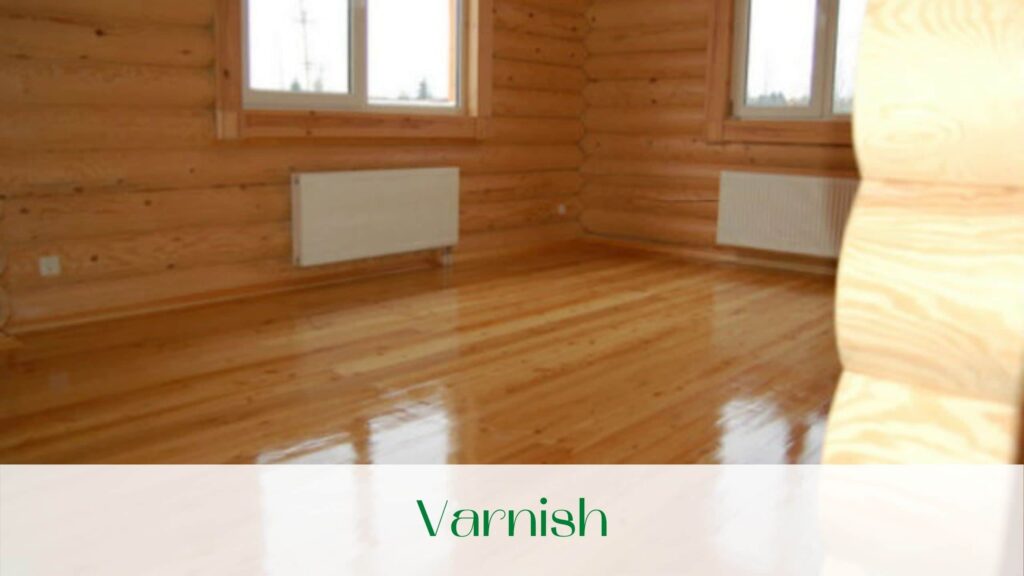
Varnish. Hardwood flooring in Ontario.

Varnish is an effective remedy that will protect the coating from mould, fungus and insects. It perfectly preserves the structure and emphasizes the original appearance of wood. Varnishes can be transparent (glazing) and opaque (covering). The transparent coating will preserve the natural wood color, but will last only 3-5 years. The opaque composition can be updated once in 6-7 years, and it will achieve the desired shade or shine of the hardwood floor.

In addition, the following varnish types are distinguished:

  • Water-soluble – the most environmentally friendly and safe composition, which dries quickly and adheres to the floor surface. But this lacquer can be applied only with special rollers, and the coating will have to be renewed at least once every three years;
  • Alkyd type is characterized by resistance, durability and high degree of wood protection. But be prepared that dries such a varnish for two or three days;
  • Polyurethane material is characterized by wear resistance, so it is suitable for rooms with high mechanical load. Such a varnish is used for floor treatment in the hallway, living room and even in cafes;
  • Formaldehyde lacquer guarantees a durable and reliable coating, which is resistant to different temperatures. But during painting it emits hazardous chemicals, so it is important to work only with a respirator;
  • Oily products are more susceptible to adverse effects of rainfall and moisture, so such varnishes should not be used to treat the floor in the pergola or on the terrace. However, they are suitable for the interior decoration of a wooden house. Oily varnishes are often used to renew the old flooring. They enliven the wood and make the surface shiny;
  • Acrylic lacquer forms a transparent shade with no yellowness. It is a safe, odorless and long-lasting product. They are resistant to moisture and offer a wide range of gloss. It is desirable to use such products for rooms with low passability, such as bedrooms, children’s rooms, etc..

Regardless of the type of varnish, it is important to study the instructions before use and consult with a specialist if necessary. It is important to understand whether this or that product is suitable for your type of room, type of wood and type of flooring. It is important to know how to apply the lacquer and whether you need protective equipment when working with the material. Compliance with the rules of choice and coloring will help to achieve the desired result.

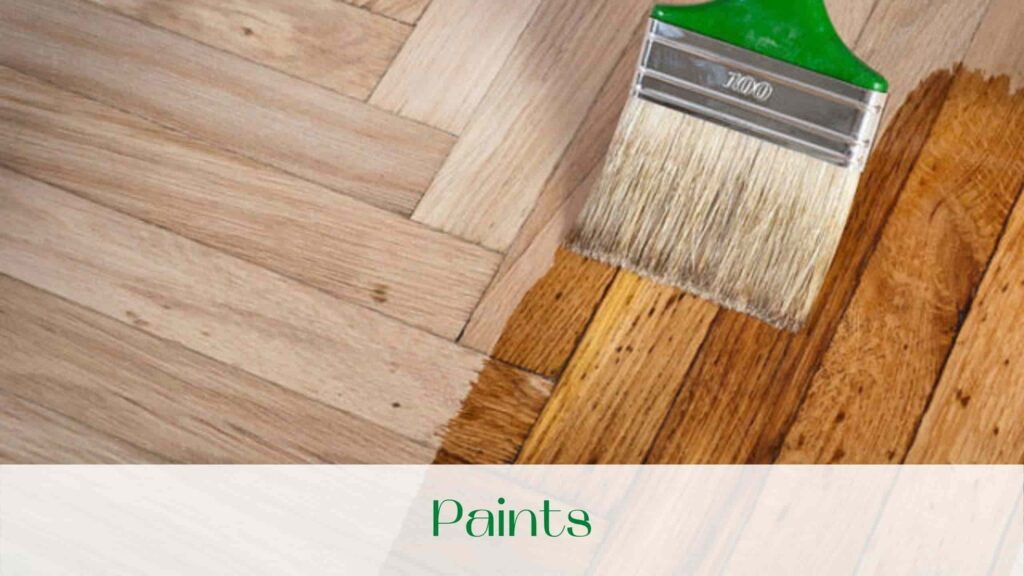
Paints. Hardwood Flooring in Toronto.

If you want to give a certain color or shade to the wood, select the colors. They also protect the wood against moisture and rotting, harmful bacteria and insects.

Today, manufacturers offer the following types of paint:

  • Vinyl paints are used for both external and internal wood processing. They are resistant to moisture, have a wide range of colors and inexpensive cost. However, such means are not popular among the owners of wooden houses, because when evaporated, they emit toxic substances harmful to health. In addition, the vinyl composition quite quickly fades and cracked;
  • Oily products are characterized by rich colors and homogeneous structure, resistance to temperature changes and low price. Such paint will create a bright and fashionable image of the hardwood flooring. However, this coating dries for 24 hours. In addition, after 2-3 years will have to paint the floor again;
  • Polyurethane paints, as well as similar varnishes are characterized by wear resistance and long service life. Such materials effectively protect the wood, but at the same time they are toxic and expensive;
  • Alkyd formulations during coloring spread an unpleasant smell that will last for several days and after drying. Among the advantages of such paint are its resistance to moisture and precipitation, temperature changes and other negative factors;
  • Water-based acrylic paints are now in great demand due to their resistance to high humidity, frost and ultraviolet. They have a long life, which is up to 10 years!   Manufacturers offer a wide range of colors, which includes two thousand different shades. This is a safe and environmentally friendly composition, which does not burn out. Therefore, acrylic materials are effectively used for painting facades.

Paint for wood flooring, first of all, is chosen according to the degree of environmental friendliness. Therefore, the optimal remedy will be alkyd compositions on a water base. They will provide wood protection and give the floor a noble look. Moreover, due to its stability and durability, you will not have to paint the coating more than once in 8-10 years!

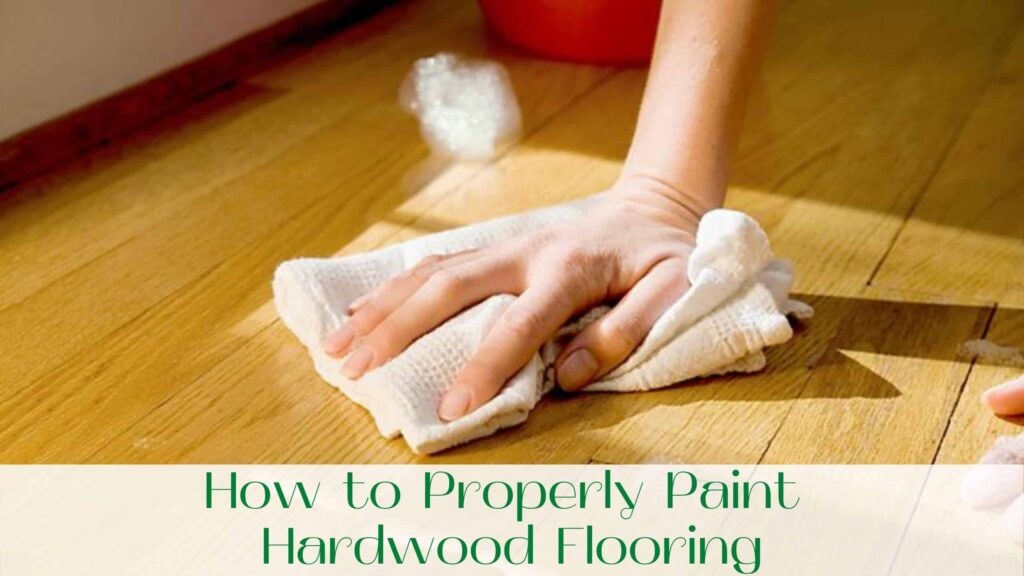
How to Properly Paint Hardwood Flooring

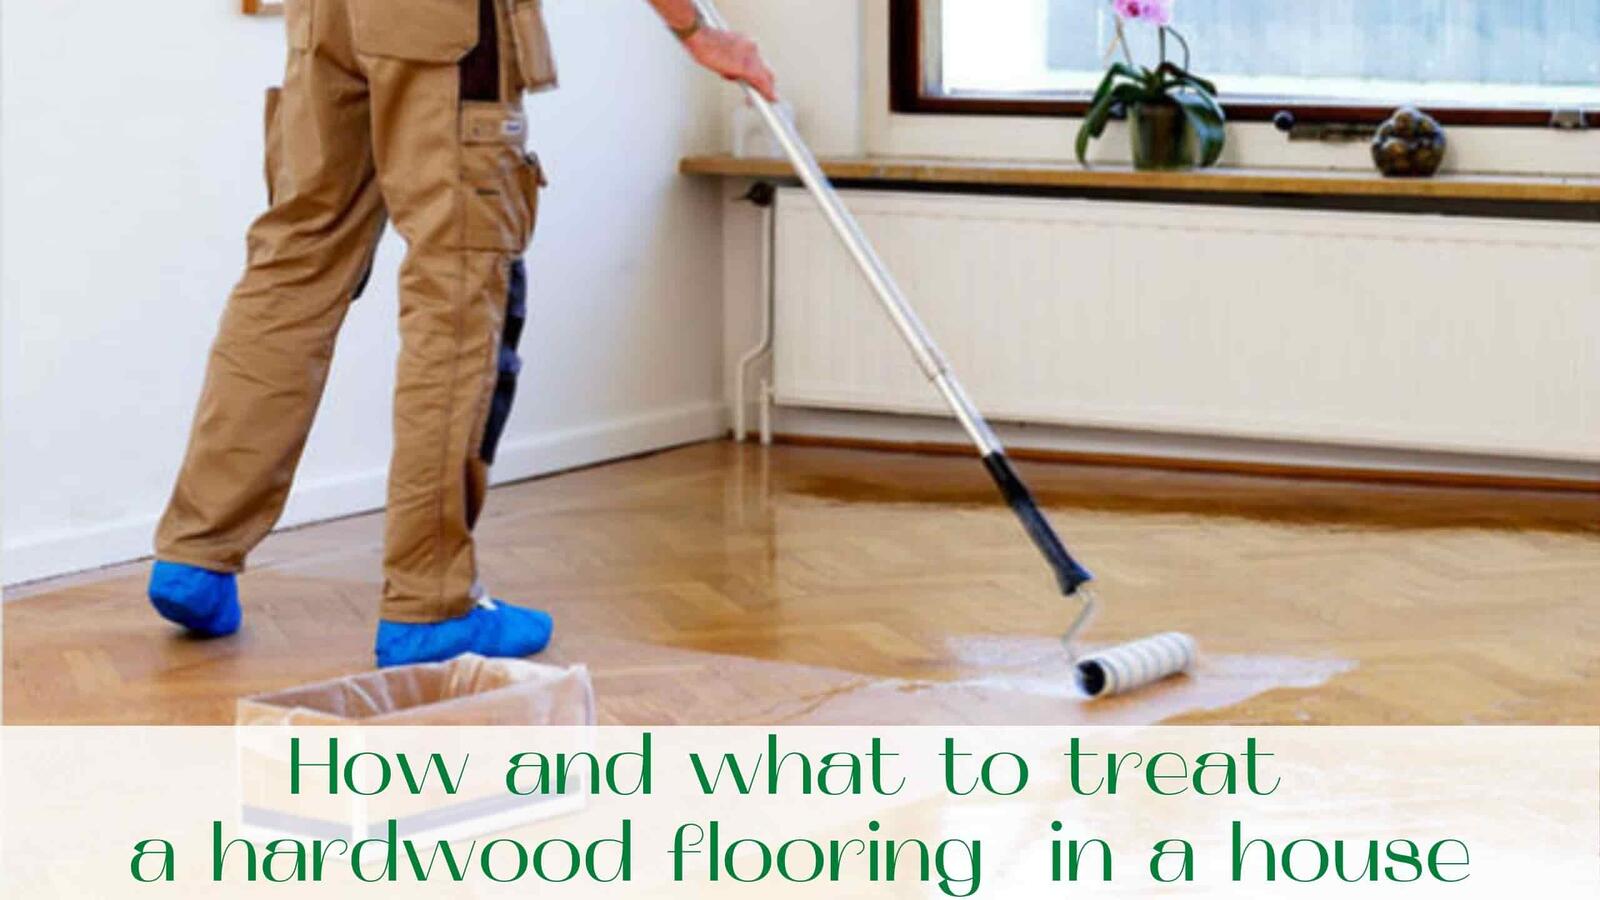
The rational option is to paint the hardwood floor first with paint and then with varnish. Coating with one lacquer will not provide adequate protection for wood from mechanical damage. But the lacquer will fix the coating with paint more qualitatively than the finish, will give the necessary shine and look of new fresh floor.

Before you paint the floor, you should prepare the surface. Clean the wood from dust and dirt. If the floor has been painted before, remove the old flooring with a trowel or sandpaper. Then the surface is sanded, cracks and gaps are removed with a putty. The new hardwood flooring can be treated with olive or primer before painting to enhance its protective properties and reduce paint costs.

The paint can only be applied to a completely dry surface! Paint the floor with the help of a roller, spray gun, for inaccessible places use a brush. Please note that the spray gun and the sprayer do not always make it possible to achieve an even layer. In addition, it may leave unpainted areas.

Paint begins with corners, skirting boards and other hard-to-reach places. When painting, regularly stir the paint composition and do not forget about ventilation. Paint is applied in two coats parallel to the direction of the boards. The second coat is applied only after the previous one is completely dry!

When the paint dries, the floor can be covered with two or three coats of varnish. Do not forget that you can only apply each new layer when the previous one dries! Apply the lacquer materials in smooth strokes to avoid bumps and irregularities.

The masters of “Captain Handy” company will help you to choose the appropriate means and answer any question! They will paint inside and outside the house, provide a full range of services for the construction and finishing of buildings from log.

Read our blog and call us!

image-All-about-hardwood-flooring

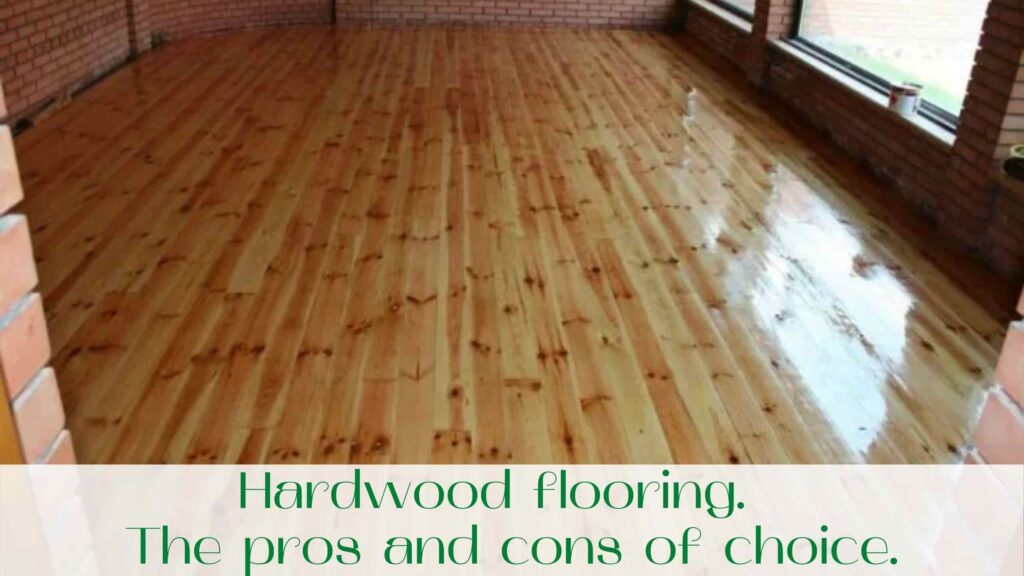
Hardwood flooring.  The pros and cons of choice.

Hardwood flooring has, in our opinion, solid pros and cons.

  • When you choose hardwood flooring in your home, you get environmentally friendly material for arrangement.
  • The cost of hardwood flooring is quite economical.
  • Install a hardwood flooring easier easy, if desired, can cope with this one person. It is quite possible.
  • Service life of the hardwood floor tens or even centuries, with the right choice and care for wood.
  • The hardwood flooring looks quite effectively, the wood in the interior of the house, it is an additional coziness and mental comfort. The drawing on the wood is never repeated. Therefore, the laid hardwood flooring can become a kind of masterpiece of art. And no one else can have such an image on the floor like you.
  • On a hardwood floor can, if desired or necessary, lay ceramic tiles, wooden laminate, linoleum, carpet and many other types of flooring.

There are some disadvantages and hardwood floors (although compared to the pluses, we can say, almost no disadvantages).

  • The wood is good at sound transmission. This should be remembered when laying a wooden floor in Toronto, if necessary, it will be necessary to install soundproofing materials under the hardwood floor.
  • The floorboard should be treated with olive, paint, varnish or other water-repellent means, because the wood absorbs moisture very well. And when humidified, the wood changes its shape, may warp, and the floor will swell and become curves.
  • Also, experts recommend that the wooden board be treated with antiseptics. Buying such means will not be any problem. In construction stores and markets of our country presents a wide range of such compounds. As a rule, the antiseptic composition will protect the board from rotting, fungus, mold, even some mixtures can protect against rodents.

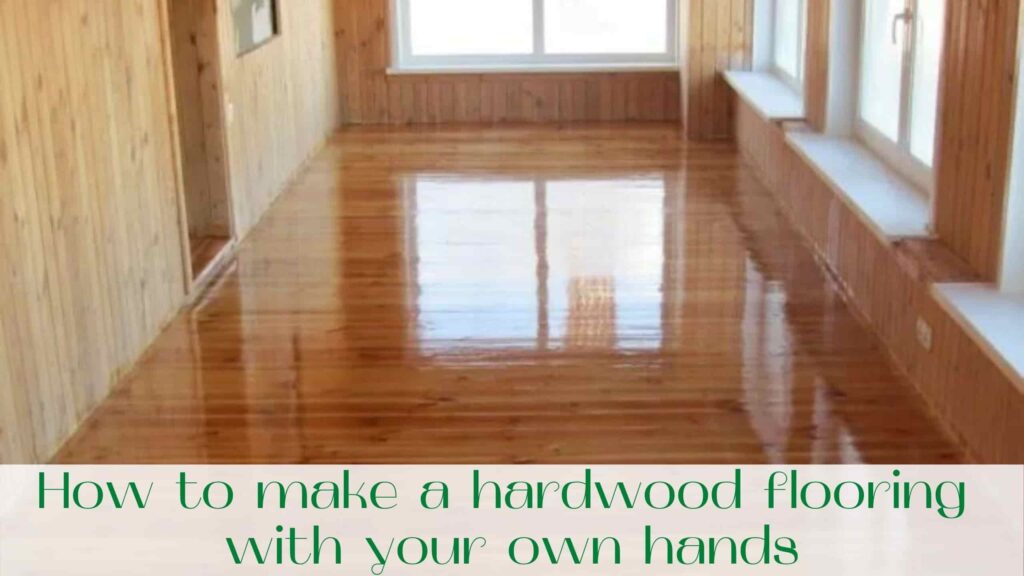
How to make a hardwood flooring in Toronto with your own hands

It is not difficult to lay a hardwood flooring in Toronto. It is not necessary to resort to the services of craftsmen. If you want to save money on services and availability of desire and time you can easily make a hardwood floor yourself.

Choice of a board for the floor.

The best option for the floor will be a board of conifers. For children’s room and bedrooms, experts recommend laying on the floor aspen. Well, of course the most durable material is oak.

 But it is also the most expensive option. It is better to come from the budget when choosing a board. Where you should not save money, it is on the purchase of promotional wood, which can be wet. 

 If you lay a hardwood flooring, which will not be dry enough, then the gradual drying, the boards may crack.

One more important point.

  • When choosing a floorboard it is very important that the board is the same party.
  • Examine the marking on the boards carefully. This is important because if the boards are of different batches, they may be dried to different degrees.
  • They may not fit on a millimeter-thick – two, but we need a flat floor.
  • And one batch of boards guarantees the same delivery from the same manufacturer. From one and the same region.

Lay the hardwood flooring in Ontario on a concrete base.

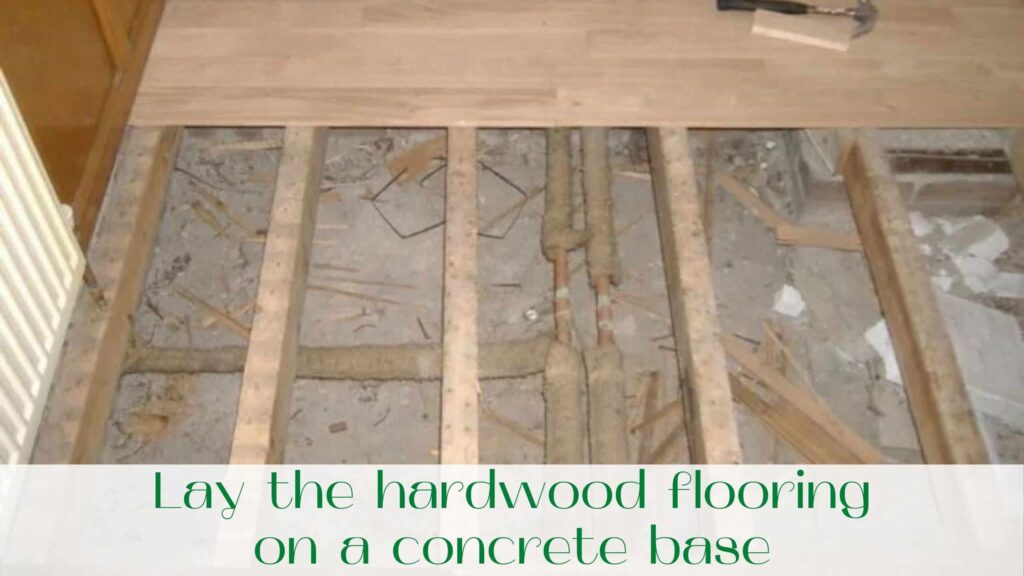
You can lay the hardwood flooring in Ontario in an apartment, private house or even in the garage, if there is a concrete base. The most important point in this case is that the concrete was not in direct contact with the wood. For this purpose, you can lay the ground mastic.

It is possible to lay foamed polyethylene. This will also serve as a good and waterproofing.

Then we make a kind of frame from the bars, or in another way install the lags.

We put a bar on the perimeter of the room with a concrete floor. Then, across the room install wooden lags every half meter. Lags are attached to the concrete base with plugs or screws.

 Hats are always must drowned in wood.

Do not forget to check the installation of lags with the help of the construction level. This is an important point. The values of the level may differ by no more than 1-2 mm from the ideal value.

The installation step of the lags may be larger if the floorboard is thicker. For example, if the thickness of the board is up to 3.5 cm, the pitch of lag installation should be 0.6 m. If the board thickness is from 3.5 to 4 cm, the step may be no more than 0.8 m.

 If the board thickness is more than 4 cm, a step may be 1m.  All the bars shall be placed on the edge. We start to fix the board with nails or self-tapping screws on the lag. You can start the board flooring from any wall.

Try to hammer the nails into the board a little at an angle, so that the hat of the nail or self-tapping screws was drowned in a wooden camp.

Installing the hardwood flooring on the lags.

Let’s consider how to install a hardwood flooring on the lags without a concrete base. What to do – if there is no base?

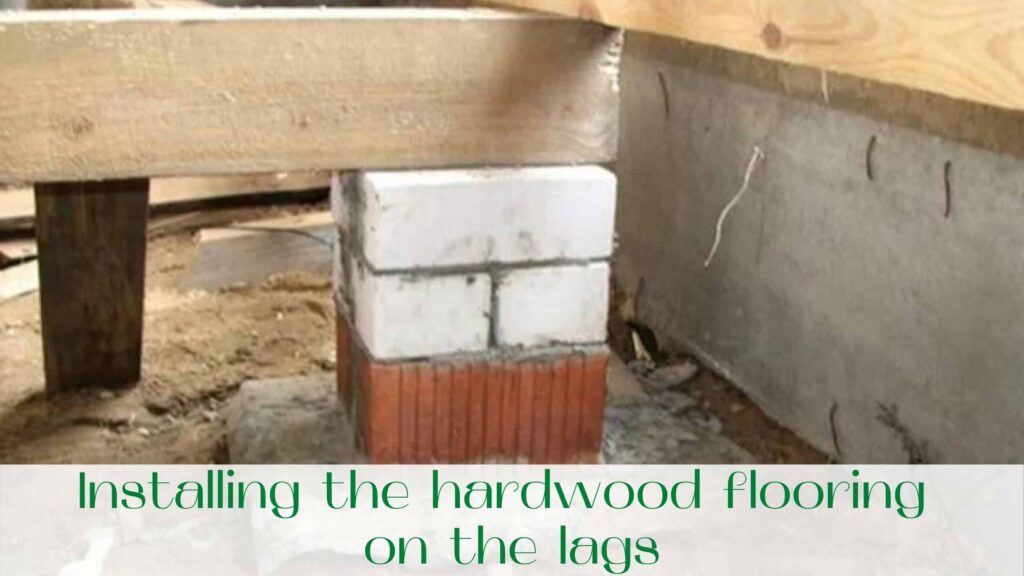
In this case, wooden floors are placed on reinforced concrete posts. Or poles made of brick or wood.

At the bottom of the base of the columns must be laid waterproofing material. Then put a column, for example, made of bricks. On the column we put a levelling layer of the board.

Next, you can lay the soundproofing material, if necessary.

On the posts install wooden lags. On the legs attach a wooden board from any wall, nails or screws nailed a little at an angle, in order to drown the hat in wood.

Warm hardwood flooring in Toronto

You can install a warm floor system under a wooden base, it’s quite simple. And you can do everything with your own hands. It is important to know a few nuances of installation.

Underfloor heating is a modern system that can be installed under the floor of any material. The system heats the floors, thereby heating them.

In order to decide on the choice of a floor heating system, you must keep in mind whether this type of heating will be the only one or will additionally heat the floors.

The choice of heating system power depends on it. If this type of heating is planned as the main one, then choose a system with a power of at least 180 W per square meter. If, as an additional source, a system with a power of 140 W per square meter will be suitable.

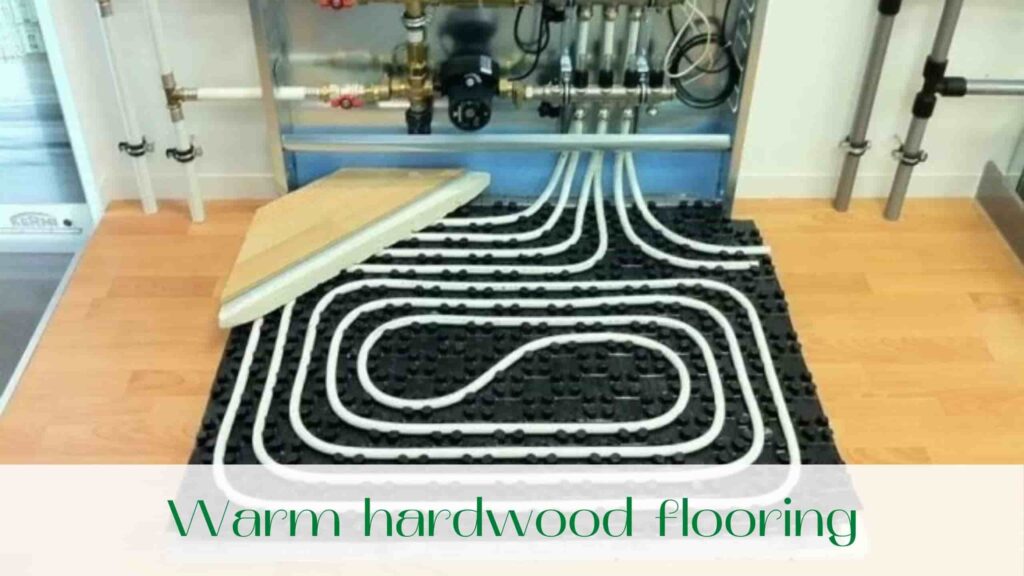
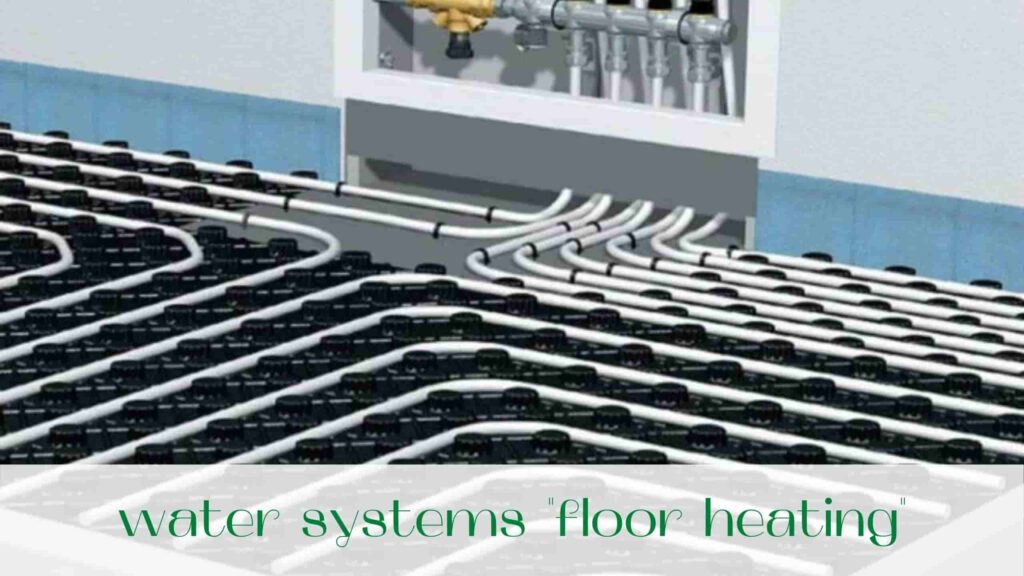
On the market there are electric and water systems “floor heating”.

By the name of the water system, it is clear that the source of heat will be water. The system consists of tubes that contain water. Such a system is connected to a water heating boiler or to central heating.

Electric floors are divided into three types.

  • Infrared film
  • Heat cable
  • Thermal mats
  • Infrared film is a film at the edges of which the contacts are located. The power of such a system is represented in the range from 150 to 220 Watt per square meter.
  • Heat cable is sold in coils, the power available on the market in the range from 120 to 180 W per square meter.
  • Heat mat consists of a heat cable, on which a heat element is attached at a certain step.

All kinds of electrical systems will serve you for at least 50 years.

  •     In the case of hardwood flooring, it is important to remember that wood is a fire hazardous material. And it can easily be ignited by a short circuit of the electric heating system.
  •     Another disadvantage of electric heating systems is their high energy consumption. It is important to be sure of your electrical wiring when installing such a system. Will they be able to withstand high voltage.
  •     In this sense, it is safer to use water systems. One negative thing is that the system can leak at joints. Therefore, you should pay close attention to the joints.
  •     In general, water heating is the best choice for backup heating. The heating capacity of such a system is lower than that of an electric system, but for floor heating is just right.
  •     Water underfloor heating is suitable for all kinds of coverings. Electric mats and cable system, as a rule, are laid on ceramic tiles. Infrared tiles are placed under the parquet or laminate flooring.

Scraping of hardwood flooring

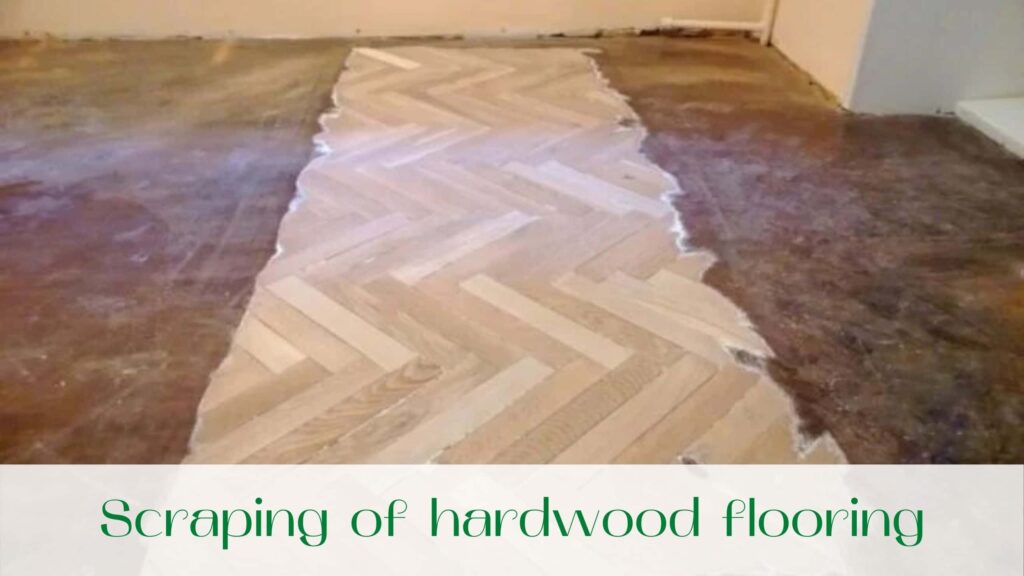
Scraping is a renewal of the old floor, in simple words. The process of scraping is quite complex, but very effective.

Scraping can only be done on dry wood. Wet floors must not be scraped!

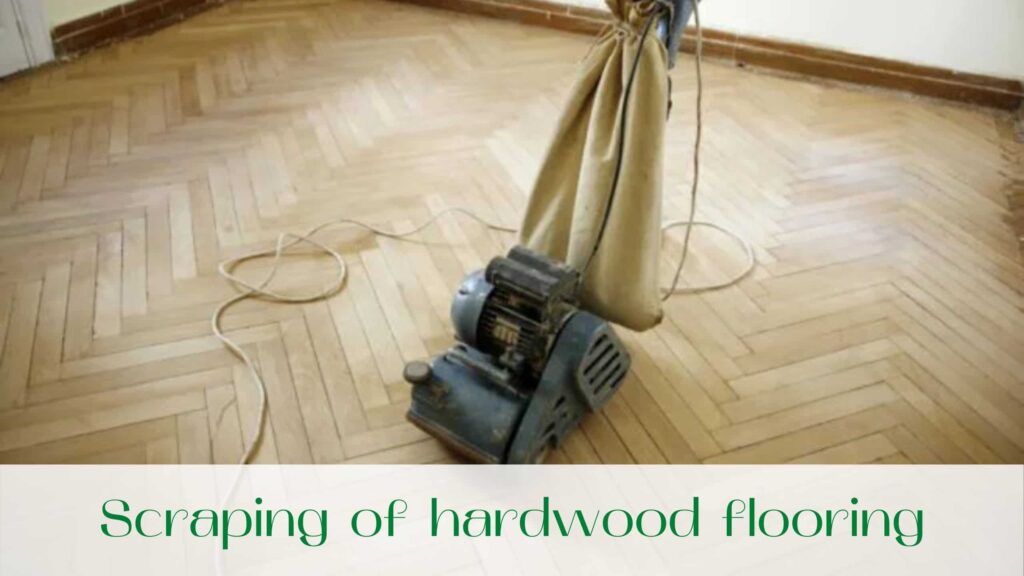
There are many different equipment for wood scraping. Their huge disadvantage is in their price. Good equipment flies in not a small amount. You can rent a special car for scraping.

Another cost-effective option is a manual scraping machine.  Such unit is economical in cost, but not in time. It will take a lot of time to do such work.

Be ready for it. But you will save money for the work of a master scraper or the cost of the machine for rent, and even more so for the purchase of the unit.

Scraping of wood must be carried out in a mask, because in the process, a layer of wood is removed, which turns into dust. There should be no furniture or other items in the room. There will be a lot of garbage left from work, do not forget that you will need a vacuum cleaner for cleaning.

If there are stationary objects in the room, which can not take them to a good few layers to cover the film. Bond the film in front of the floor with duct tape.  The dust from the scraping machine is very fine and can penetrate into the smallest cracks.

Renovation of hardwood flooring

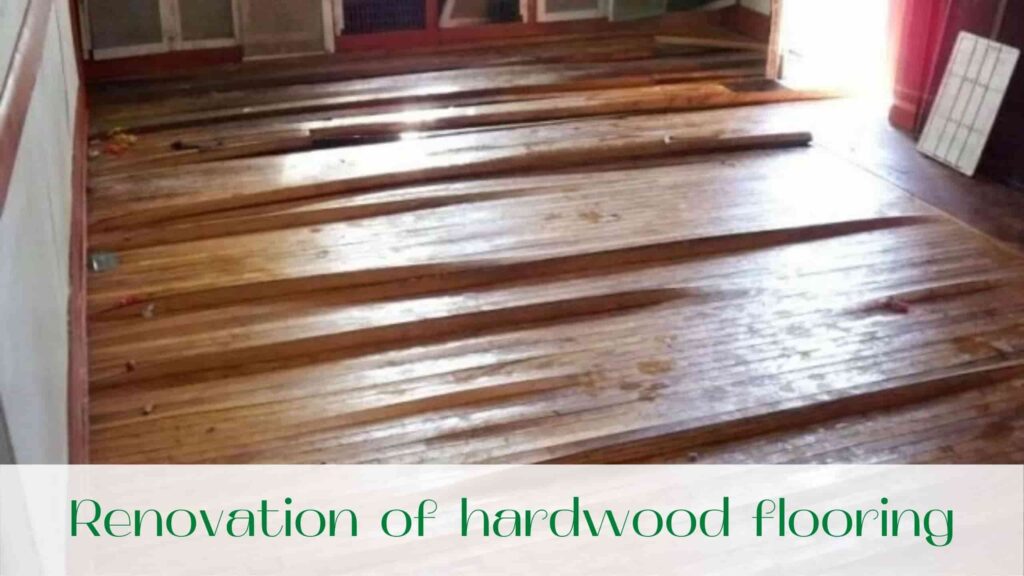
Over time, even iron is destroyed. What can we say about natural wood. It, like everything else, has its own service life.

This period differs from the conditions of use, from the types of care that were used, from physical activity and many other reasons. Let’s not look for reasons. We will find opportunities to eliminate defects in the wooden floor in Ontario.

In order to update the coating, you can apply scraping . It was mentioned earlier in the article. This method of wood updating is suitable if there are deep and not very deep scratches on the covering, you need to remove the old paint layer, there are dents.

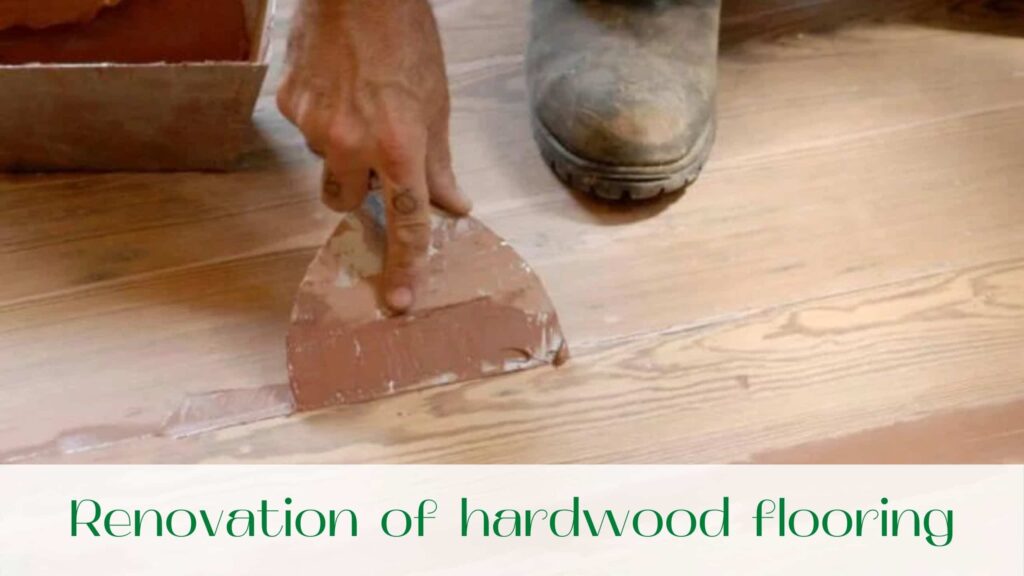
If there are gaps in the floor, you can use special mixtures for this purpose. If the cracks are large, you can move the boards. Or another option, to cover the entire surface with sheets of plywood.

 This option is suitable only for the room where it is dry. Since the installation of sheets, deteriorates ventilation of the floor covering. And the floors will soon just rot. And your work on restoration of the floor will be in vain.

Wide slots can be hammered with wooden staples, with a sharpened base of the type of wedge. If there remains a ledge of a staple, it is leveled to the floor with a planer. Staple before hammering, it is necessary to smear with glue.

For elimination of a squeak of a floor, as a rule, its replacement is necessary.  Or the insertion of wedges between the lags and the floorboard. But, it happens that access to the floor is quite difficult or impossible for a number of reasons.

 But it is also possible to do with half measures. You can make sheets of plywood no thinner than 1.2 cm from above. Replace the nails in the hardwood flooring with self-tapping screws.

Read our blog and call us!

image-How-to-install-floor-tiles

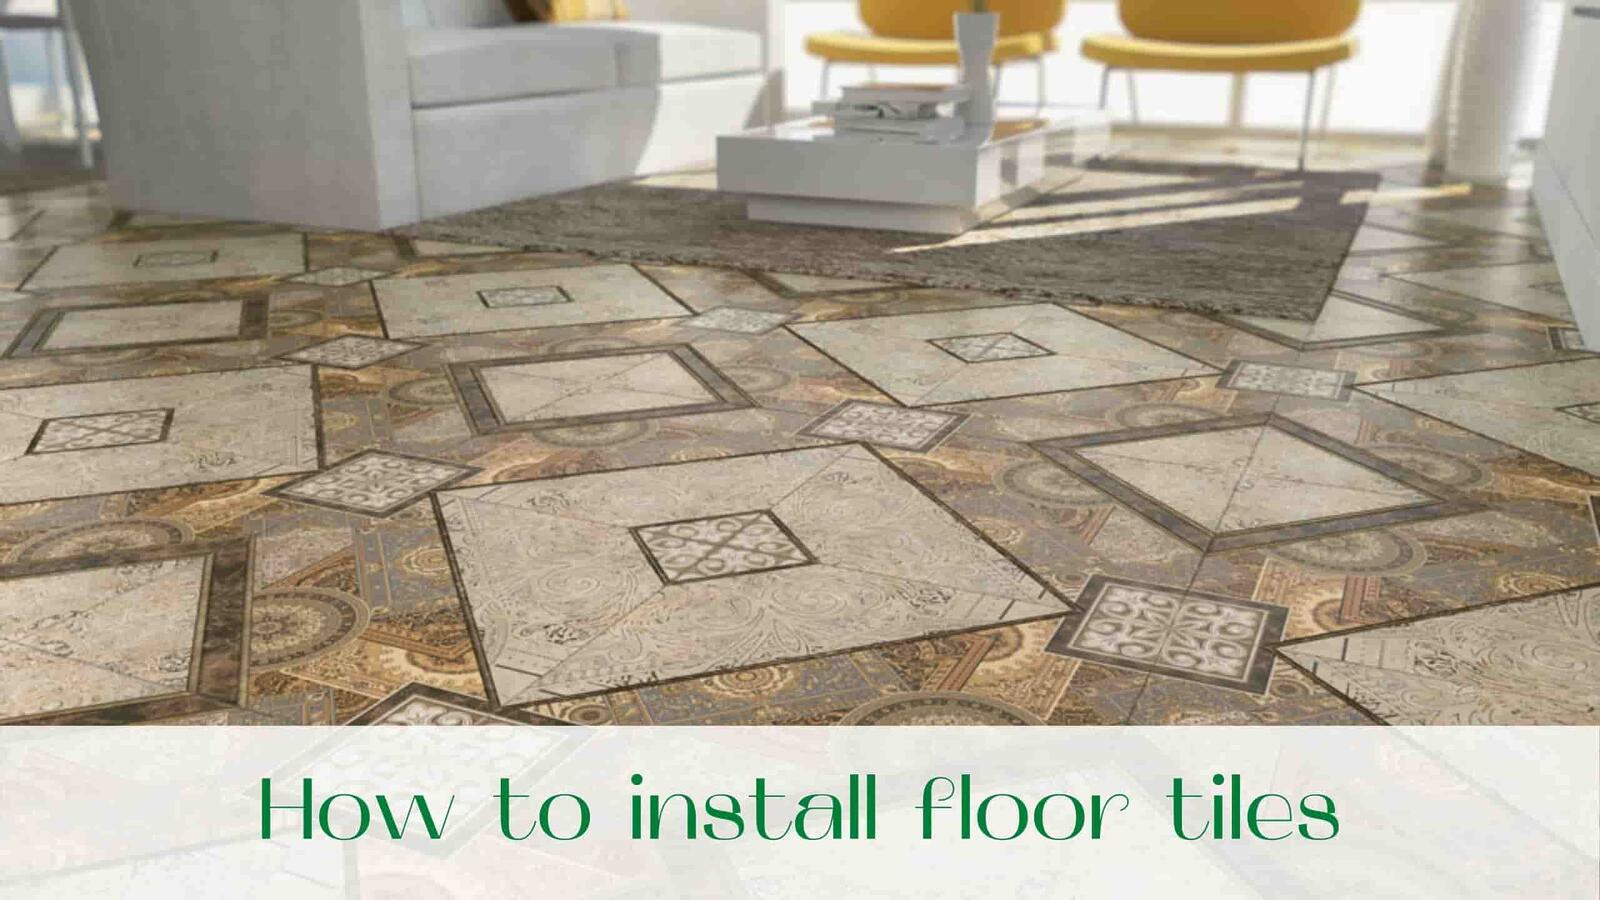
Careful preparation, especially of the surface, is required before laying floor tiles by yourself. And also, special clothes and a set of necessary tools, materials and fasteners. Of course, everything should be at hand before you start the process.

 This is important to save time and ensure ease of work. So, let’s figure out how to tile a floor?

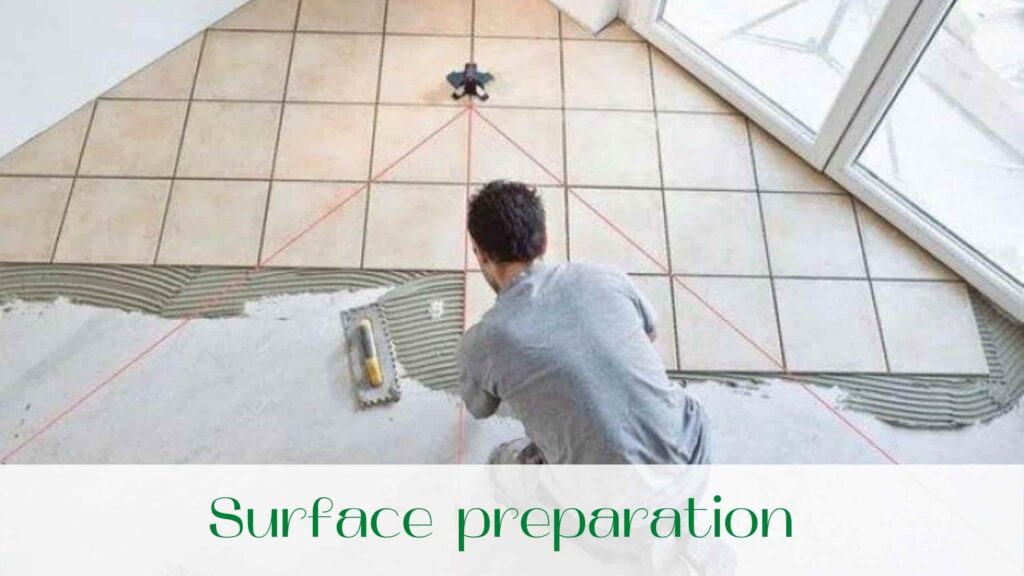
Before you start laying tiles, you must prepare the floor. Different surface requires different preparation, it will depend on the quality of material attachment to the surface.

Surface preparation for installation of floor tiles

Ideally, the floor on which the floor tiles are laid should be flat. It is desirable to have no defects in the form of hollows or bulges. This condition should also be observed before laying the flooring for gyms. Unfortunately, in practice, the surface often looks far from perfect. And so before laying tiles or roll-up coating, you need to clean and level the floor. If necessary, work should be done in order to reduce the number of defects.

If the surface is concrete, it is cleaned and prepared. All available sprays are eliminated and the surface is leveled. Hypsolite coatings are caught with an axe or chisel.

 And the wooden ones require a special approach in the form of strengthening with a metal mesh. If the floor is heterogeneous and it consists of several materials, the joint place can be tightened with a mesh. In this case, a crack is never formed at the seam.

 And it will be possible not to worry about the safety of the floor. The solution will not lie on a loose surface. Therefore, it should be beaten to a solid state and leveled with a screed.

Materials and necessary tools for installation of floor tiles

Of course, all work may require a large number of tools and special clothing. All workwear should be comfortable and not embarrassing movements. Additional pockets and knees, of course, will serve as an indispensable convenience. The material can be dense so that the solution does not get through the fabric on the skin.

Except for a robot, you will need the following tool:

  • self-tapping screws or nails;
  • cutters, chisel, hammer, chisel, knife, pliers;
  • level 120 or wooden slat;
  • cutter and bulgarian;
  • pencil, roulette, corner;
  • electrodrill;
  • several kinds of spatulas (combed, flat);
  • mixing whisk;
  • metal hacksaw and extension cord.

In addition, with special clothes and tools may need a respiratory protection agent. It is especially important to wear the dispenser when using Bulgarian. And a simple baby cream will help protect the skin of the hands from drying out and cracking.

Perhaps a moist cloth may be needed in case you need to wipe the surface or hands. By choosing the right crosses, you can provide the surface with a beautiful and smooth seam.

Crosses differ in size and the larger they are, the larger the seam will be. This is how you can adjust the width between the tiles.

Installation of floor tiles requires careful sorting and layout. This saves a lot of time in the future and makes the job easier. Codes, pattern, roughness and so on are checked.

If there are any defects, they are either changed at the place of purchase. Or they are placed in the most discreet places. All boxes of material are placed in the far corner closer to the exit. This will protect it from breakage, mechanical damage and simplify the work with it.

Preparation of mortar with your own hands for floor tiles

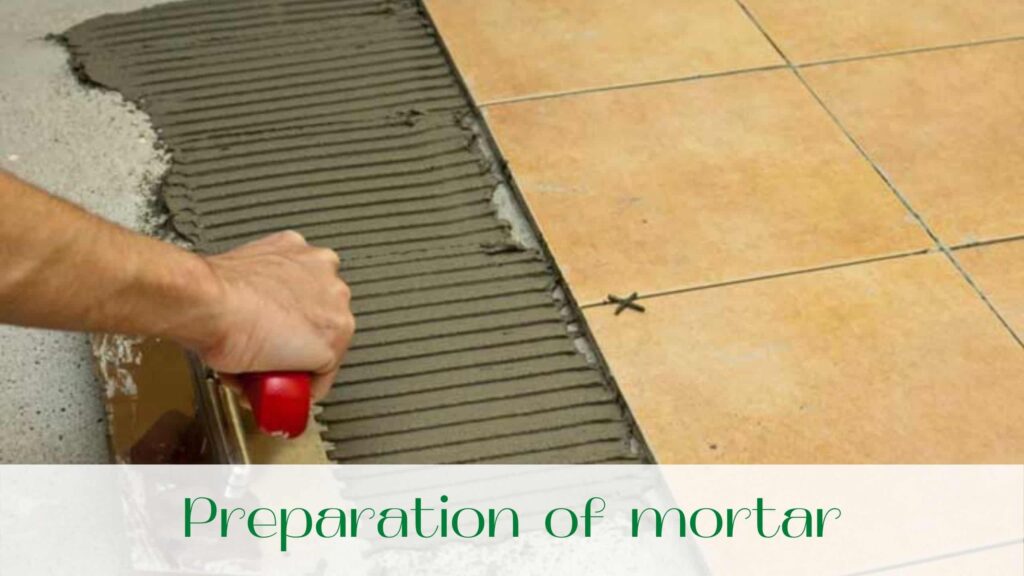
If you are going to install a tile on the floor, the preparation of the mortar is an important point in which it is necessary to observe maximum details. Usually dry mixture is used, which is diluted in ten or fifteen liters bucket. Liquids for such a container require only three liters, which are used to dilute the mixture.

Mix water and the mixture to a homogeneous mass using a whisk and electric drill. Mix it for 5-7 minutes, add water or glue if necessary. Then do the stirring again.

How to prepare a solution for installation tiles?  Use the instruction, which is available on each bag with dry mix. It is possible to add additional cement mix to the mortar to make the mortar more viscous.

In addition, this can help to significantly save expensive glue. The consistency of the mortar should not be too liquid, but not too thick. Certainly, it is harder to work with liquid glue.

Because it reduces the quality of tile laying and leads to defects and dirt.  In time it is necessary to stir the solution and add water to it. Otherwise, it may become more viscous and thicker. All this can be done manually.

 If dust forms during operation, you can wear a protective device such as a respirator.

What kind of marking is needed to put a floor tiles on the floor

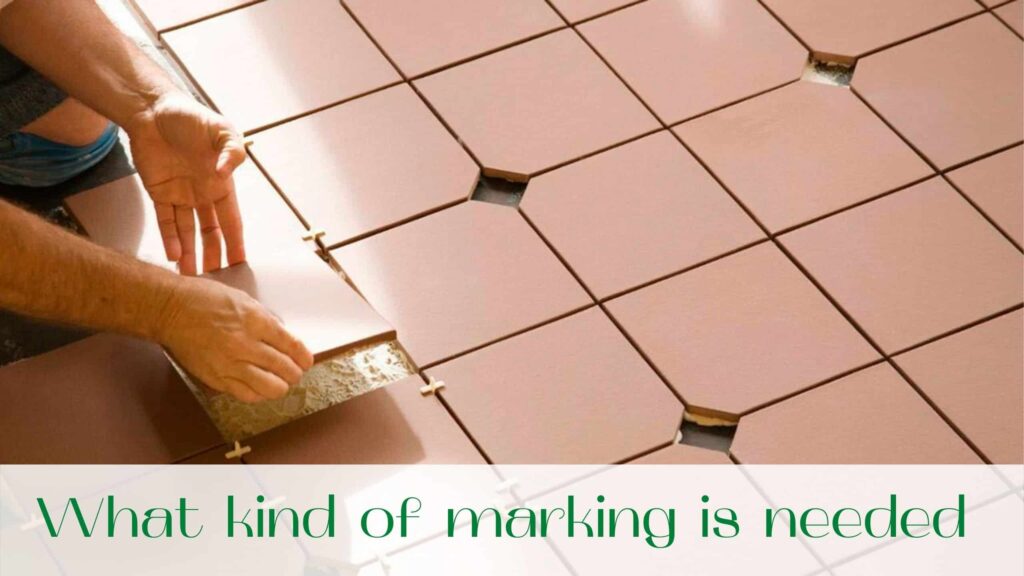
So, first you need to measure all the parameters of the floor length and width. Why does it have to be done? To make the markup as correct as possible.

This will allow you to follow the technology of laying floor tiles. The corners from which you are going to start are marked separately. All the tiles to be cut should be in the corners or in the most inconspicuous places.

 Such places are usually covered with furniture or do not fall into the field of view from the entrance. If there is a junction with another kind of tile, then use metal thresholds.

Cut tiles are located in a place where it is closed by a door trim. In all other places, from the floor and in horizontal rows, a solid tile is placed. Correct markings help to avoid undesirable displacements and defects.

By observing it, you can install tiles (or other coating) as beautiful and high-quality as possible. Therefore, it is better to spend enough time on marking.

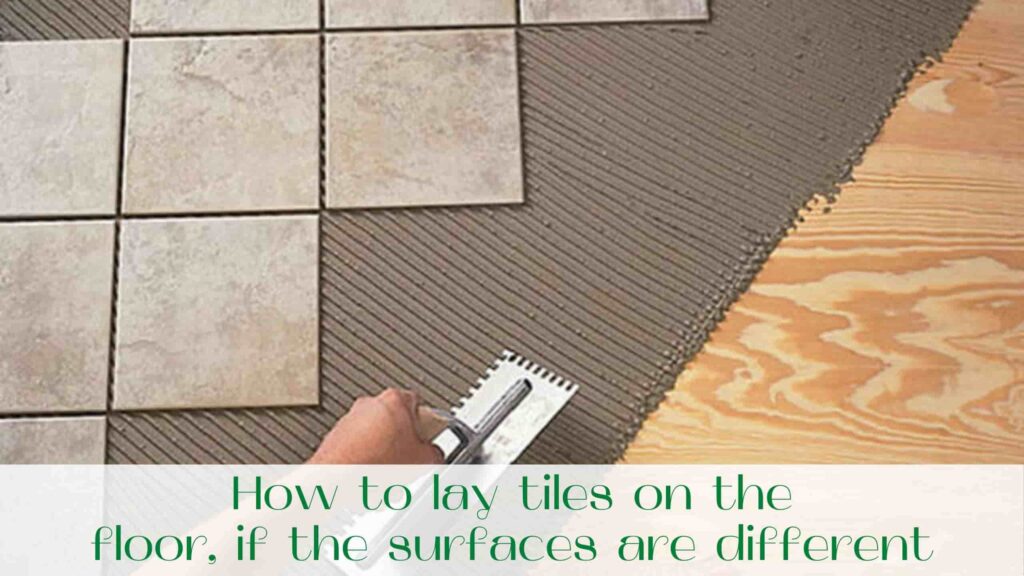
How to lay tiles on the floor, if the surfaces are different

Depending on the surface on which the tiles are supposed to be placed, let us consider the main recommendations:

  • screed. Installation of floor tiles on the concrete screed is the easiest. Why, you ask?

Because the prepared surface has everything you need. Thanks to it, the coating will retain its properties and qualities for as long as possible. On the prepared surface, the adhesive is applied in small portions.

And then, it is evenly distributed on a small area, on which the tiles are quickly placed. The tools you will need in this process are the same as for other surfaces. Let’s look at some types of laying on the surface:

  • how to lay tiles on a staircase? If you ask this question, the answer is quite simple. The finishing is the same as for any other surface.

With the only consideration that there will be more small details. And the cuts should be facing inside the stairs. The laying is done from top to bottom, taking into account all the instructions and safety regulations. The outside corner requires the installation of a metal corner or the final profile, the installation of a plastic corner here is excluded;

  • how to lay tiles on a wooden covering? Of course, it is not possible to put tiles on a wooden floor. So in order to do this, you must first prepare the surface.

To be more precise, replace rotten or damaged boards. Then create a good ventilation to ensure that the floors are safe. Then install gypsum fiber sheets, preferably in 2 layers.

It is on them with ordinary glue and will be laid tiles. The technique is exactly the same as when it is laid on another surface.

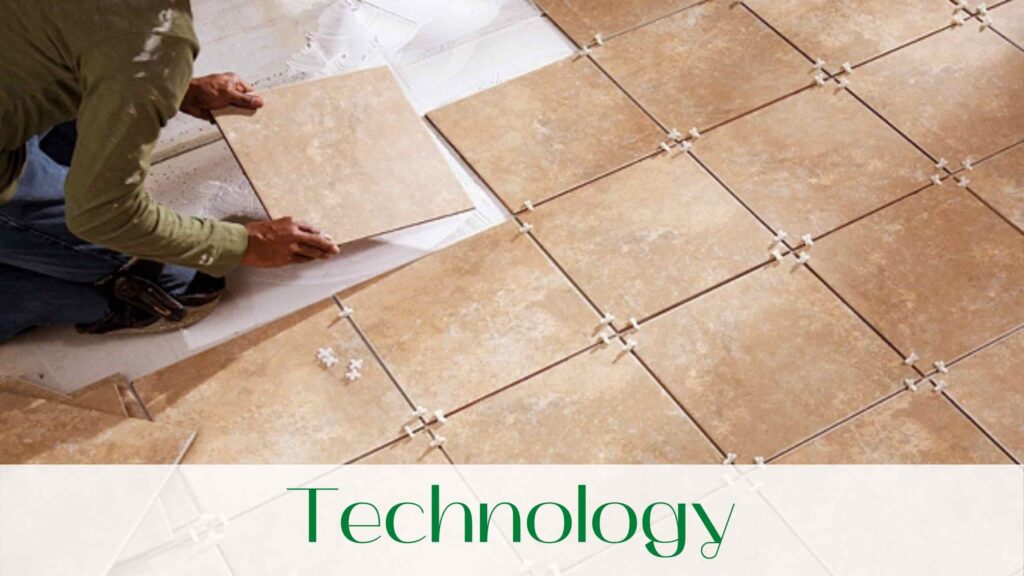
How to install floor tiles in Toronto with your own hands: technology

After all the necessary preparatory work has been done, you can start the cladding itself. Use a toothed spatula, which is held at an angle of 40-45 degrees. With its help, glue is applied to the surface.

The surface itself should be small. Since the glue quickly dries, and the layer is uniform and not thick. This area is covered with tiles as soon as possible.

If there are difficulties in properly applying glue to the floor, the solution is applied directly to the tile. The pressure on the tile should not be strong. A strong pressure may cause a shift in tile position.

It is always necessary to check the correctness of the installation using a level or an angle. To increase the strength and adhesion, the tile is tapped with a rubber or wooden kiyan. Junction between the tiles are filled with crosses, they help to determine the same size of the seam and uniformity of laying tiles.

We do the same with the rest of the rows. If you need to cut the material, then measure the size of the tape measure and draw the cut lines with a corner.

Cut off the tiles with a tile cutter and smear. Glue the remaining pieces. In an hour you can remove the crosses. And after 24 hours, the seams can be dried and treated with sealant.

Remains of adhesive and embroidery can be removed with a damp cloth. This can be done more often so that the surface was beautiful, and the laying – better quality.

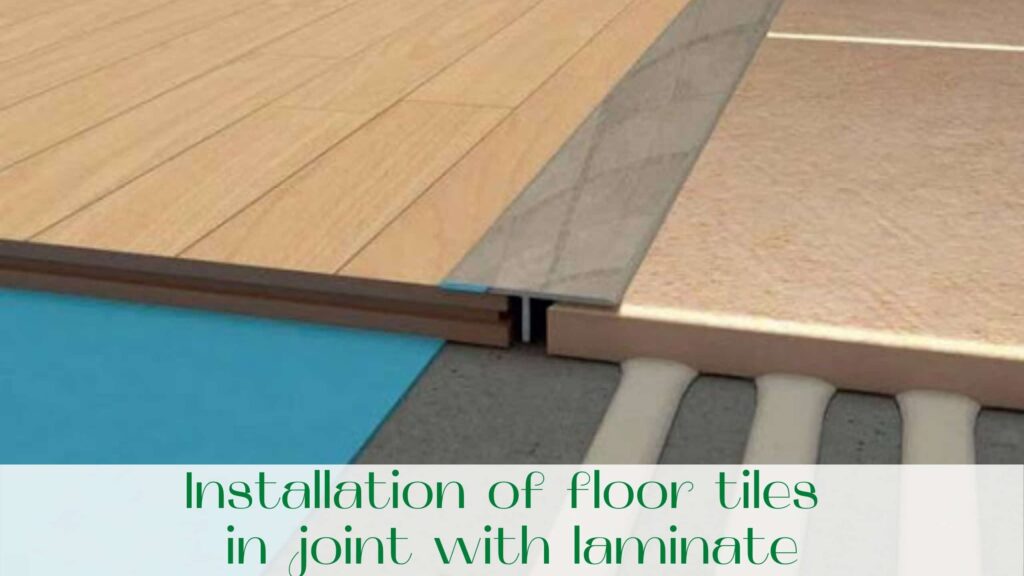
Installation of floor tiles in joint with laminate

Sometimes the difficulty may arise in how to properly connect the joint of laminate and tiles. How to lay a tile in this case? To make a joint externally attractive and beautiful sometimes difficult, but you can not say that it is impossible.

The finishing of this moment is usually done with a wooden or laminated powder. Plastic and metal are rarely used.

Junction between laminate and tile requires not only the choice of the powder, but also its quality fixing. A distinction is made between an open method and a hidden method, when the screws are not visible. Everyone chooses for himself, depending on individual needs.

After installing a tile, its surface needs to be treated with a wet cloth with a detergent solution. This will help to maintain its attractive appearance and remove the remnants of glue or embroidery from the surface. The end of the job also involves cleaning the tool and clothing from dirt and material.

Insufficient attention to this issue will lead to rapid wear and tear of not only clothes, but also the tool. Since after drying the glue and embroidery are difficult, if not impossible to remove.

So, we discussed the question: how to lay a floor tile in Toronto itself? As can be seen from this article laying tiles, in fact, not such a terrible thing to do. If you follow the instructions and do not rush to perform the work, you can quickly gain experience. Then installing floor tiles in Ontario and GTA will be a familiar experience for you.

We are waiting for your comments, questions and remarks. We are not only ready to transfer knowledge, but also to offer our services. You can order the installation of floor tiles by contacting our company “Captain Handy”, because the installation of floor tiles sometimes only to the specialists.

Read our blog!
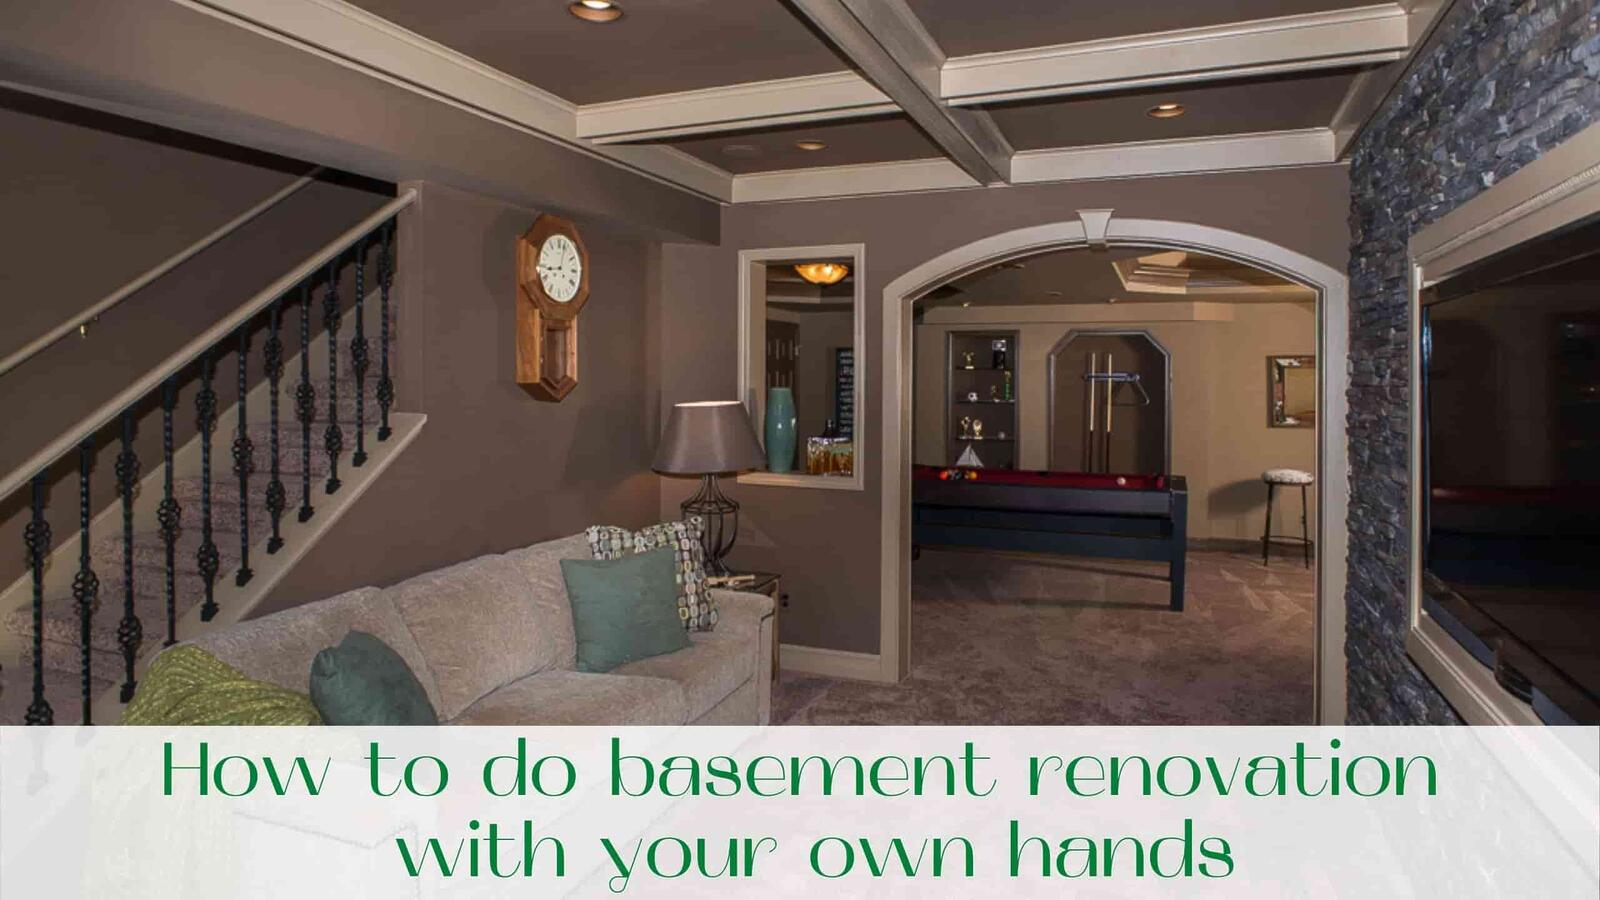
image-How-to-do-basement-renovation-with-your-own-hands

The state of the basement in any house can not only tell a lot about its owner but also create a certain microclimate in the living space. Therefore, the basement renovation is an important part of the repair. For some people, the basement is a convenient storage area; for others, it is a utility room, where they find a place for things of seasonal use and tools; for others, they equip a workshop where you can do your favorite thing without disturbing your home.

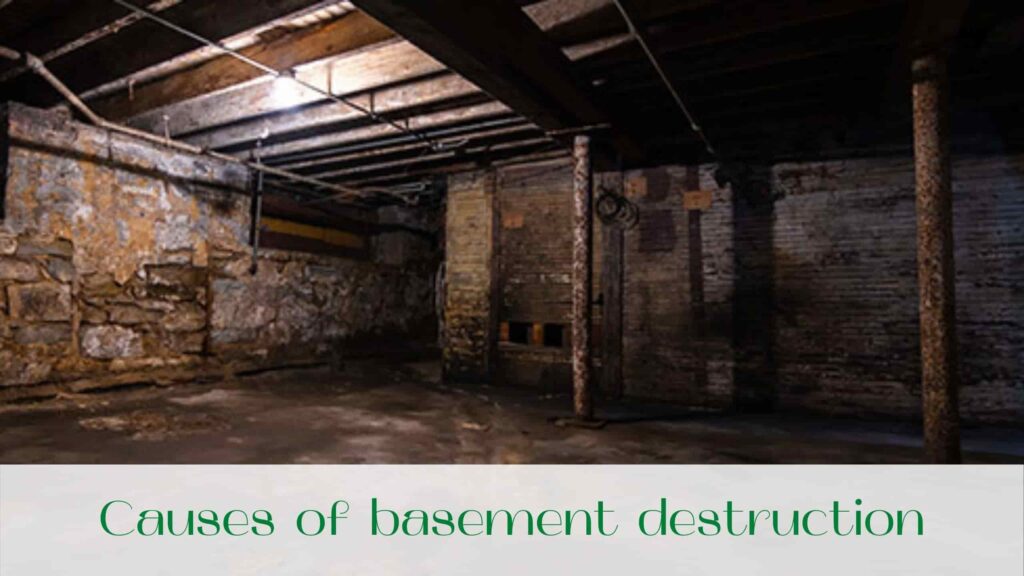
Causes of basement destruction

Problems with the basement begin when the humidity level in it increases. In this case, drops of water form in the room on the ceiling, walls, and floor, fungus and mold begin to spread, the air becomes heavy and dangerous for breathing. With a large amount of groundwater, communication problems with the water in the basement can stand for a long time – then the smell of dampness and mold spreads around the house, there are mosquitoes, other insects living in a humid environment, increases the risk of lung and allergic diseases in people living in the house.

There are several reasons for such troubles. In case of serious problems it is a whole set of errors and omissions that may occur during the construction phase or as a result of the operation:

  • insufficient or incorrectly installed ventilation;
  • mistakes in the arrangement of waterproofing;
  • changes in the groundwater level;
  • the absence or improper condition of the tie-back;
  • cracks in walls and foundations;
  • Accidents of general house communications located in the basement.

In any case, you need an urgent basement renovation, in the absence of which may be dangerous for the whole house and its residents until the collapse of the building. The repair of the basement in the apartment building is performed by the management company.

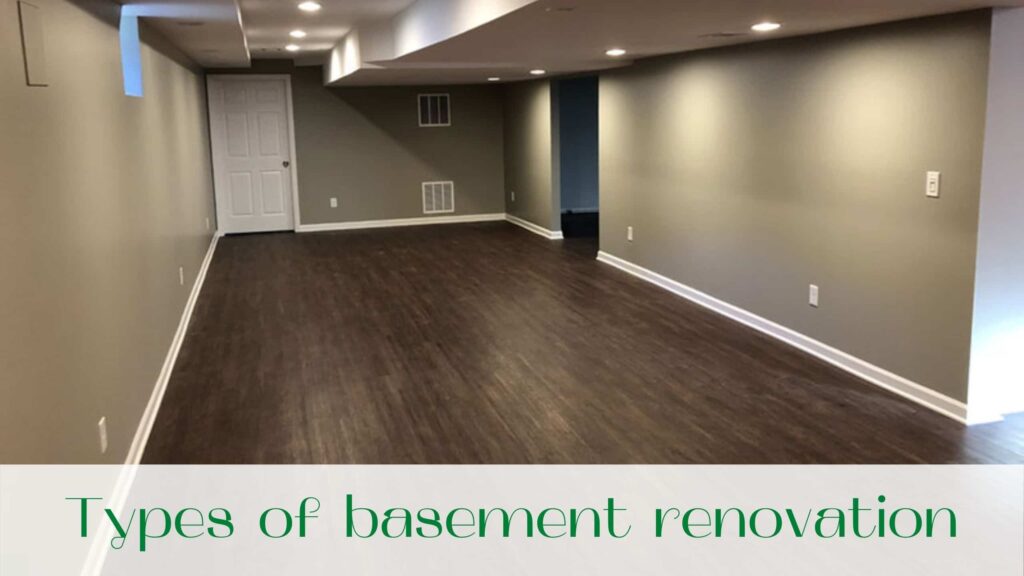
Types of basement renovation in Toronto.

There are several types of basement repairs: current, cosmetic, partial, capital repairs. Each has its own features and involves different financial costs. You should consider each of the options in detail

Ongoing renovation works

This type of work includes periodic inspections of the basement. If problems are detected, they are immediately corrected. Cover small cracks in the walls and foundation, if necessary, replace the elements of waterproofing, restore the ruined areas of detachment, in time to repair communications located in the basement. If such work is done systematically, problems in the basement will not arise for many years.

Cosmetic renovation

Cosmetic basement renovation of a private house is made depending on the preferences of the owner. Usually, if the basement is used for storage, the walls are plaster and apply 2-3 layers of special substances, it is done to destroy bacteria, fungus, and mold. Such work is usually carried out either in the spring, when all the things from the basement can be taken outdoors or in late summer – before bookmarked for storage of all items.

Walls can be painted with oil or acrylic paint: it gives a dense protective film on the surfaces. Provided good ventilation and sufficient waterproofing well-groomed cellar will be a spacious additional room, which will always find application.

Partial renovation

Partial repair of cellars is carried out if the humidity in the room has arisen for one or more of the possible reasons. For example, the ventilation system needs repair.

Or, for example, if a breakthrough in the basement of water pipes must be eliminated accident, check the proper functioning of the ventilation system, pump out water and dry the basement.  Or the foundation is repaired, it is carried out patching possible cracks, the restoration of detachment, and external waterproofing.

Overhaul

This type is the most expensive and qualitative type of basement renovation. In this case, all work is done that can get the emergency room damp.  Repair of ventilation, any damage to the foundation, the complete replacement of external and internal waterproofing, utilities. In a private home, this list may include a cosmetic finishing room and its redesign.

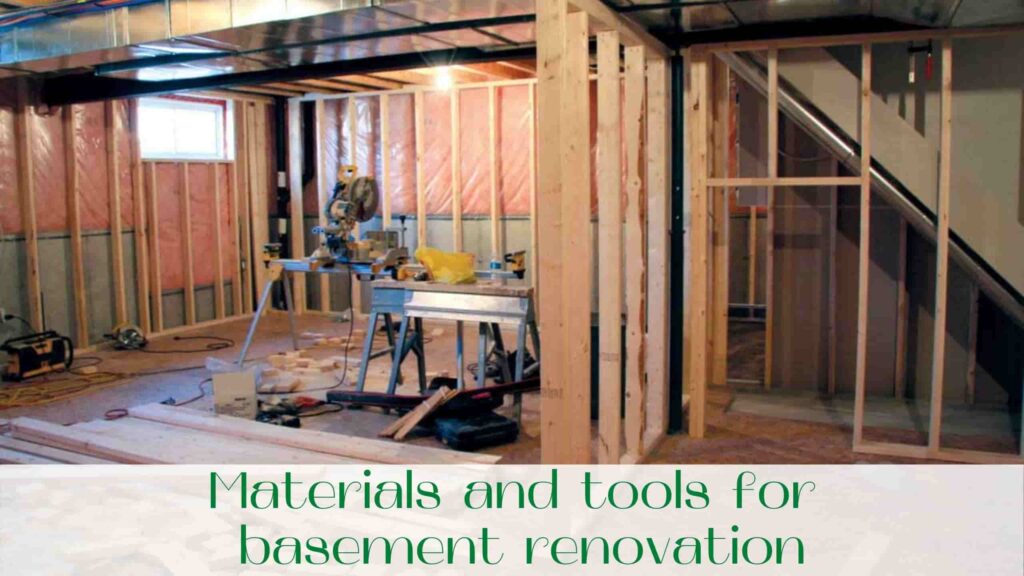
Materials and tools for basement renovation in Ontario

The list of necessary materials and tools for basement renovation is extensive and fully depends on the list of works performed. If the basement is significantly flooded, you may need special equipment for water pumping. If it is necessary to repair the foundation, you will need concrete, cement mortar, reinforcing materials.

In case of replacement of waterproofing must be new insulation materials and tools for their application or attachment.

When repairing the ventilation will need metal or plastic pipes, insulation, tools for installation. If necessary, additional ventilation requires design documentation, installation of special equipment. Performance of these works is better to entrust experienced professionals, such as the construction company “Captain Handy”.

In any case, you will need construction tools (chipping hammer, perforator, various types of spatulas, brushes, rollers, etc.), supplies, and protective equipment (respirator, construction, and rubber gloves, protective goggles).

Important moments of basement renovation.

Before you start the basement renovation in Toronto, you should pump the water out of the basement and dry the room. In addition, you should find and eliminate the cause of high humidity, otherwise, the work will be useless. Planning the basement renovation, it is better to know in advance all the details about the state of groundwater on the site and how to drain the soil.

The backbone should be made with a slope of the building, it should not be too narrow. A large area of basement space will be an optimal arrangement of supply and exhaust ventilation, this requires additional equipment. If it is difficult to perform all the work on the basement renovation itself, you should entrust this work to professionals.

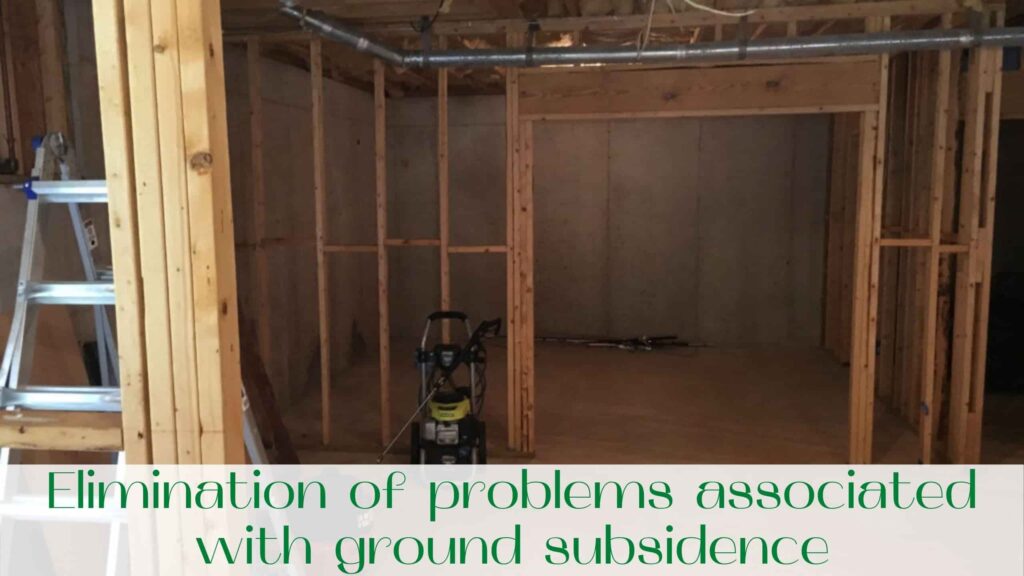
Elimination of problems associated with ground subsidence. Quality basement renovation in Toronto.

Ground subsidence occurs under the influence of groundwater, with the wrong calculation of the load on the foundation, errors in construction. In this case, it is necessary to dig out the soil in places of damage. Then it is mixed with sand and fine crushed stone and the resulting quality mixture is backfilled, carefully tamped each layer.

Often, to prevent the subsidence of the soil on the perimeter of the building planted grass and shrubs, can reduce the subsidence. Sometimes, to keep the basement dry, a drainage system is arranged around the house.

About solving problems with ground subsidence

In cases where we observe subsidence in areas close to or above the basement, it is very likely that groundwater or sedimentation is to blame.

In this case, the first thing to do is to dig out the ground in the damaged areas. Then start backfilling in several layers. To create a perfect “backfill” mix the soil with fine crushed stone and sand. Filling the resulting space, gently compact and tamp each layer.

There are ways to reduce the possibility of subsidence in areas close to the basement. For example, you can strengthen the ground in advance by planting small shrubs and grass in these areas.

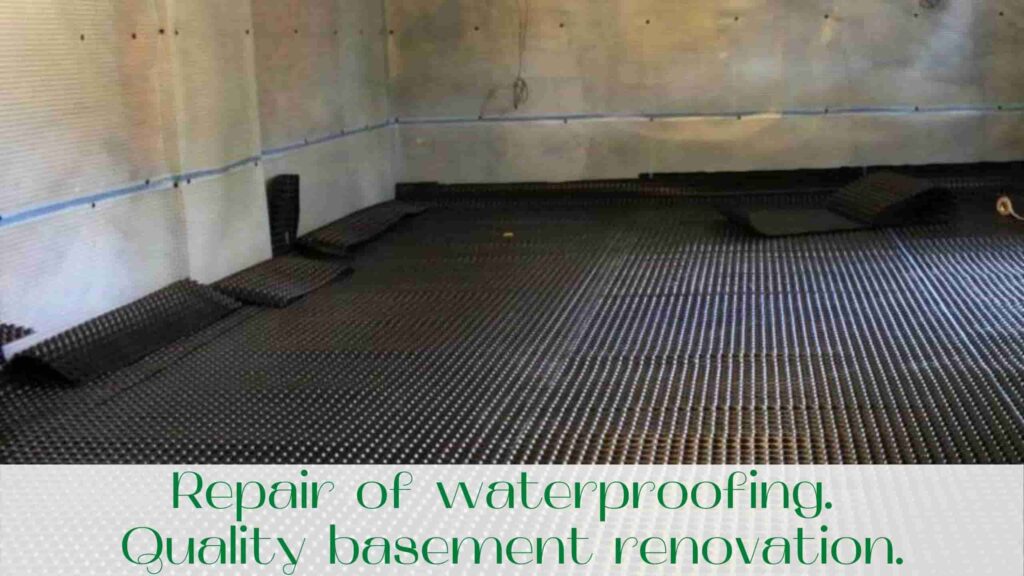
Repair of waterproofing. Quality basement renovation in Toronto.

To waterproof the basement was of high quality, it must be made outside, around the perimeter of the building and the basement itself.

Quality external insulation can be performed during the construction of the house, however, if the house is purchased, the basement is raw, and the external waterproofing requires repair, there is also an exit:

  • To begin with, dismantle the curb and dig a trench around the perimeter of the building, releasing the foundation of the house. For this purpose, a jackhammer will be useful.
  • Remove a layer of old waterproofing, grind the foundation, cleaning it from crumbling layers. Thoroughly dry the cleaned base.
  • If there are cracks in the foundation, if necessary, they are expanded, cleaned of debris and dust and filled with cement mortar. All damages to the foundation must be repaired before the insulation works.
  • After drying, you can start the waterproofing. For it is usually used bituminous mastic or more expensive sprayed waterproofing. Application of bituminous mastic can be performed independently – it is quite a budget and effective method of basement protection. Installation outside of the roll waterproofing is more labor-intensive, the use of plaster waterproofing is possible, but it is less durable.

So, if the choice fell on the bituminous mastic, the finished dried base is covered with a special primer. Bituminous primer (primer) is applied with a flywheel brush. All necessary components can be purchased in the ready-made form in construction stores. After drying the primer layer applied bituminous mastic in 3-4 coats with high-quality intermediate drying.

After complete drying of the waterproofing poured trench, rammed the ground, and build a new reed. It can be concrete, with stone or tile finishing. The width of the reed is up to 1.5 meters.

Repair of ventilation. Cheap basement renovation.

The easiest way to ventilate basements – the device vents, air vents. On the outside of such ventilation openings are covered with a mesh that prevents the penetration into the basement of small animals. For a large area of a basement or at the arrangement of a workshop, billiard room, laundry room or similar facilities need to install a full-fledged supply and exhaust ventilation.

In this case, the work on the development of the system and installation of equipment is better to entrust professionals. Often people refuse to install such ventilation only because of the high cost of work.

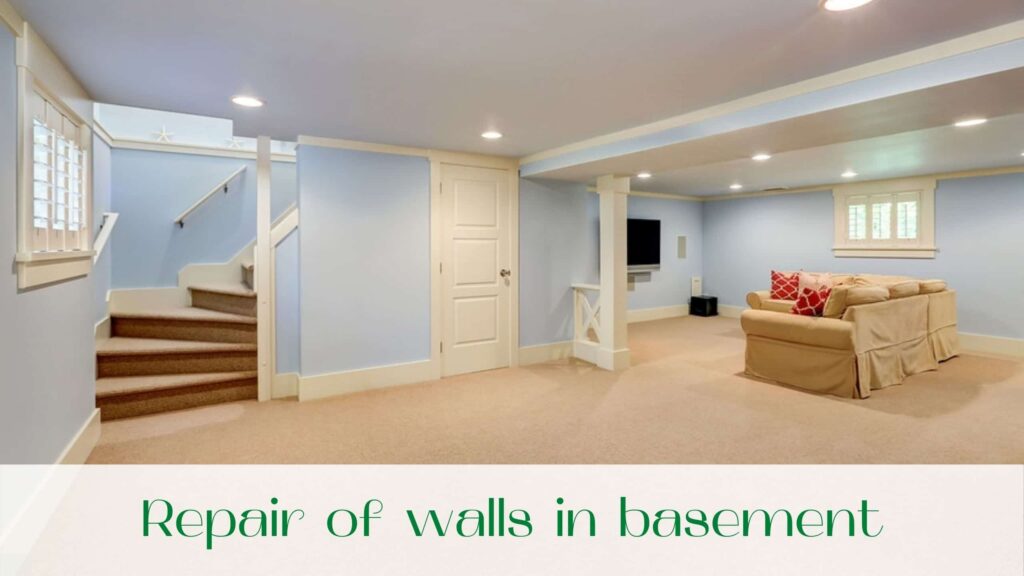
Repair of walls. Basement renovation.

During the fast basement renovation – the repair of walls is probably the most important part. If there are gaps in the walls, they are cleaned from debris and dust and sealed with cement mortar. After full drying, the wall is applied a quality deep penetration primer, and after it – 2-3 layers of waterproofing cement mortar.

Further actions to renovate the basement walls depend on the choice of the house owner. They can be plastered and painted, tiled, used natural or artificial stone, or other options for decoration.

Repair of floor and ceiling. Basement renovation

Roll waterproofing is laid in the basement on a gravel cushion, while the waterproofing should be made qualitatively and accurately, to form a continuous coating. If the room is to be used for the storage of products and it should be cool, then the concrete tie is filled.

If waterproofing is carried out with the help of lubricant, they are applied to the concrete base, and the top is laid screed clean floor. Over the concrete in the basement can be laid linoleum, it is quite practical and easy to clean. If desired, the floor in the basement can be made wooden, tiled, or poured.

The basement ceiling – is usually a slab of the first floor of the house. When using the basement to store items, the ceiling does not require additional finishing.

In other cases, its insulation is made. Insulate the ceiling by gluing it to the polystyrene foam boards. In case of significant differences in height, it is better to use mineral wool for insulation. It is placed inside a pre-installed wooden or aluminum frame, which is then sewn with plywood, gypsum fiberboards. After that, the ceiling is finished.

It should be remembered that if the basement is planned to arrange additional living space, you must install heating and ventilation. Often, in this case, the basement is installed with warm floors.

In conclusion

Modern technologies, quality construction, and finishing materials allow to make the basement renovation clean, dry, and beautiful, to use the basement with great benefit, and even to equip their full-fledged living space. The main thing is that after a quality repair, it will no longer be a source of problems.

Read our blog!
FREE ESTIMATE

Award-winning Landscaping Company

CONTACT US TODAY
for a Free Estimate!

Contact us and speak with one of our service professionals to schedule a visit today!

GET A FREE QUOTE