October 2020 - Captain Handy
+1 (647) 830-4834
image-house-porch-construction-in-Toronto

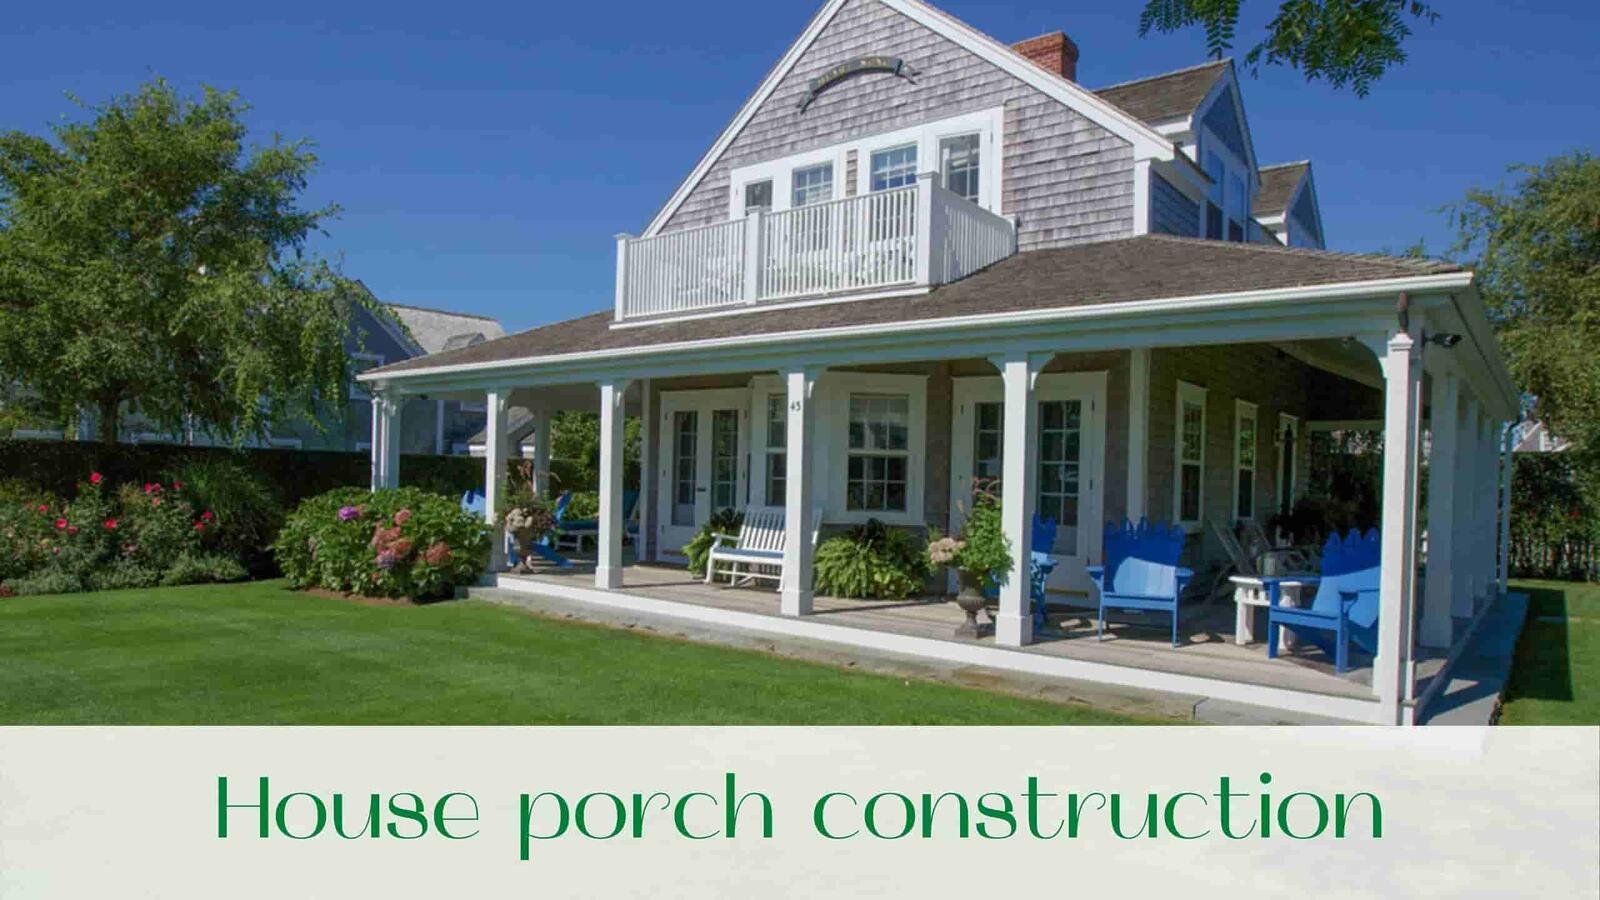
It is impossible to imagine a house that has no walls, roof or porch. Looking at these familiar components, we can no longer imagine what can replace them. Each house in each locality is equipped with a porch, which is a small annex consisting of a staircase and canopy.

House porch construction in Toronto

 Laying the foundation for the construction of the house, the builders take into account the rise of the floor level at a height of 50 cm above ground level. In order to get inside the house, you need an intermediate link that allows a person to move from the ground level to the floor of the apartment building. Such a role takes on the porch, equipped with a number of steps for convenience.

Typically, the porch is equipped with a small area in front of the front door. There are no restrictions on its size, but it is recommended that its area could freely accommodate several people. Thoughtful owners put a mat on it to wipe their feet to ensure cleanliness inside the house. In summertime, you can leave your shoes on the porch.

An important part of the porch is the roof. It performs several functions at once. First, the roof protects against rain people, shoes and, directly, the site itself. Secondly, it prevents snow from closing the passage to the front door. Third, under the roof of the porch can hide from the scorching sunlight.

During construction, you should pay attention to the protection of the porch from the accumulation of rainwater. If the roof does not protrude beyond the site, it is recommended to make a slight slope of the floor (about 2-3 degrees).

Where to start building the porch in Toronto?
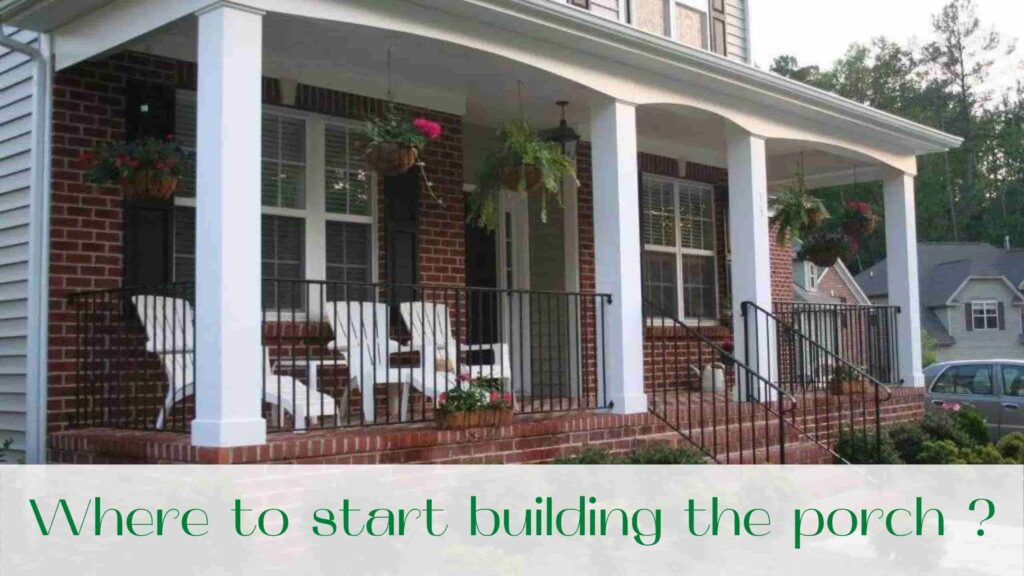
Before building the porch, you need to think through every last detail. The fact is that to calculate all the characteristics of the porch must take into account the physical data of the owner of the house. Properly selected size of the site, the height of the roof and railing, the number of steps and the angle of their rise – all this will ensure free and easy access to the house.

Install the railing on the perimeter of the small porch is not necessary – they will perform exclusively decorative function and will not be used for its functional purpose. However, if you plan to design a high porch – 1,5-2 meters, the use of railing will be more convenient than ever. It is impossible to predict who will come to visit you – old grandmother or small children – but to ensure themselves and their safety is simply necessary.

And the railing will help you in this. Their height is 80-100 cm and usually it does not exceed this figure. It is important to know that inconvenient steps can also play a bad joke with any guest at home.

 The optimal height of the stairs is 15-20 cm, the optimal depth is 30-35 cm. The steps should have a slight slope, preventing the accumulation of rainwater or snow. Do not do too much slope – enough 2-3 degrees, otherwise in the winter time your porch will retrain to an icy slide. The area of the porch requires special attention.

Before you begin laying the foundation under the porch in Toronto, you must clarify the size of its area. The fact that there are many houses in which the site acts as a veranda and serves as a great place to relax in the summer days. However, without putting its size with the size of the house itself, you can create a ridiculous architectural picture.

Large porch area is best suited for 2-storey and 3-storey houses. If you have a small house, it is better to save materials for the construction of a summer gazebo in the garden.

Porch design options
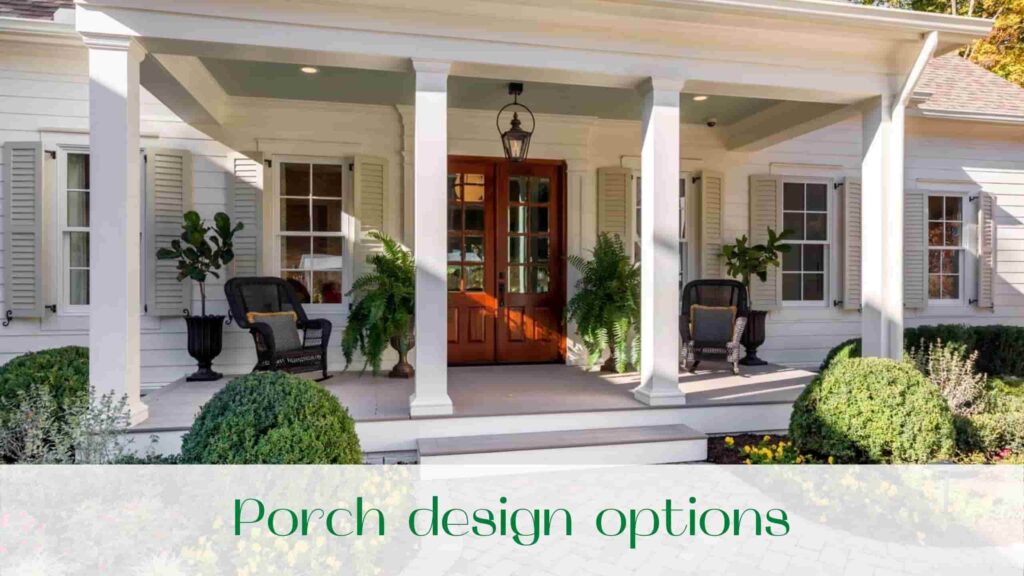
In the process of designing a house and its annex, you need to choose the most appropriate option for the design of the porch: to create an independent component that will dock to the ready-made house, or create a single foundation for the living space and the porch area. The first option design involves shrinking the house and the porch to different heights (because the buildings are not the same weight). Therefore, connect them too tightly with each other is not recommended – at the junction site will necessarily appear cracks:

The fact that the foundation of the house glued to the porch will keep it in place, and the soil under the annex as a result of shrinkage will cause a shift in the porch foundation, and as a result, will create a slope in the structure. If the foundations are not connected to each other, the porch will drop 3-4 cm below the floor level in the house. If you chose this option for construction, then fill the gap between the foundations of the antiseptic board wrapped with layers of insulation.

 The second variant of construction is the most common. It involves creating a platform porch of Ibid and beams of the foundation of the house. The single design of the house and the porch has the same shrinkage and allows you to not only save materials, but also create under the site additional space for storage of household equipment.

What material to choose for house porch construction in Ontario?
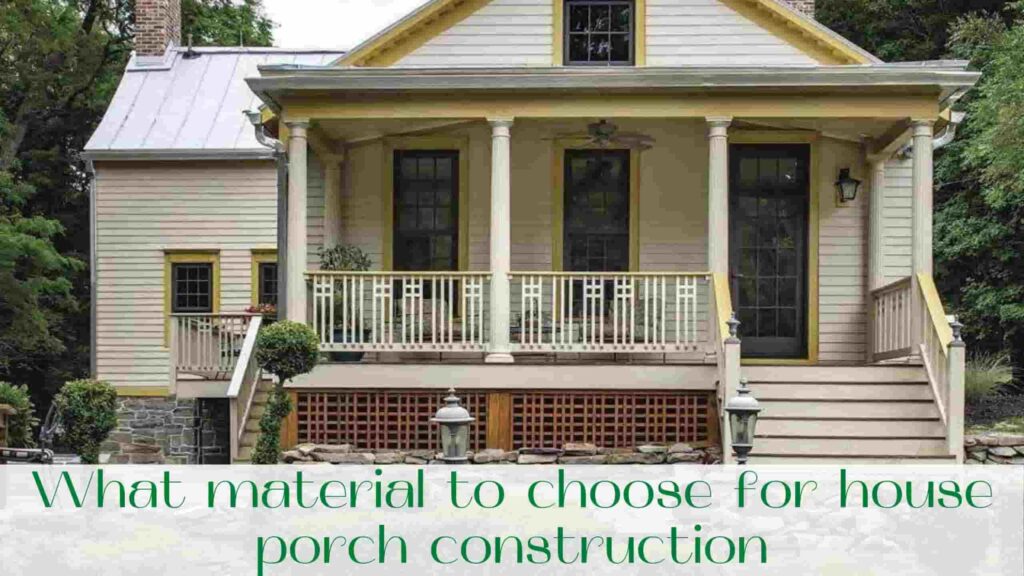
The porch in Toronto, as well as any component of the house, should correspond to the architectural style that was originally intended. It is difficult to imagine a chic wooden cottage with a brick porch or other stylistic misunderstanding. The most optimal option is stone houses. They have many solutions to the question of the material of the annex, because here will fit any options: brick, concrete, glass, stone or forged metal.

How to create your own style in the design of the porch in Toronto?
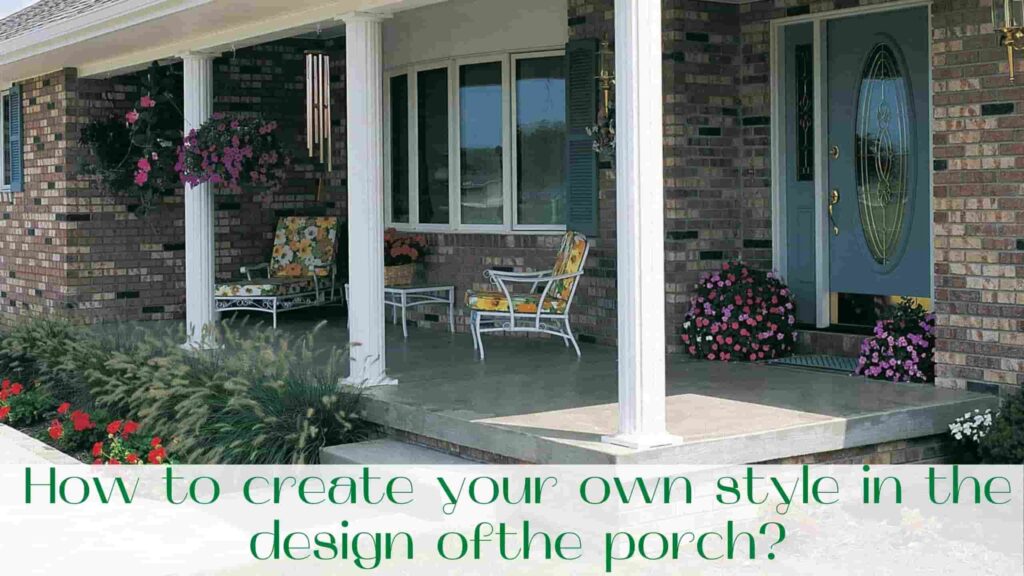
 Decorating the exterior of the porch is another important question. Combining finishing materials, you should clearly present the final variant. Excess decoration may seriously spoil the final variant.

It is very important that each component of the house forms a single architectural style. To do this, you must use the same finishing materials and coordinated color solutions. To achieve the maximum effect of harmony and sense of its own style can be combined with each other elements of the site design and the construction itself.

For example, you can add forged grilles in the design of the porch railings, if they were used in the decoration of the area around the house. According to famous architects, the appearance of the porch affects the perception of the house as a whole, so you should not save on its finishing materials. Since the porch is exposed to significant temperature changes and precipitation, the quality of materials depends on its durability.

 It should be remembered that such materials as natural or artificial stone, concrete or brick have a much longer service life than wood, because wooden annexes need to be restored every 8-10 years.

Styles of porch decoration
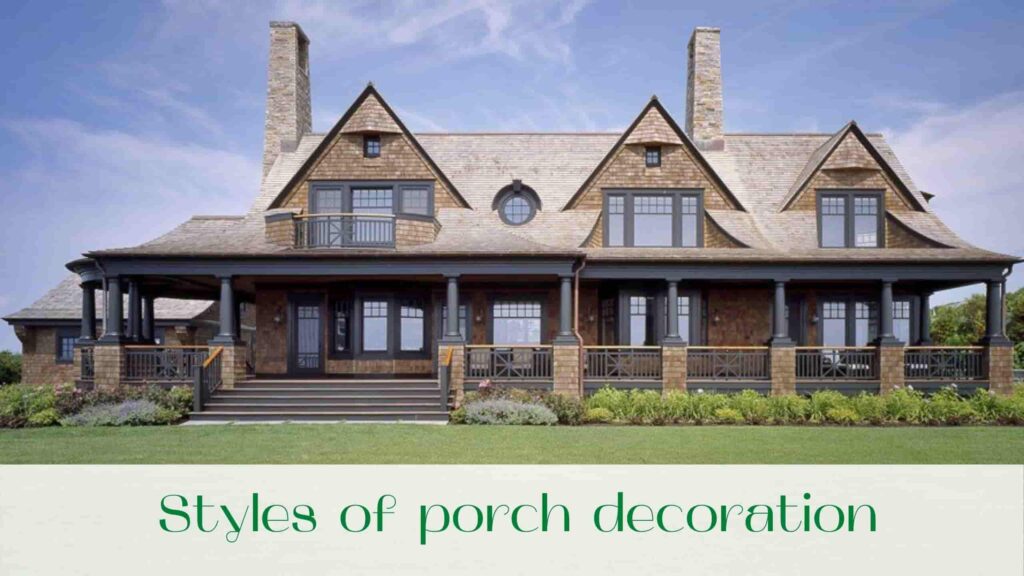
Traveling around the countryside, you probably noted for yourself that it is almost impossible to meet two identical houses. Each owner seeks to invest in the design of his home individual architectural style, which distinguishes it from other buildings.

Despite the presence of a fairly wide choice of porch finishes to the house, stand out the most common styles of their design.

  1. Porch-fortress. Such a porch is suitable for the house, the base of which is made in the same style. The annex is decorated with decorated natural stone, which gives the porch a massive view. An interesting addition to the exterior of the house will be lamps in the form of torches and forged grates. The square in front of the house can be complemented with pots of flowers.
  • A “gingerbread house” porch. The appearance of a tidy house will be complemented by decorative elements of the front brick, curly plants, as well as wooden parts of the decor. Construction of the porch in Ontario such a house must be accompanied by the equipment of the gable roof.
  • A porch of the house of the European type. This style requires compliance with the correctness of forms. In addition, the site and house should be decorated with a minimum number of elements. At the entrance to the apartment building of the European type, you can install metal lamps used for street lighting. In front of the house you can make a stone path
  • Porch-patio. This style first appeared in Europe. As a rule, a porch patio is a small veranda that allows you to gather guests on it in the summer season. On the porch you can install tables, benches, small sofas. A distinctive feature of such a porch in Toronto – is that most of it is not covered by the roof.

Whichever style you choose, try to make it better rather than worse for the whole site. Do not abuse a large number of forged grids, plastic decorations and other items that can ruin the architectural structure. Maintain your own style and do not save on materials.

Read our blog!

image-Advantages-and-disadvantages-of-vinyl-floors

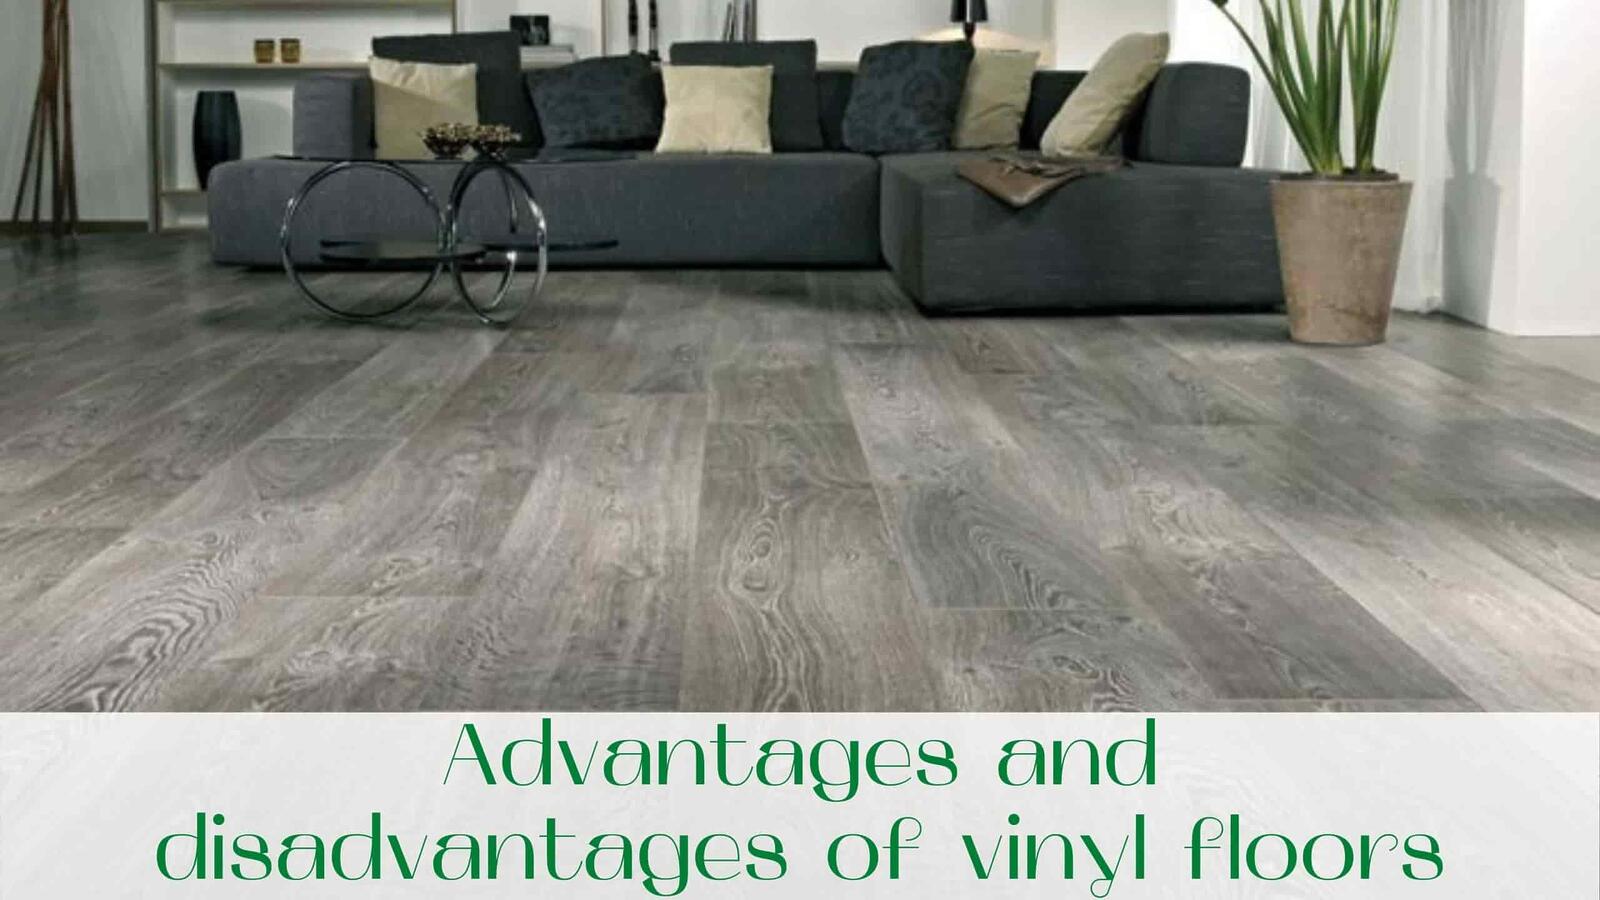
A floor is a surface that is subject to the highest loads. If you are looking for a flooring that combines such properties as aesthetics, durability, wear resistance, moisture resistance, resistance to abrasion and UV rays, ease of maintenance, it is worth paying attention to the vinyl floor. Such a coating can successfully imitate any kind of wood, ceramic tiles, marble chips, natural stone, leather carpets, fabrics and much more.

The floor surface can be glossy or matt, smooth or corrugated. The drawing looks so natural that there is no doubt that you are looking at an elite floor covering.

What are vinyl floors?

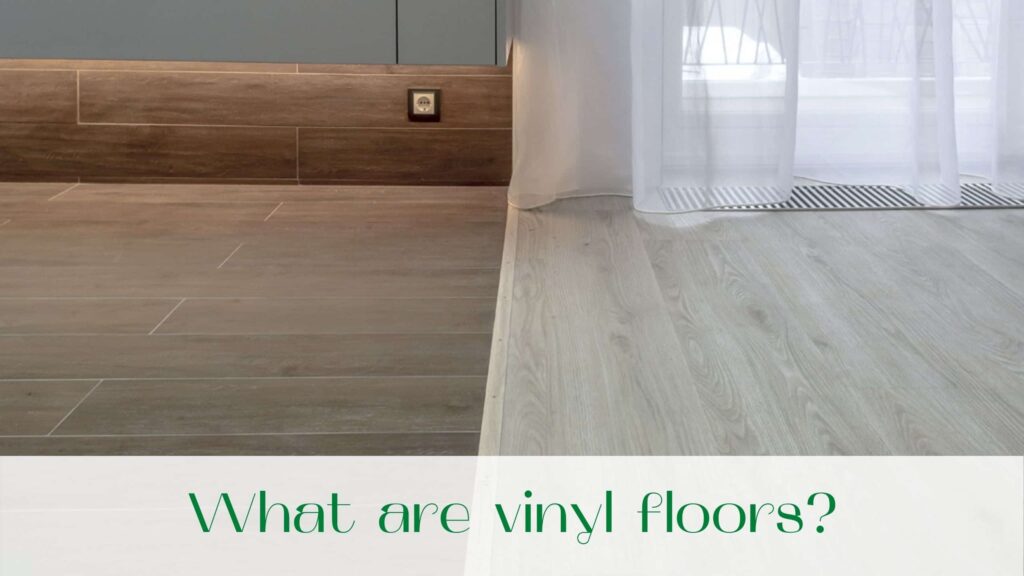
A vinyl floor is a waterproof and durable floor covering based on polyvinyl chloride. Vinyl flooring is also called vinyl tile, vinyl quartz tile, laminate from vinyl. In Europe and America, it is called luxury Vinyl Tiles (LVT for short).

Many people associate the vinyl floor exclusively with outdated PVC tiles, which were laid everywhere in kitchens and public places. Such floor quickly lost its original color, washed and cracked.

With the development of technology, all the shortcomings of vinyl tiles are far behind. The drawbacks were removed thanks to a carefully thought-out construction.

Vinyl floor – structure

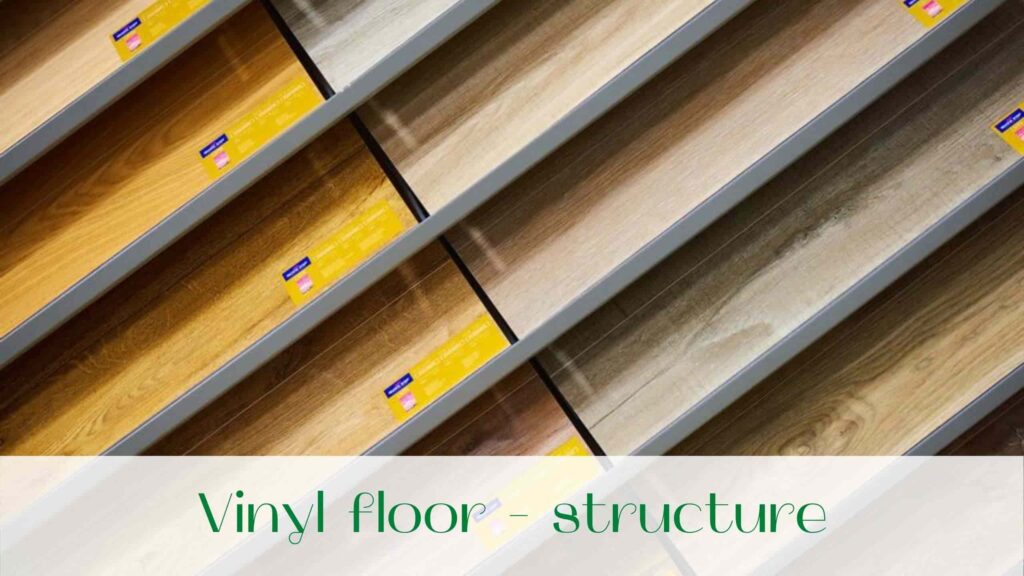
The advantages of vinyl floors are due to their design. The structure of vinyl floors consists of several layers:

  • The upper layer is made of transparent thermoplastic or film. It is used for protection against external influences, chemical influences, moisture, falling of sharp objects. The thicker it is, the higher the degree of wear resistance. Colorless coating on the surface prevents the formation of stains, protects against the penetration of dirt and dyestuff deep into the vinyl.
  • Decorative drawing. It exactly imitates natural materials, determines the color and texture of vinyl tiles. The decoration is applied on a stencil machine. The print is of excellent quality, with a clear and natural pattern of marble or wood. To protect the pattern from sunlight it is covered with varnish or film.
  • The floor base is made of durable PVC. It provides the strength of the material. It may include glass fiber or quartz crumb. To give homogeneity to the PVC added plasticizers. Due to the quartz crumb vinyl gets the right level of rigidity and flexibility.
  • Balance layer. Strengthens the vinyl, gives it resistance to deformation. The shell consists of reinforced fiberglass.
  • The bottom layer is a PVC substrate. It is necessary to stabilize the floor covering. The elasticity of the carpet pad minimizes oscillations and springs under your feet, ensuring quietness and no unpleasant sounds.

All layers are connected to each other by the method of pressing under high pressure and temperature. This makes the coating antibacterial.

Where do I put the vinyl flooring?

Regarding the use of vinyl is divided into three categories:

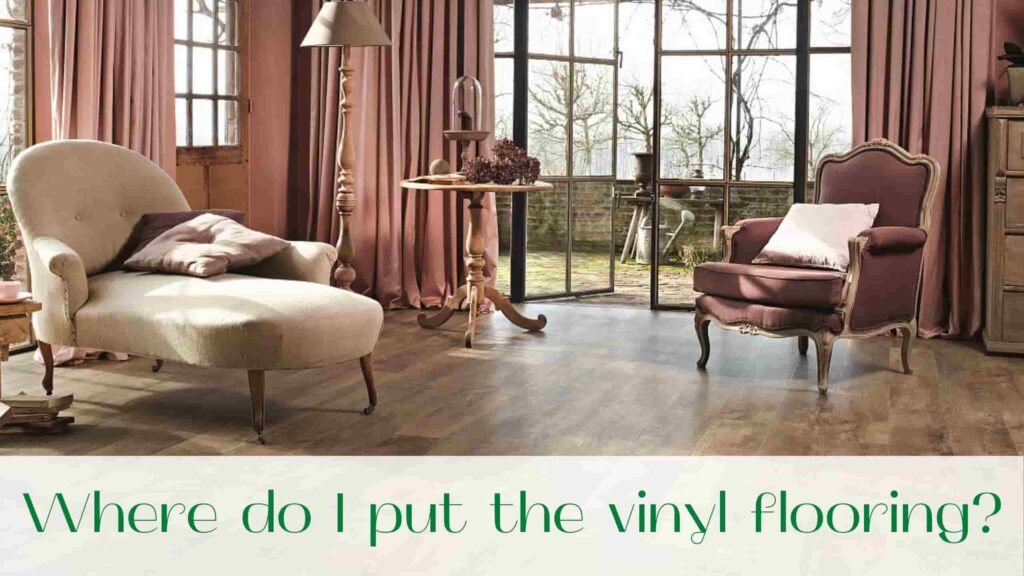
  1. Domestic – it is chosen for installation in living rooms. Usually laid in hallways, bathrooms, kitchens, often used on balconies. Its resistance to temperature changes is suitable for warm floors and for installation in unheated rooms. On average, it serves for about 10 years.
  2. Commercial – designed for use in public areas: cafes, airports, hospitals. It is distinguished by a thickened top layer, so it will serve for at least 15 years.
  3. Special – used in rooms where the floor is subjected to constant stress, such as dance or sports hall, production workshops. To extend its service life, it is added mineral components that reduce the sliding on the surface. Additives also increase strength, and extend the life of the floor to 25 years.

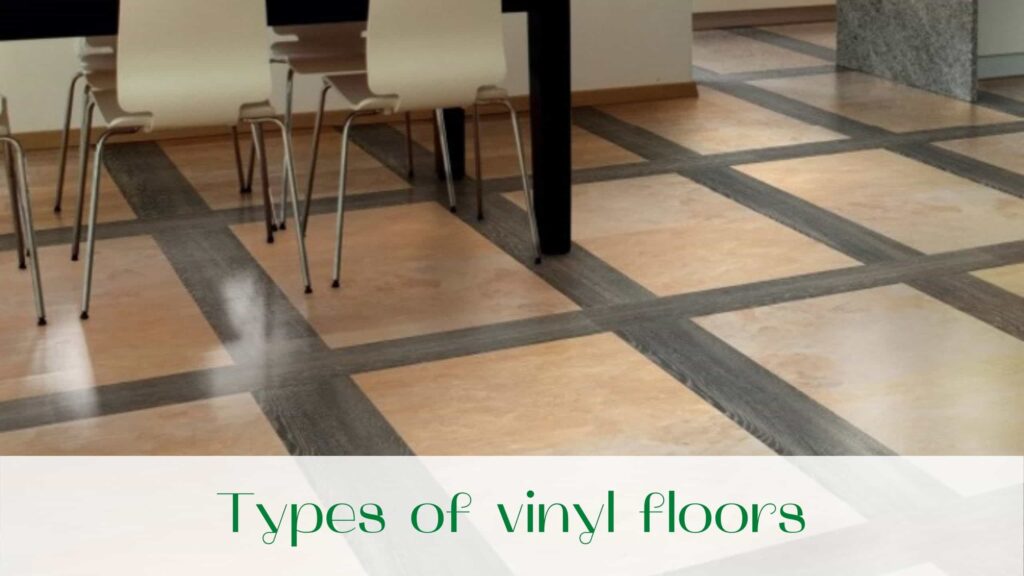
Types of vinyl floors

Vinyl floor is distinguished by several criteria:

  • mounting method;
  • degree of glossiness;
  • texture;
  • shape.

The range of companies presents a huge variety of textures and shades, which is one of the main advantages of vinyl floor in Ontario.

The decorative layer exactly reproduces the color of expensive wood species, which in most cases are not even available in the collections of parquet. Individual models visually repeat the texture of marble, concrete and fabric.

The most popular and spectacular variant is considered to be vinyl with embossing in the register. It means that the pattern of the decorative layer fully coincides with the texture of the upper one. As a result, the maximum imitation of a stone or natural wood is achieved.

As for the texture, vinyl floors are produced:

  • smooth;
  • embossed;
  • rough;
  • wicker floors:

The surface can be with different levels of gloss – from matte to glossy.

By method of laying vinyl can be:

In terms of shape, there are such types of vinyl:

  1. Tile. Has a different configuration (square, rectangle) and dimensions. It must be fully glued with special formulations. The size of the tile varies depending on the manufacturer.
  2. Rolls. As well as the tile should be fixed to the base with adhesive. Vinyl in rolls is convenient to use in rooms with large areas. But the disadvantage of roll vinyl floor is that if it is damaged, you will have to change the whole piece of coating to a new one. As a standard, the product is 2 m wide and 25 m long.
  3. Planka. Often used for floors that mimic wood. Often the products are called vinyl laminate. With respect to the brand of bars are produced in width of 150-190 mm and length up to 1300 mm.

The advantages of a vinyl floor – durability, reliable fixation and aesthetics – depend on the chosen type of coating.

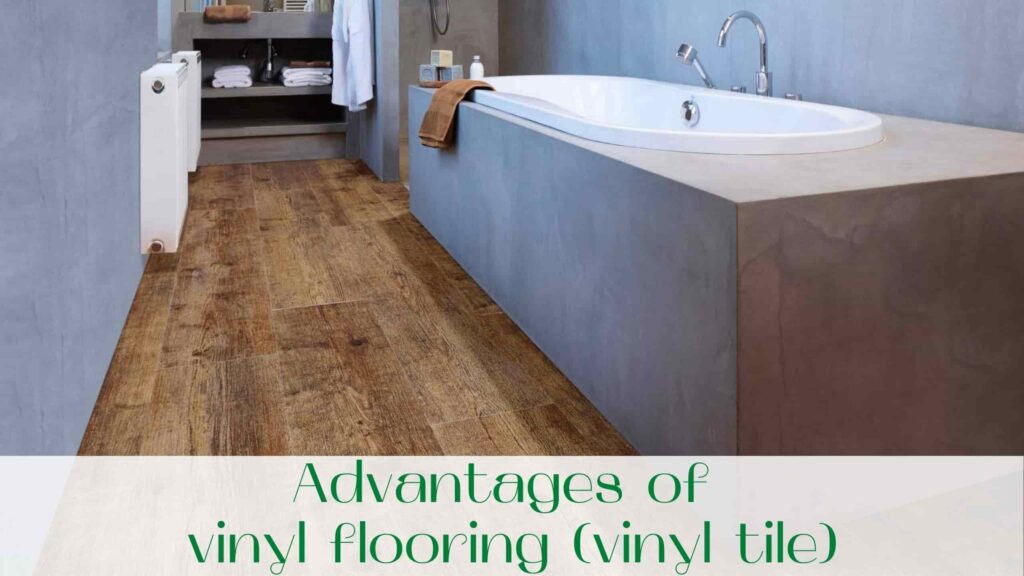
Advantages of vinyl flooring (vinyl tile)

The multi-layer structure provides special functional qualities and advantages of vinyl floors, among which:

  1. Watertightness. Vinyl does not let water pass, it is not afraid of moisture accumulation. The only thing he is afraid of is water penetration into the joints between the boards. Moisture may cause destruction of the base. It is extremely important to carefully process the seams in rooms where floor-to-water contact is possible.
  2. Increased durability. The flooring is resistant to external influences – no sharp heels or furniture legs will be left on it. Elasticity provides spring properties of the coating – it is pleasant to walk on it.
  3. Antistaticity. Vinyl floors do not electrify. In contact with conductive elements, the floor will not create electric shocks. Therefore, vinyl is often chosen for installation in kitchens, balconies and offices.
  4. Anti-slip qualities. A special plus of vinyl tiles is that it does not slide, even if the floor is wet. This property will be useful in a house with children or elderly people.
  5. Noiselessness. Unlike solid wood, vinyl perfectly absorbs noises and extraneous sounds. It does not create unpleasant sounds of clutches and creaks when walking.
  6. Resistant to temperature changes. Not afraid of temperature changes and suitable for stacking in unheated rooms. Vinyl is often used on balconies.
  7. High thermal insulation. Vinyl acts as a floor heater, keeps heat inside the room. On the reverse side of the floor does not let the cold from the screed in the room. Therefore, the coating can walk barefoot, do not worry about children who play on the floor. Despite the fact that vinyl refers to artificial materials, the surface is warm and soft to the touch.
  8. It is compatible with a warm floor. Vinyl flooring in Ontario is used for underfloor heating.
  9. Antibacterial properties. Vinyl surface creates an unfavorable environment for the reproduction of pathogens. Vinyl is ideal for people with bronchial asthma and allergies.
  10. Easy installation. The coating is easy to fix, does not require special tools for installation.
  11. Easy maintenance. Contamination is eliminated by any detergents and wet rags. There are no stains or abrasions on the surface.
  12. Longevity. In terms of wear resistance class, vinyl can last up to 25 years.
  13. Safety. Vinyl floors from proven brands are made to all international standards. This guarantees complete harmlessness to humans. Such vinyl is made from recycled raw materials and does not release toxins. In confirmation of the safety of the coating manufacturer provides environmental certificates.

But, like any floor covering, vinyl floor has its disadvantages.

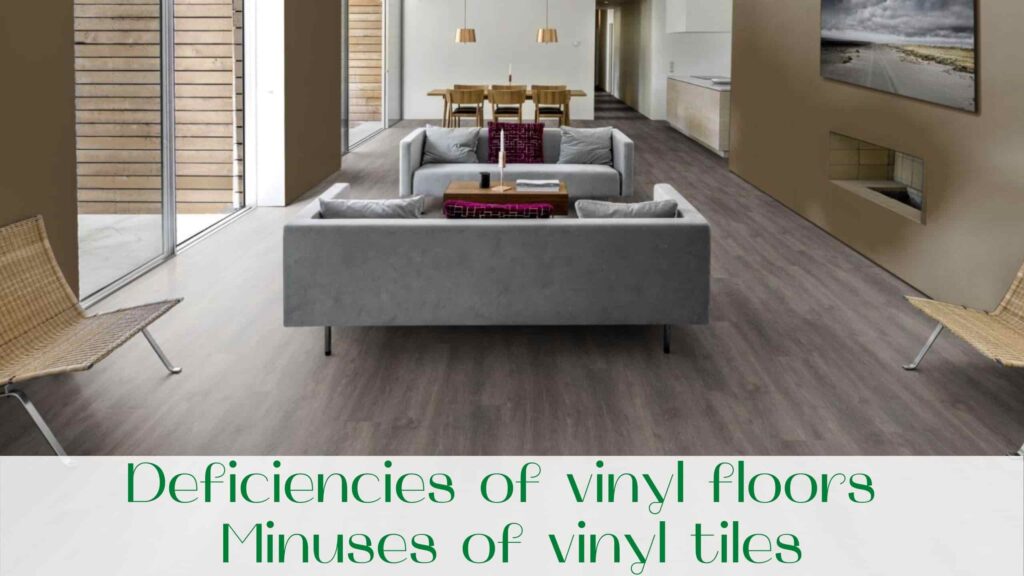
Deficiencies of vinyl floors. Minuses of vinyl tiles.

  1. Impossibility of restoration. Unlike wooden floors, vinyl can not be restored. In case of severe damage or after the expiration of the coating will have to be changed completely.
  2. Preliminary preparation of the base. For fixation of vinyl, which by its structure is quite thin (about 2-5 mm), the base must be perfectly flat and smooth. Even small particles of debris can cause serious damage to the coating – damage and abrasion.
  3. Chemical pigmentation. Despite its resistance to stain formation, it may change its color. Such a disadvantage (minus) of the vinyl floor is found in the products of unscrupulous manufacturers. Fakes or low quality coatings will fade or turn yellow over time. In addition, cheap variants of vinyl tiles emit toxins even at room temperature, which leads to diseases of the respiratory tract and eyes.

Shortcomings with vinyl floors can easily be excluded, if you choose products from proven companies. Due to high performance properties, vinyl flooring is more often chosen as an alternative to conventional tiles and relatively expensive wood.

Read our blog!
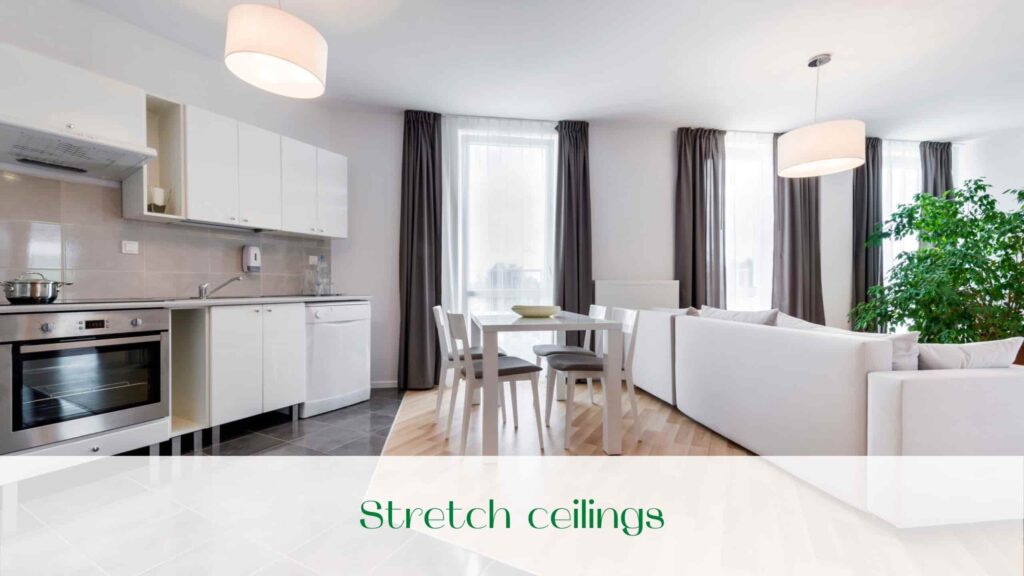
image-All-about-the-terrace-board

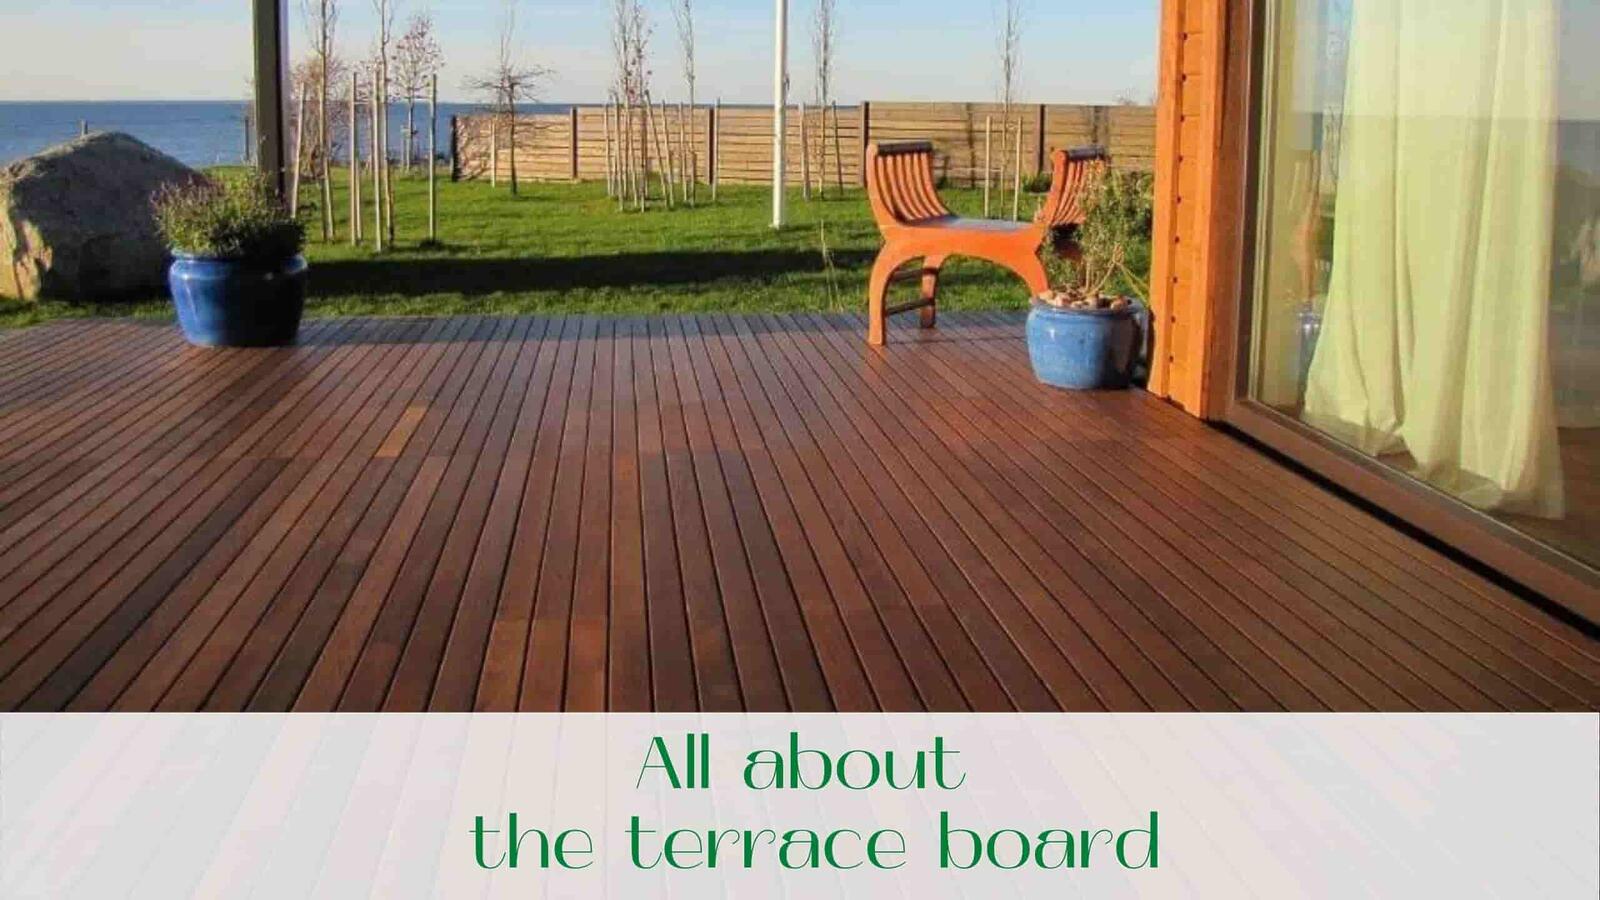
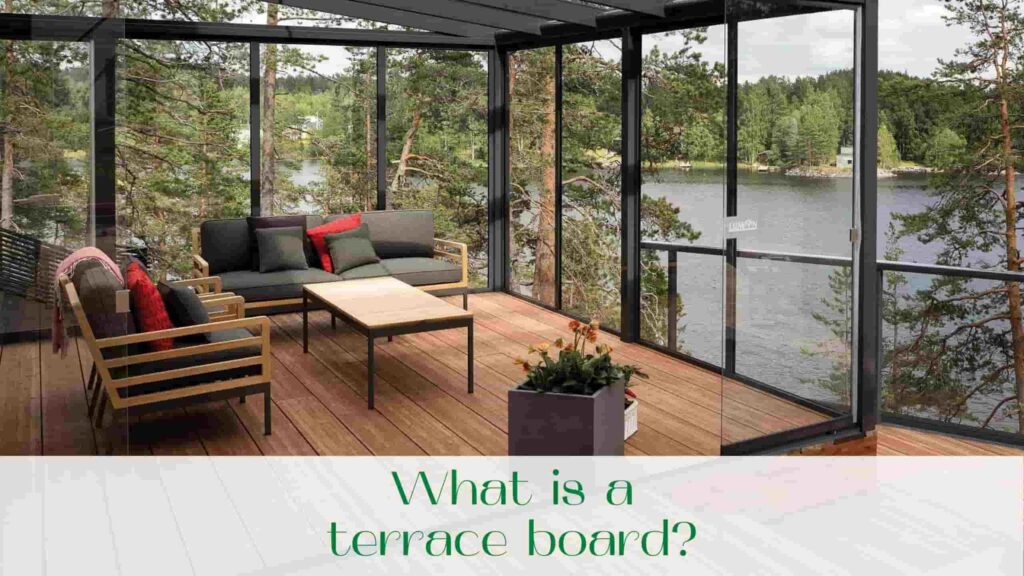
When finishing a country house in Toronto, you should pay special attention to decorating the terrace.  To ensure that this area of the house is furnished with the highest quality, specialists use the so-called terrace board. With its help, you can recreate any design of the territory to your taste and purse.

The main thing is to buy quality materials and entrust their installation to professionals. Let us understand what this material means and what categories it is divided into.

What is a terrace board in Toronto?

For starters, let’s look at what a terrace board in Toronto. As the name implies, it is a special material used for cladding the terrace area of the country house. Of course, it can be used for many purposes (which we will talk about below), but most often – just for the terrace.

Since such panels should be in the open space, they are resistant to wear and tear, resistant to high humidity and sharp temperature drops.

During the production process, the possibility of at least a small chip is excluded. This makes decking terrace boards the safest possible finishing material. Now you don’t have to be afraid of getting a splinter when moving around the terrace.

Of course, this only applies to quality tiles that have been installed according to all rules. Fortunately, today it is easy to find companies that install terrace tiles. For example, the company Captain Handy, on the website captainhandy.ca which offers a huge selection of terrace boards in Toronto!

Varieties and classification of the terrace board in Ontario

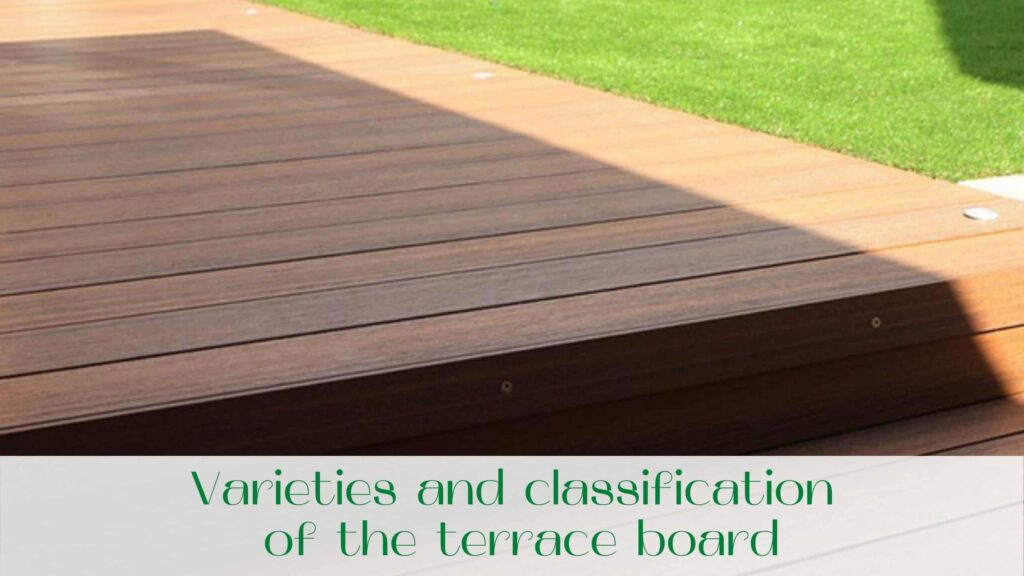
Today there are several types of terrace boards. Their classification is based on:

  • material;
  • thickness;
  • type of filling.

First of all, you should understand what this finishing material is made of. According to this criterion, there are 3 main types of terrace boards in Toronto:

  • made of natural wood;
  • from thermo wood;
  • wood-based polymer composite.

All adherents of environmentally friendly and natural materials like the most terrace board made of natural wood. Besides being environmentally friendly, the wood has an attractive appearance. It is able to give a cozy warm atmosphere, turning your terrace into a comfortable area for recreation.

Currently, several types of wood are used in production. The most popular with us are larch or acacia terrace boards. These types of trees grow in our latitudes. Finishing boards made of them will be cheaper than, for example, from more exotic types of wood.

If you want to stand out, pay attention to a terrace board in Ontario made of merbau, meranti or teak. These exotic tree species are as resistant to high humidity and insects as possible.

Thermal wood is a more innovative technology of terrace board production. It is the technology that allows to significantly increase the service life of the finishing material. It is known that wood in its pure form is easily exposed to moisture and sunlight.

In order to avoid unpleasant consequences, manufacturers term wood. To do this, they have to calculate the deckboard in a vacuum. This process completely burns all the components that can subsequently cause rotting of the material.

The polymer terrace board in Toronto is manufactured according to the newest principle and is a completely new type of material. Fine wood dust is used for production, which is compacted with synthetic polymers. The resulting material is absolutely not afraid of water and is characterized by maximum ease of maintenance.

An important disadvantage of wood-polymer composite of the terrace board is the lack of resistance to sunlight. Such finishing quickly fades and loses its original appearance. Therefore, if you plan to decorate with it the sunny area, please note that the board will not last more than 10 years.

If we talk about the type of filling terrace tiles, they are distinguished:

  1. Empty board. It is used for partial finishing and has an affordable price.
  2. Full body panel. Maximum strength material that can withstand any load.

Advantages and disadvantages of the terrace board in Ontario

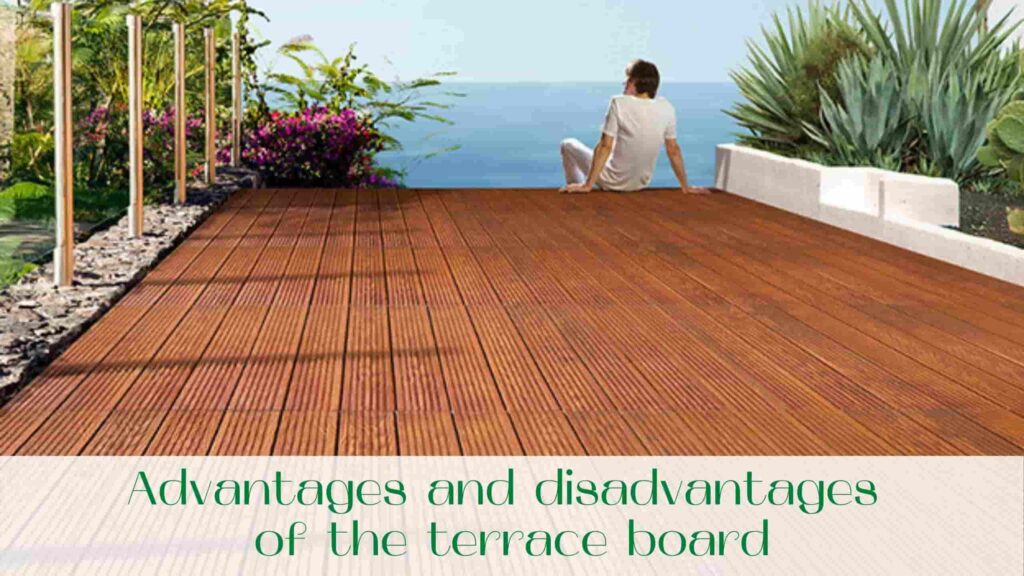
The terrace board in Ontario has a number of advantages that have made it popular around the world:

  • The material is as resistant to sunlight as possible and will not burn out over time.
  • Long service life (from 25 to 50 years).
  • Compliance with all fire safety standards and requirements.
  • Ecology – the basis of most deck boards is natural wood. This material does not emit poisonous substances, does not cause allergies and, therefore, does not harm human health.
  • It is easy to care for. The top layer of the terrace tiles is covered with special solutions in order to wash the coating much easier.
  • Highly wear-resistant and resistant to high loads.
  • Moisture resistance, which allows the material to be used in any climate. In addition, this property makes the deck board ideal for swimming pool or bath decoration.

The disadvantages of the material can only include a certain fragility of the terrace board, which is characteristic of the panels of the thermo-tree. It is explained by the careful processing of the material. Therefore, it should be installed particularly carefully.

How to use the terrace board in Toronto

The terrace board in Toronto is perfect for both exterior and interior work. Today it is used for decoration:

  • Playgrounds for sports competitions, dance performances and other concerts. Wooden or decking terrace board perfectly copes with this load.
  • Facing the facades of a country house.
  • Decoration and creation of furniture for the garden area or park area.
  • Construction of stairs.
  • Creating fences.
  • Design of loggias, terraces, gazebos or the roof of a country house. Resistance to high humidity, rainfall and strong temperature drops make the terrace board an ideal material for creating such elements of the cottage.
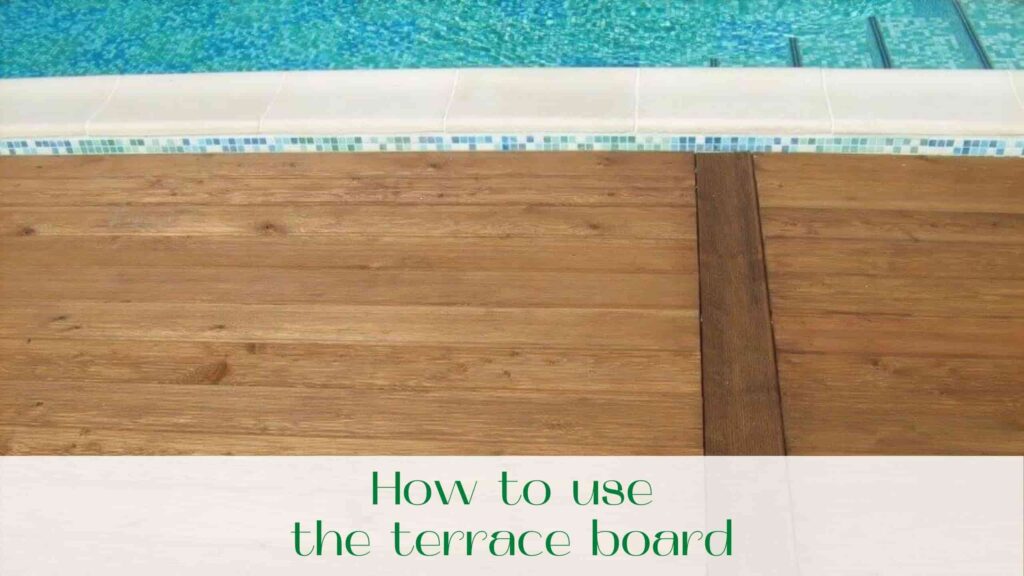
  • Facing saunas and pool area. Many models of the terrace board have a special anti-slip coating. So you can safely use the material to create a path and area near the pool.

How do I properly care for my terrace board in Ontario?

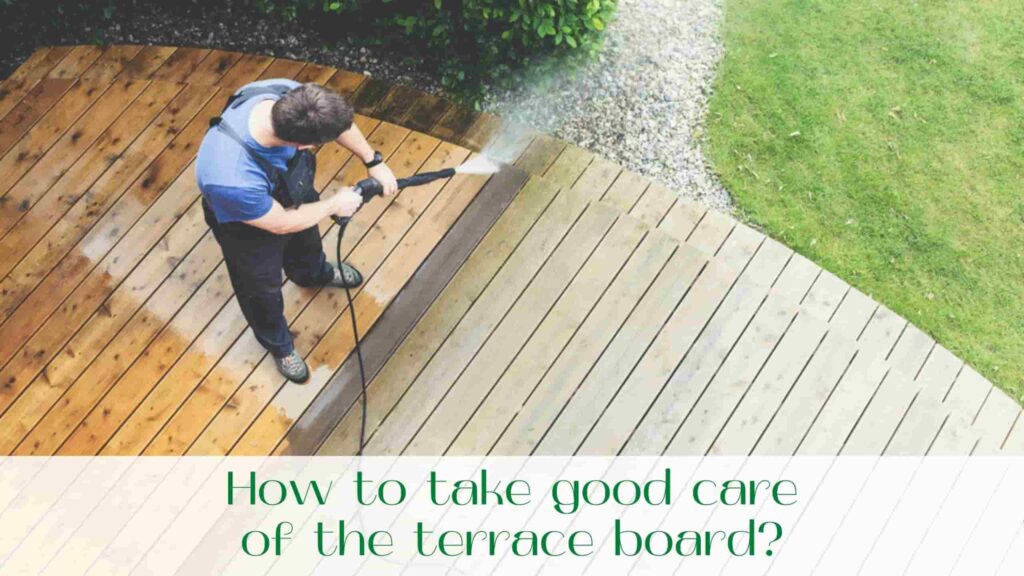
The terrace board in Ontario, made of wood-polymer composite, is of very high quality and quite unpretentious, i.e. it does not require regular care, as in the case of wooden decking, which requires all kinds of care procedures. However, this does not mean that the terrace board made of WPC does not need to be followed.

Terraces of any type need care, but in case of WPC it is quite economical and simple. That is why in this article we would like to dwell on the recommendations for the care of the terrace board.

  • Spilled sauces, oils or drinks from the terrace board should be removed immediately with a damp cloth to avoid leaving any traces;
  • If the damp cloth does not work, use a stain removal brush or steam cleaner. You can also get rid of dirt with detergents and cleaners based on biodegradable surfactants;
  • Wine and cigarette stains that are difficult to remove can be removed with sandpaper;
  • Dry or wet cleaning should be done longitudinally. After using chemical agents, wash the decking with warm water;
  • Wash the terrace board after the garden trees have stopped blooming. This way you avoid allergen accumulation;
  • There should be no debris underneath the terrace board and in the gaps as this makes air circulation difficult;
  • It is better not to use chemical fertilizers near the terrace;
  • Use special stands for flower pots and furniture legs;
  • If you use mats, vinyl or fabric is what you need, because rubber paints the surface;
  • Avoid placing hot objects on your terrace;
  • Use a plastic shovel to clear the flooring of snow;
  • In no case exceed the load indicated in your terrace board passport.

Polymer decking itself has excellent water repellent properties, but oil impregnation will improve these qualities, as well as your board will better repel dirt and dust, alcohol, acetone and fruit acids. Oil also improves the appearance of the board.

Read our blog and read us!

image-Repair-with-drywall-and-drywall-repair-in-Ontario-and-Maple

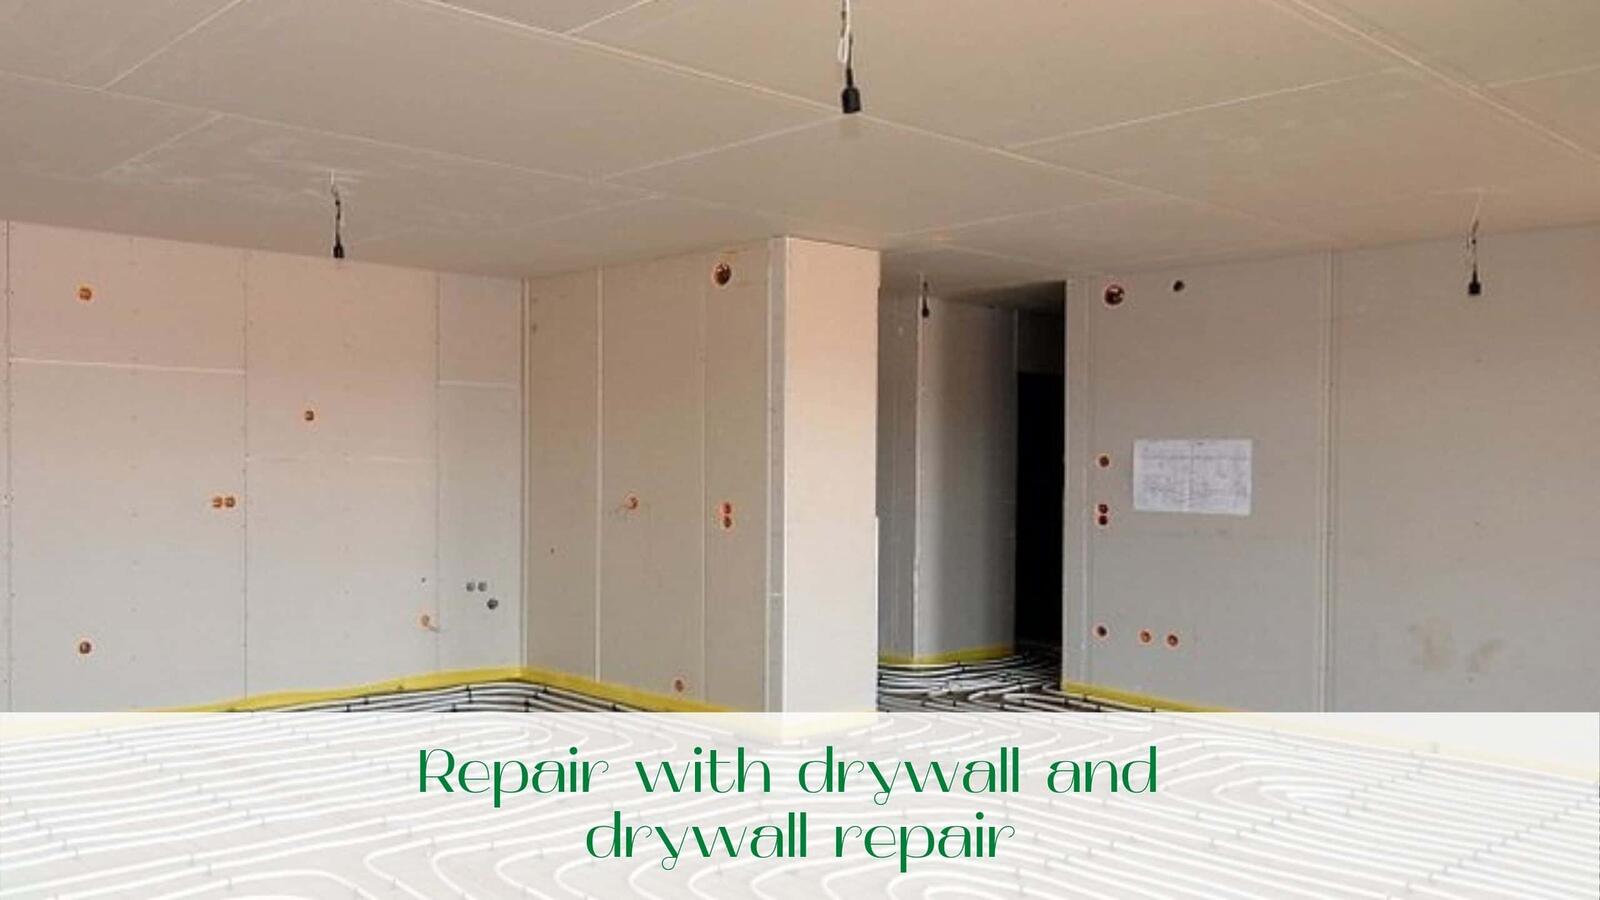
Drywall is one of the best building materials for today. When finishing modern houses and offices it is used everywhere. Professional builders, making repairs in buildings with internal curved walls, mainly use drywall sheets for their alignment and sometimes even drywall repair. At the request of the customer with the help of drywall perform redesign of premises.

Progressive owner, dreaming of saving money during the repair, may well do without a team of hired workers and make the walls of drywall and his own hands. After all, the technology of manufacturing drywall walls is not difficult, and it can be mastered by almost anyone.

So, you started a repair in your home. You face several challenges:

  • Align the walls in the room.
  • Block a large room with a drywall, dividing it into two parts.

To solve the first problem you will simply lining the old walls with drywall, so that they will be smooth and even. In the second case, you will mount the wall on a metal or wooden profile. Then the erected construction will be stronger and will serve you longer.

So, where do you start? Of course, with the selection of tools to work with. You just need a knife with breakaway blades, metal cutting scissors, screwdriver, electric drill, construction level or plumb line, tape measure, glue or mastic. You will need drywall sheets, profiles and fasteners made of dowel nails and self-tapping screws.

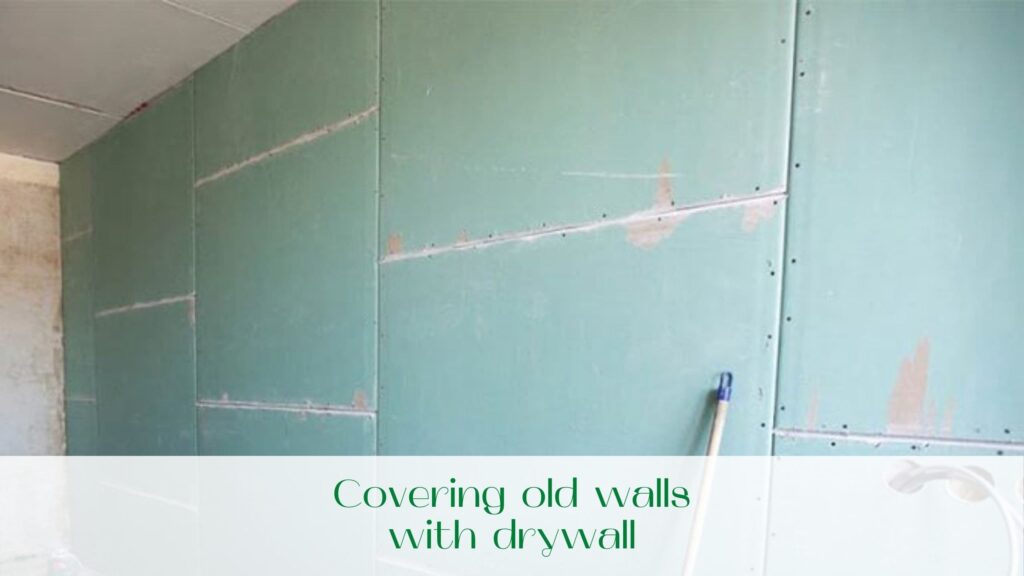
Covering old walls with drywall

Before starting work you should prepare the old walls for the installation of drywall. To do this, you should carefully fix all the cracks and remove a layer of old plaster. Then measure the exact number of drywall sheets that will be needed to cover the entire room.

In the process you will need to cut the drywall, because it is very difficult to mount huge sheets on the wall. It is easiest to cut drywall with a sharp knife with broken-off blades. First, a ruler is made on the sheet, then a ruler is applied to the line and along it the cardboard is neatly cut and the gypsum is cut with a knife. After that, the sheet should be broken along the cutting line and carefully cut the cardboard in place of the break on the back side. So, the sheet is ready. Now you should attach it to the wall.

There are two ways to mount drywall on the wall. The first is to attach the sheets with screws, which are screwed into the wall with a screwdriver. The second method of installation is gluing drywall to the wall. It is best to use Perlfix composition. The mixture should be applied in small amounts to the back side of the drywall sheet and glued to the wall, then using a level to level the vertical wall formed. In this way, you can achieve the first task set before you: now all the walls in the house are perfectly flat.

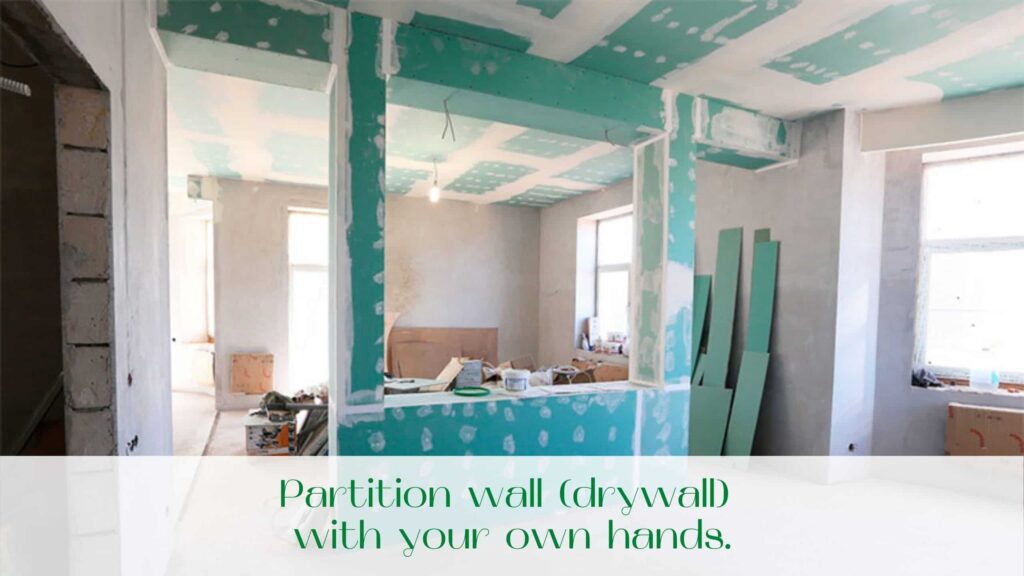
Partition wall (drywall) with your own hands.

For the construction of a new drywall is best to use a solid frame. It can be made of wood by connecting the structure with screws or screws. However, over time, the impact of temperature and humidity on the wood can deform the shape of the frame, so most builders prefer to make it from metal profiles, which can be purchased in the store.

So, first of all, the place for the partition is determined. After that, using the plumb line, you make a line of markings on the ceiling and floor for the entire length of the future wall. To make the frame turned out perfectly flat in the vertical direction, it is recommended to pull the cord from one wall to another. Then with a knife on the metal metal profiles are cut to the desired length.

The next stage of work is to fix the upper and lower rails with dowel nails. Rack profiles are installed in the guides and fastened vertically in the frame with screws. Frame for installation is ready, and now to be lined with drywall.

First, cut sheets of drywall of the right size and processed with a planer their edge. Then, using self-tapping screws sheets of drywall are attached to the rack profiles. The distance between the self-tapping screws is about 30 cm. In this way the frame is lined on both sides.

When the installation of drywall is completed, should be routed horizontal joints at the joint of the sheets to strengthen the structure. After that comes the process of puttingtying the built wall. For her besides a mixture of gypsum still need a reinforcing mesh-samo sticker. It is desirable to use it at the joints of drywall sheets for better fixing of gypsum mixture. Therefore, first the mesh is glued to the wall, and then a layer of putty is applied to the mesh. Once the putty has dried, it should be gently sanded with sandpaper skin.

The last stage of your work is the decoration of the drywall, which is carried out by pasting it with wallpaper, finishing with decorative tiles or simple painting in the desired color. By the way, there is a laminated drywall, which is already decorative, and you do not need to spend time on decoration.

So the partition, made by your own hands, is ready. Now you can be proud of your own result, because everything was not so complicated.

Drywall repair in Toronto and Maple

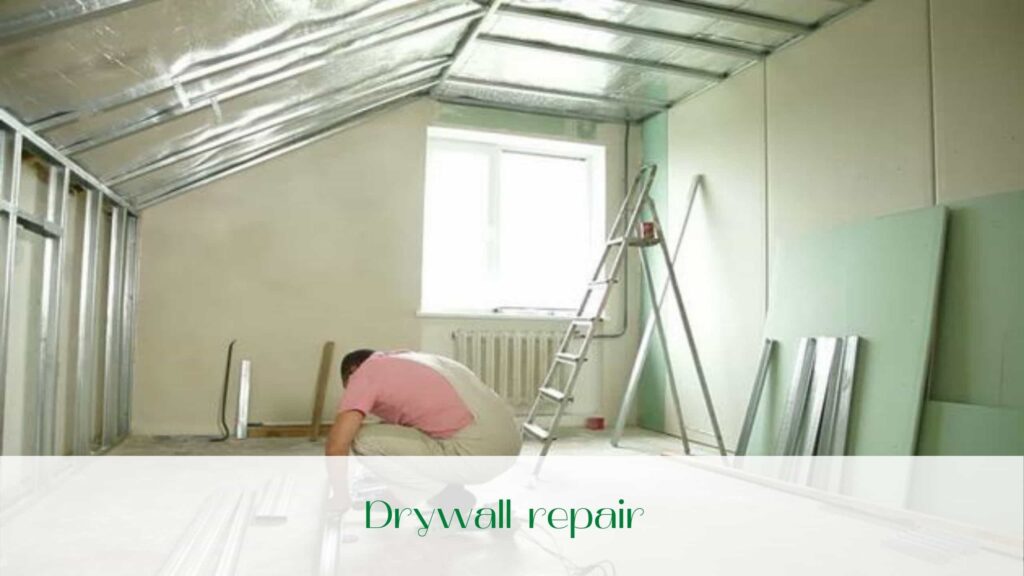
Drywall surfaces are quite brittle, so they can be damaged by strong mechanical action, such as accidental impact. This happens especially often when carrying heavy furniture. Such damage is not critical and it is possible to drywall repair. Small holes and cracks can be puttied, and larger ones can be covered with a piece of drywall.

Repair a large damage

To repair a large hole in the drywall, you must first draw a picture of the damaged area, and then very carefully cut out this fragment with a hacksaw or jigsaw. Then, cut out a new fragment from a solid drywall sheet or scrap. It is important that it is slightly larger than the size of the hole that we fill – then you can file it more accurately.

Sharpen the edges of the cut formed in the wall, attach two wooden bars to the base wall with self-tapping screws from the inside (pieces of plywood, metal profile will also fit), insert a replacement fragment and screw it to the bars. At the final stage, reinforce the joints with special tape and putty. Drywall repair in Toronto can also be done by our specialists,just contact us.

Closing of small holes

The difference between patching small holes in the drywall from the large holes is that you can not screw the wooden bars, and just carefully insert a patch. Therefore it is extremely important to accurately adjust the new fragment to the size of the hole. If you have any problems with this, drywall repair in Maple can doing “Captain Handy”.

From a piece of ordinary drywall cut out the workpiece in the form of a square or a triangle of 5-6cm larger than the sealed opening. Then we mark the necessary contour very carefully. On the back side of the patch on the planned lines make cuts. Excess pieces are removed, leaving a strip of face cardboard 5-6cm wide along the edge of the patch. When the aperture is ready, we insert a replacement fragment into it and sink a piece of cardboard along its edges in a putty.

Restoration of damaged corners

Sometimes it may be necessary to repair the outside corner. For this purpose, we use primarily screws, self-tapping screws, screw them on the borders of the damaged area in 3cm steps. Then use a chisel and a narrow trowel to remove the old putty and cut a piece of broken profile. And in its place with a file adjust the new and screw it to the corner with screws. At the final stage, we putty the restored area in 2-3 layers. This is the end of drywall repair.

Repair of drywall walls is not difficult to do, but even easier to prevent it. Proper assembly and sheathing of the framework with sheets of drywall in compliance with all technologies of installation of drywall prevents future repair of walls. This does not include mechanical damage, but their force on the wall can be significantly reduced if it is lined with a double layer of drywall. We advise you to reinsure yourself and contact professionals on the issue of drywall repair.

Read our blog!
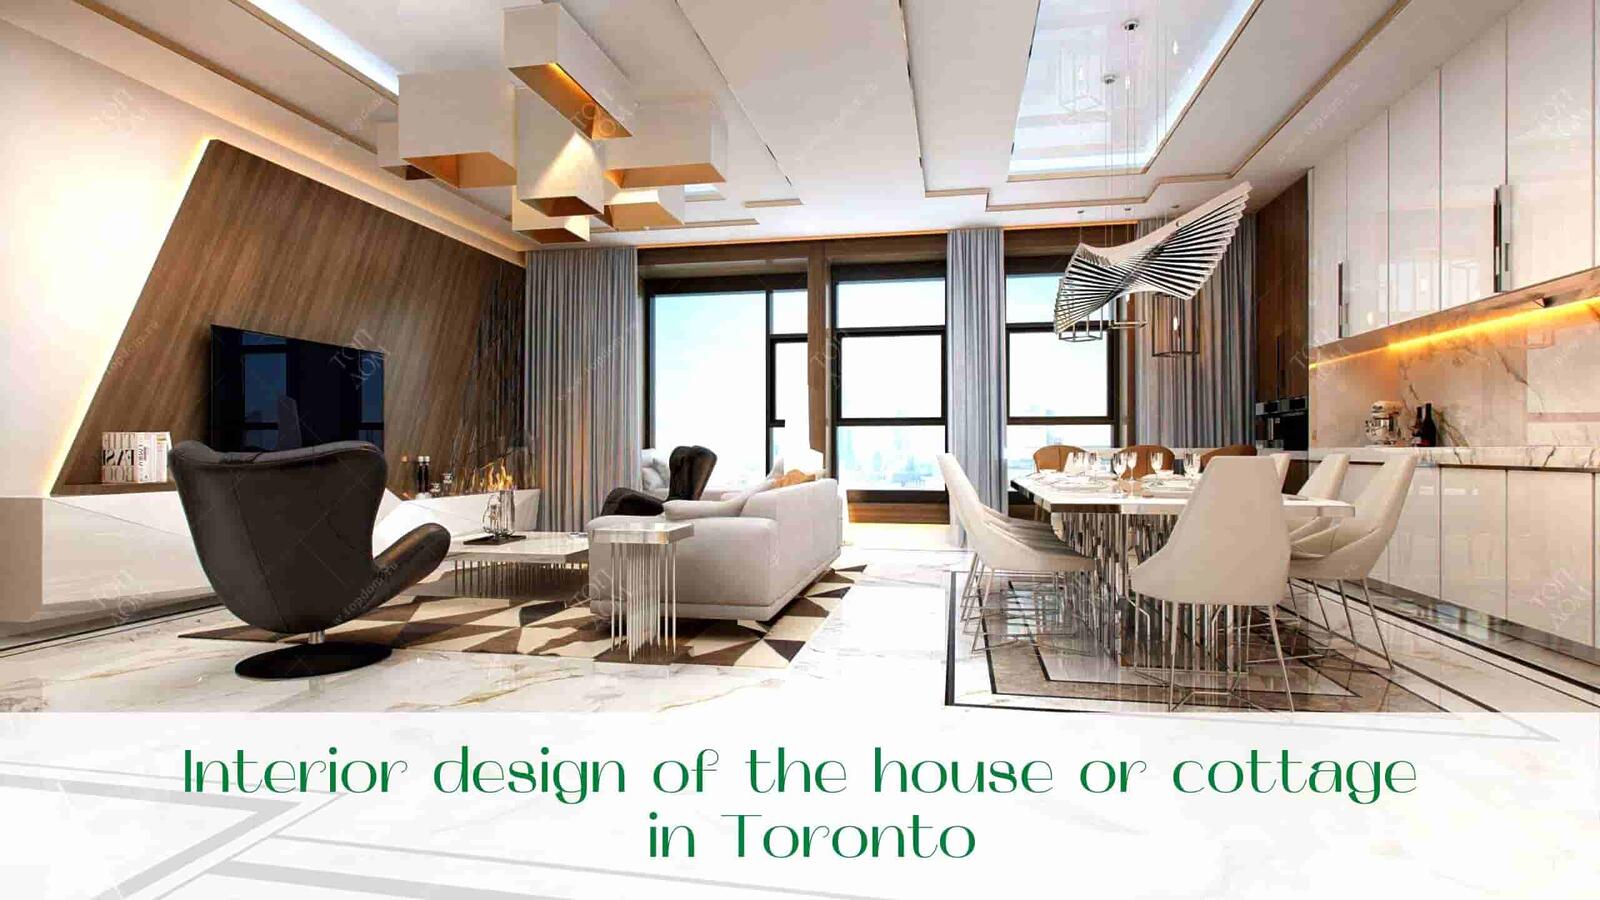
image-Tips-for-repairing-the-ceiling

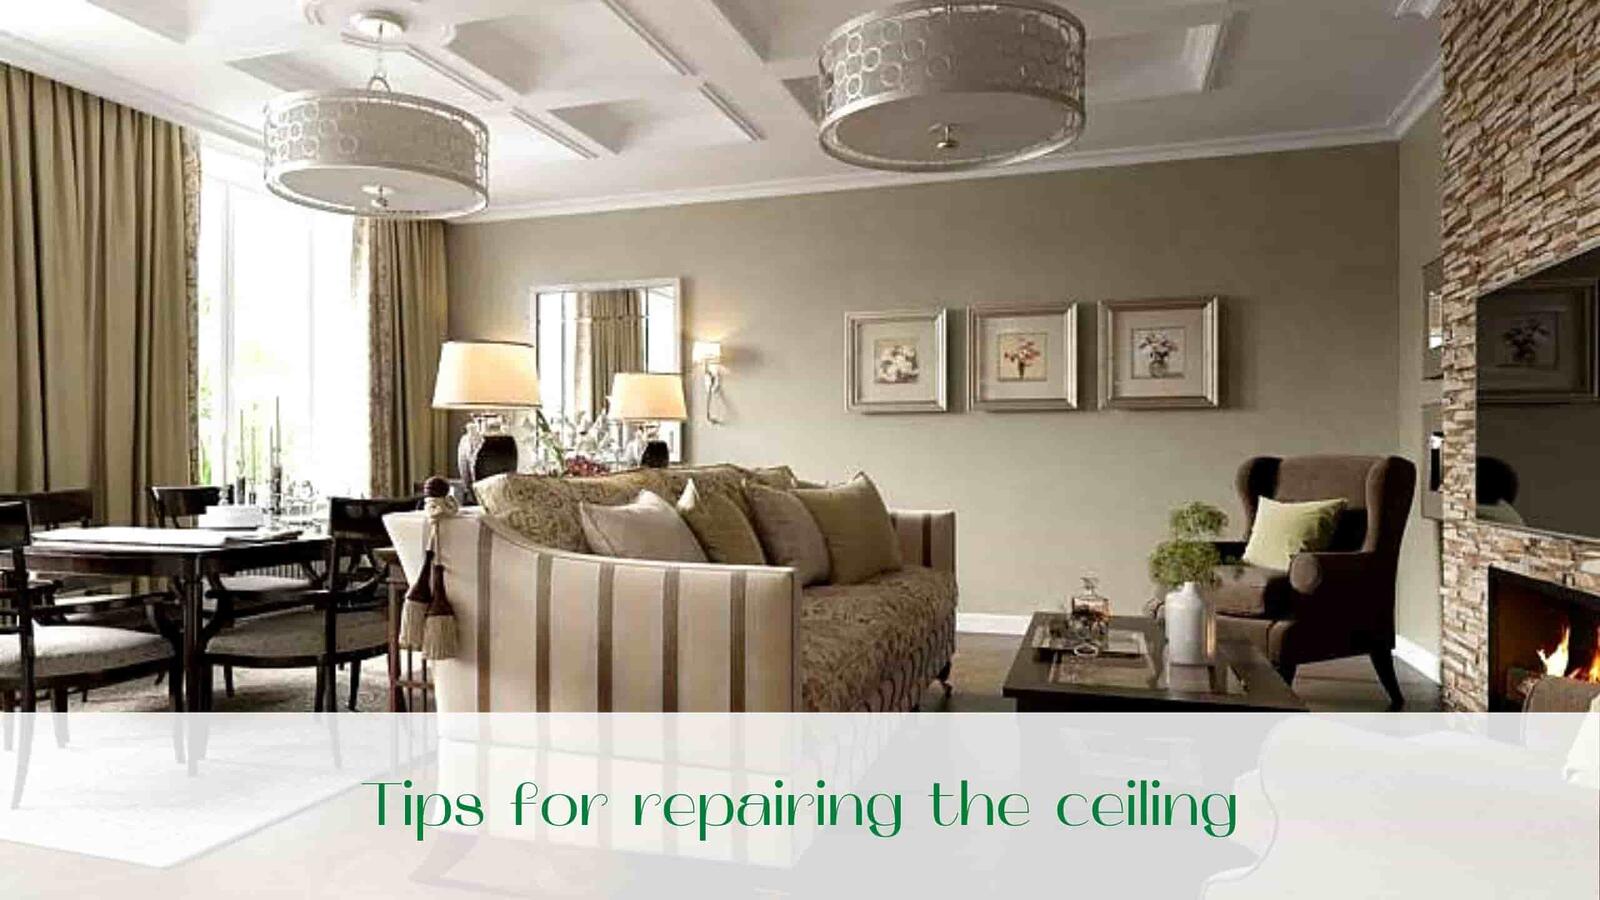
Planning to repair, you need to know at least approximately when you are going to do the next. If you expect a long time not to raise your eyes up – one option. If in a year or two you want to make repairs to the ceiling – quite another option. Our conversation today is about repairing the ceiling in Toronto. Sooner or later you will come to the conclusion that it is time to change it. That’s when our advice will be useful. The choice is huge, the advantages and disadvantages are obvious only for specialists or sad owners of the wrong type of ceiling. It’s time to reveal professional secrets on this topic as well.

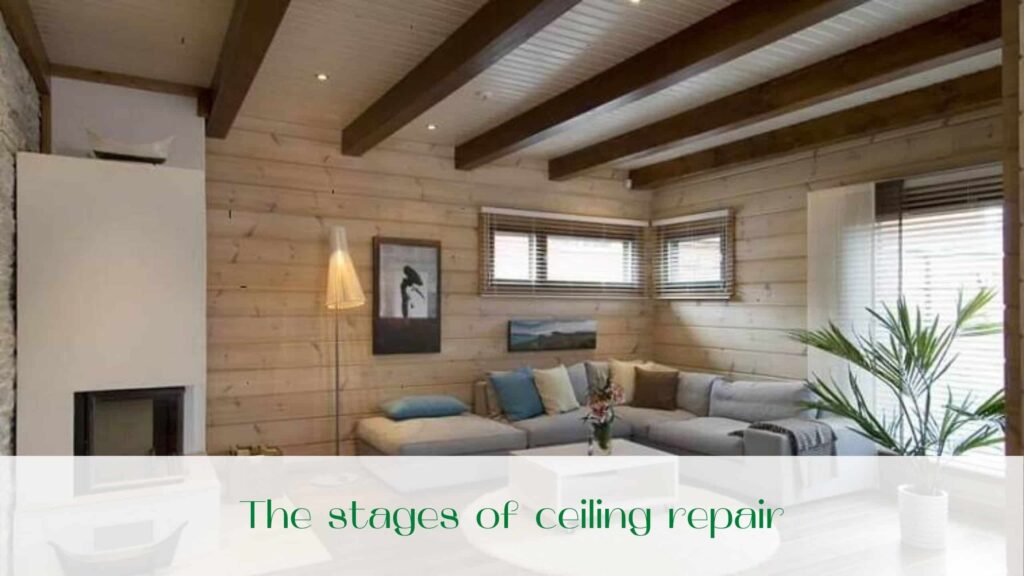
The stages of repairing the ceiling

So, no matter what you are thinking of creating with your ceiling, a number of stages you will have to pass, one way or another.

  1. Preparatory. Generally accepted rule: all repairs are carried out “from top to bottom”. That is, they begin with the ceiling, because the dirtiest type of work is the removal of old plaster. If you are planning a complete repair, then all you need to do at this stage – to take out the furniture and tenants from the house. In the case when therepairing the ceiling is made without updating the other surfaces, the first thing you begin – to take care of the safety of the floor, walls and furniture. Old newspapers, or polyethylene film, and painter’s scotch will be suitable for you. Everything is carefully closed and glued.
  2. The main one (sometimes a draft). It starts with the removal of the old covering, sometimes – to the floor slabs. Finishes with the installation of new, depending on the purpose of repair and features of the room.
  3. Finish. It is made in cases where the rough preparation involves still finishing – painting or wallpapering.

All variants of ceiling design can be divided into several categories:

( Repairing the ceiling of all types can be made by our company quickly and reliably. )

  • plaster ceilings (using dry mixes)
  • false ceilings (plasterboard on metal profile)
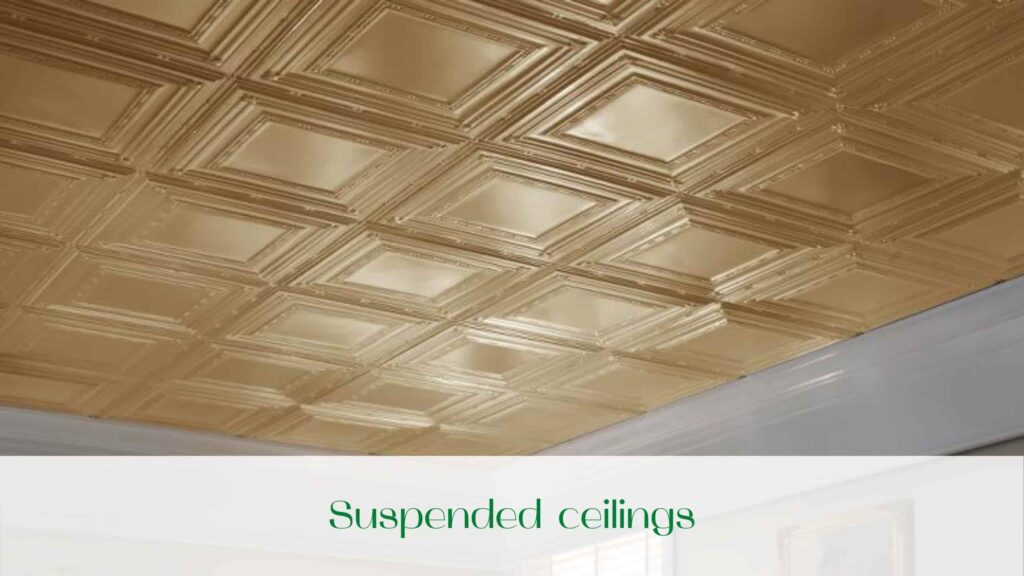
  • suspended ceilings (of mineral wool or basalt slabs on a rigid frame, and – slatted)
  • stretch ceilings (fabric with special impregnation or PVC film).

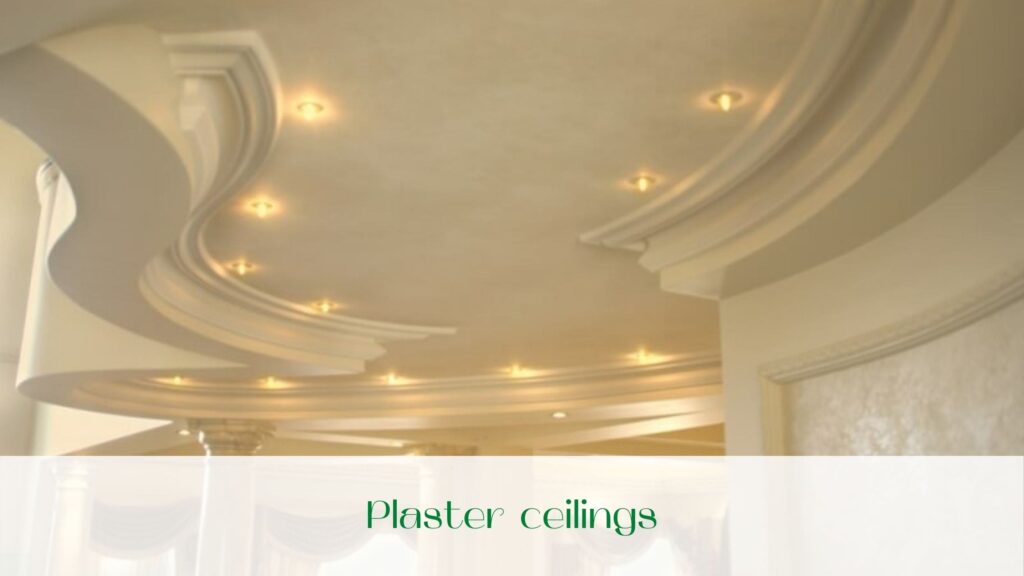
Plaster ceilings in Toronto

Plaster ceilings in Toronto it makes sense to do in cases where the difference in levels is not too great (maximum – up to 2 cm, the house is relatively new – up to 10 years and the height of the ceilings is small – up to 2.70 m. Moreover – for residential premises that do not require special properties – such as increased sound insulation and not burdened with bulky engineering structures such as ventilation, etc.). In addition, there are restrictions on lighting – built-in spotlights are excluded in principle: not every electrician is entrusted with the task of chiselling the stove. The work is done only by specialists (if you want to get perfectly smooth plaster ceilings).

 The work is extremely labor-intensive and therefore not cheap, in addition – very dirty. If you choose this type of ceiling, you save on materials (compared with other types of ceilings), but in addition to the salary plaster, prepare for transportation costs, or rather delivery of materials (bags of 25-30 kg). After your ceiling “pulled” dry mixes, make the finishing putty, and if prepared for painting – and grinding. Then the ceiling is painted or glued with a “horn” often – with subsequent painting.

And if something happens to you with such a ceiling, our company can make you a best repairing the ceiling in North York.

Suspended ceilings made of drywall

Suspended ceilings  in Ontario are usually used in “freshly built” houses, always in luxury and business class finishes, sometimes in economy class. The only limitation is that it is not suitable for rooms with high humidity. Practical sense: quite fast and not particularly dirty finish with excellent results. All bulky engineering structures are easy to disguise (especially if you introduce some original “designer” idea).

The space for creative individuality is unlimited, taking into account the fact that such a ceiling can be given any shape, experiment with levels and color shades, as well as give the room any style accent. There are also unlimited variants of illumination, which by itself can give a super-effective look to the room and the whole apartment. There are two minuses.

 First, the cost of materials for suspended ceilings  – the drywall itself, profiles and fasteners – is more expensive than for the ceiling made of dry mixes (by an order of magnitude). Secondly, if the height of your ceilings is at a critical point of 2.50 – 2.60, you should not use drywall – the ceiling will “lie on your head”. If you really want or need to disguise something – apply this type of finish only locally and think about how to visually “raise” the height with the help of decorative means (color and light). Finish, of course, as in the case of plaster streams – puttying and wallpapering, or painting.

Lining Ceilings in North York

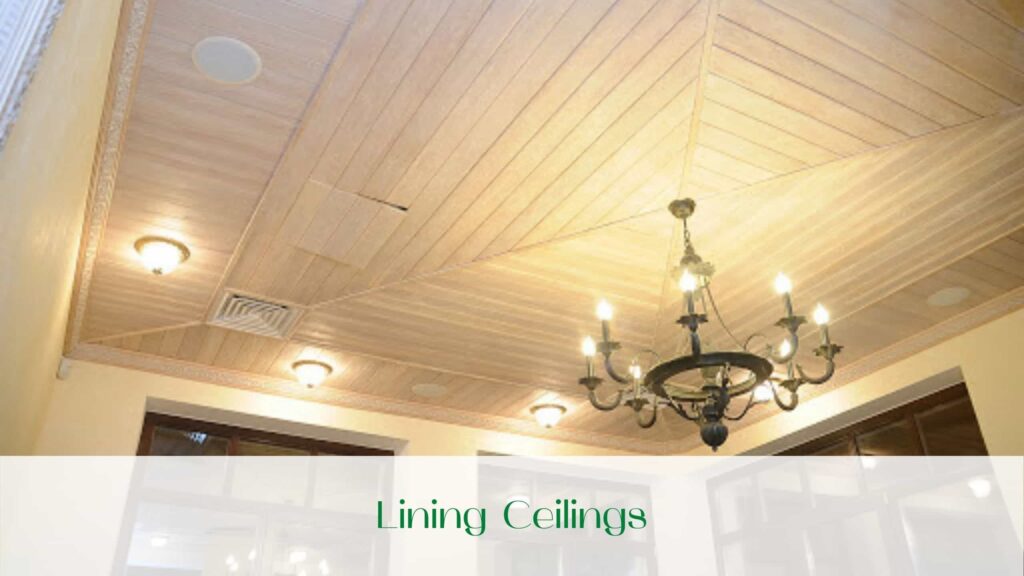
Lining Ceilings – the optimal “business” option (offices, stores, wide profile, public facilities). Quick and accurate installation, low cost of works and materials, ease of operation, replacement and access to engineering structures. Optimal option for sound absorption and thermal insulation. In a word, cheap and angry. Minus – in absolutely straight lines (no frills) and standard sizes of ceiling tiles.

The principle of installation the lining ceilings  – is elementary: a rigid metal structure of standard profiles, assembled on the principle of cells. In the cells are inserted slabs – from mineral wool (absolutely environmentally friendly, not to be confused with the infamous “glass wool”!), basalt and other special materials. For skeptics who believe that the suspended ceilings are only “white rough in black speckle” type “Tatra”. We are pleased to inform you that there are a lot of manufacturers of spectacular suspended ceilings on the Canadian market, producing a lot of other, more interesting options. It’s only a question of price and time to find the right one that suits you personally.

There are a variety of shapes (not only standard 60×60), color scheme, and probably only standard lamps – either raster or mortise dotted. However, special “business” of usual quality made these ceilings so beloved by entrepreneurs and business people. It makes no sense to use them in living quarters – they look very strict.

But if there is no desire to remove the old coating, the stretch ceilings are not enough, and to apply drywall is not possible, there is a way out. This is a type of suspended ceilings – slatted: plastic or metal. Usually used in common areas: bathrooms, kitchens, hallways. Installation is as simple: the frame plus laths, which are connected to each other. If you have an elementary ability to handle a drill and a hacksaw – you can try to make such ceilings by your own efforts, spending only on materials. But such ceilings are elementary in operation and do not lose their appearance over the years (unless they – not white).

Stretch ceilings in North York

In conclusion, the most expensive option – stretch ceilings. Optimal in cases where you have a strong height difference in level, extremely short time to repair. Of course, if you have solid finances. The algorithm of actions is simple: you call to the company offering this type of service, you are visited by metering agents, then together with the manager in the office of the company you choose the appropriate option. It takes a few days (sometimes up to a month), and in your apartment there are installers, who “collect” the ceiling within 1 working day.

If, God forbid, something happened to the ceiling from above, do not worry: your exclusive repair will remain intact. And the repair of stretch ceilings is not labor-intensive and very fast. Stretch ceilings can withstand the load of about 100 liters of water per 1 sq.m. Call the supplier company, the same installers will come and easily pump out the water with special tools.

 The actual stretch ceiling consists of a special ceiling skirting board, to which is attached a cloth of polyvinyl chloride or polyester fabric impregnated with polyurethane. By the way, the last view must be painted only after installation. Depending on your preferences, height and purpose of the room, as well as – the size of the wallet, you can choose a matte or glossy, satin or metallic, smooth or perforated, in any style and any shade.

So, in this article was presented several options for repairing the ceiling, but this is not all options that can offer our company “Captain Handy”, you only need to leave a request and we will help you make a fast and high-quality ceiling repair in particular and popcorn ceiling repair. The materials for the ceiling – enough for a reasonable choice. They differ in appearance, properties and price categories. It is easy to create a “personal sky above your head”. And let it always be light, and there will never be clouds.

Read our blog and call us!

image-All-about-interior-design-of-the-house-or-cottage-in-Toronto-and-Ontario

Interior design of the house –  is a very large complex work of specialists who can create a unique atmosphere of almost any room or even the whole house. It will be as convenient as possible, and will be able to emphasize the individual character of all owners.The main goal of a good specialist in the interior design of the house in Toronto is to find a stylistic solution to use the entire area of the house or cottage, and competently implement all the ideas.  Experienced designers take upon themselves difficulties in solving all tasks, related to the realization of the desired interior.

The definition of design is a combination of industrial and artistic process to create convenience and aesthetically pleasing interaction between the environment and people. To begin with, the customer must meet the designer. He will help to accurately articulate all the wishes of the customer to make a contract on mutually beneficial terms. Interior designers will choose the unique style that will be most convenient for the client.

At the first stages, technical inspection of the object is carried out, and draft sketches are made. And then, taking into account all the nuances, specialists start to develop the project, which will allow to see the whole picture of further actions. The creative process is complicated and time-consuming. But the high level of professionalism must satisfy the most sophisticated client.

Then designers will choose all necessary finishing materials. The selection will be made in the price category, which will be acceptable to the client. All costs are included in the estimate, and a schedule of works is drawn up. After approval, the employees of our company “Captain Handy” will be able to turn the conceived into reality.

The use of new technologies will make it possible to perform repair works in the shortest possible time and with the highest quality.

Main tasks for interior design of the house in Ontario

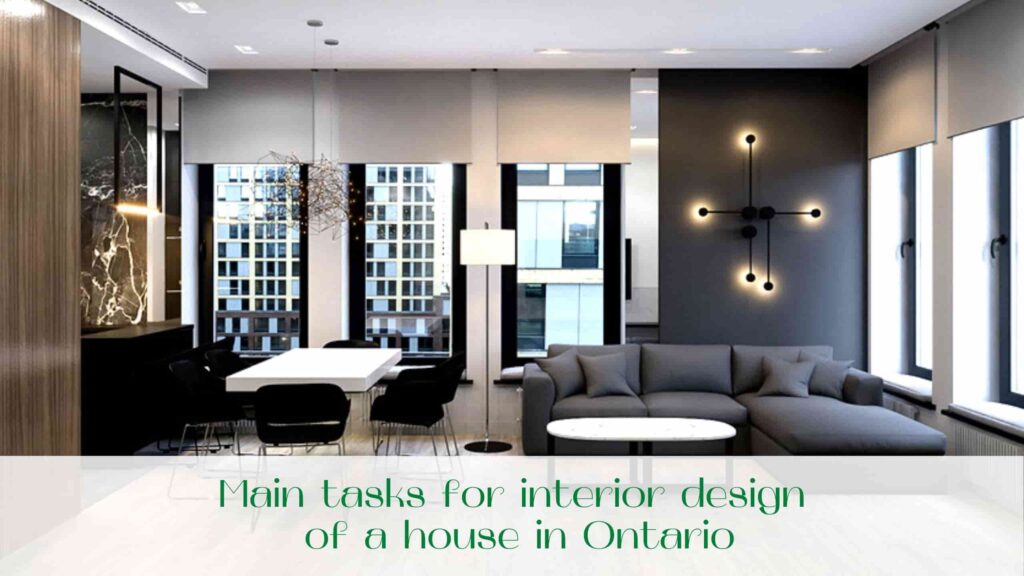
Each specialist interior design begins with the development of technical and sketch documentation. On the basis of such documentation, the construction organization will be able to implement architectural ideas for interior design. The set of works includes: development of heating and water supply system, layout, electrical wiring in the house and outdoors, decorative solutions and color palettes. If there is already a home design project, the construction team already understands what the interior will be after their work.

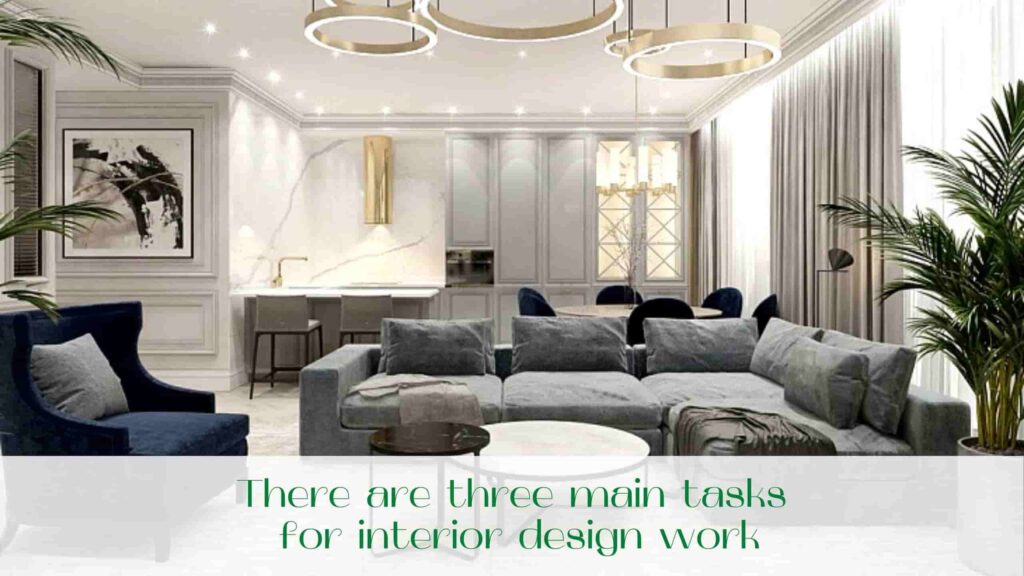
There are three main tasks for interior design work

  • The first task is to use certain types and types of construction and finishing materials in the algorithm of the design and planning process. When it is solved, it is possible to find out what will be the cost estimate with a small discrepancy from the actual costs. This is an important aspect, because it determines the future actions – or revision of the project or its further improvement. After all, it often happens that the customer, drawing in his imagination a picture of an interior element, does not guess how materially and laborious its implementation.
  • The second important point is how to find the unique architectural solution. The problem arises – how to achieve visualization of the desired comfort of the home atmosphere. A good interior designer with professional delicacy will be able to determine the vitality of the customer. And with its help he has a great opportunity to find a way to the realization of fantasies in creating a special interior.
  • And the third problem is necessity to carry out the careful analysis of technical resources of the given inhabited area. This course of work will make it possible to take into account the capacity space within which you can implement creative ideas. To do this, you need to possess the necessary engineering skills, knowledge of standards and skillfully apply these skills, creating a multifunctionality of each square meter.

The art of combining all three above-mentioned aspects of design work is the main goal of specialists from any reputable construction and design company.

Designer’s work

The designer defines the formal qualities of the product, strives to achieve harmony with the external features, functionality and structure of the product. There are many kinds of designs that will help to achieve harmony, exclusivity, individuality in the interior of the house, office, cottage. Coziness and tranquility will bring the long-awaited warmth and rest.

The interior design of the apartment is usually done in stages. First, a sketch of the project is made, then there is the visualization of the interior, then the design comes to work and ends with the whole decor. At all stages of work the client is guaranteed to receive a full package of all necessary documents.

So, let’s take a closer look at the stages of work, the main list of which was presented above.

Interior design begins with the development of a sketch of the future project.

Development and refinement of the sketch design project

Before starting work, the first thing to do is to agree on all issues, all proposals and solutions to problems. It is necessary to clearly define the layout of the house, highlight the zones, perform preliminary arrangement of furniture, clearly define the style and nature of the interior. All this should meet absolutely all requirements and ideas of the customer. All these ideas are displayed in detail in the sketch project, which will characterize the interior, as in details, and will show the general picture.

All this is necessary to evaluate the project, to form more precise requirements and vision of the future design of the house. This project will include materials on the measurement plan, plan for the placement of furniture and plumbing, disassembly and installation plan, the exposition of the premises after the redevelopment.

The second stage of interior design is visualization. Thanks to the visualization of interior design, the customer will get a full understanding and vision of the interior of his apartment after the repair. He will see a combination of colors, selected materials, furniture, the game of light and lighting, and determine how it corresponds to his idea of the only, exclusive, ideal interior of the house.

With the author’s supervision, the customer does not need to worry about the delivery of the ordered products, the engaged specialist will follow the schedule of both deliveries and payments. He can also independently draw up and agree on a schedule of deliveries profitable for the client, to track and choose the most optimal cost of materials for decoration and repair of the apartment, lighting fixtures, furniture, plumbing. The customer does not need to search for suppliers himself. The specialist in supervision will select the most reliable sellers of all necessary materials, which will provide the highest quality goods.

And this you can get thanks to our company “Captain Handy”. You can call us  and we will help you with everything you need to repair and renovation.

Read our blog!
FREE ESTIMATE

Award-winning Landscaping Company

CONTACT US TODAY
for a Free Estimate!

Contact us and speak with one of our service professionals to schedule a visit today!

GET A FREE QUOTE