Uncategorized Archives - Page 5 of 14 - Captain Handy
+1 (647) 830-4834
image-How-to-make-a-lawn-with-your-own-hands

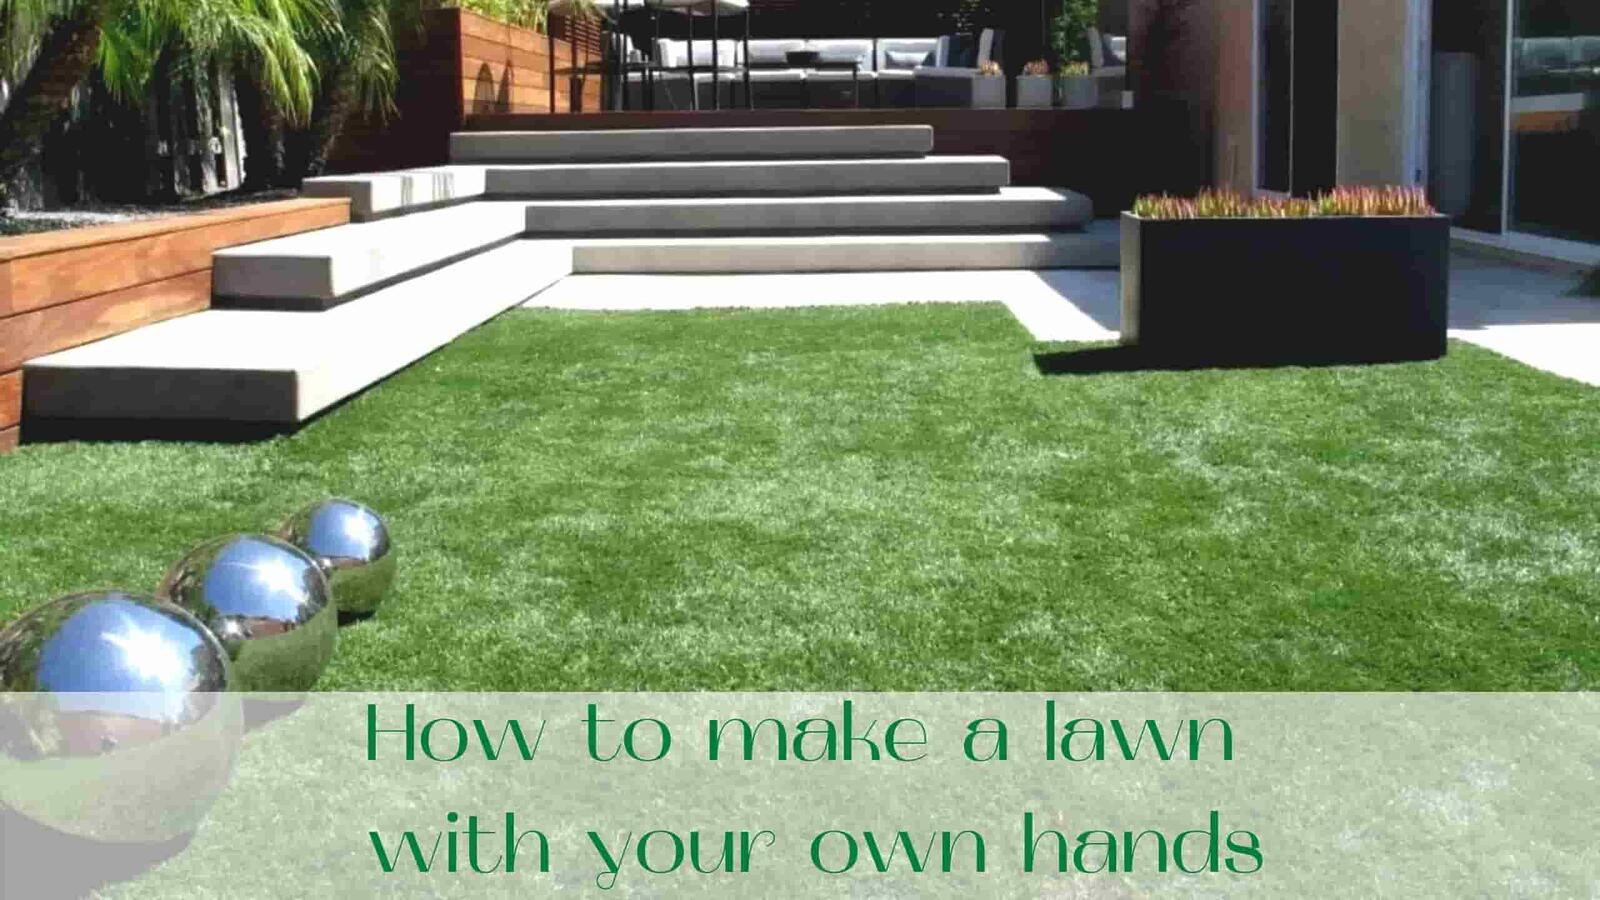
How to make lawn with your own hands

The smooth, green surface of a well-maintained lawn appeals to many people. But to enjoy a luxurious, malachite-coloured carpet, it’s not enough just to level the lawn and put the grass seeds in the ground. If you don’t plan to devote time to your lawn, it’s best not to even start.

Plant calendula, it’s beautiful and requires no care. Or something tasty – strawberries, for example. Because the lawn requires attention: mowing, watering, care.

If you are morally reconciled to it, then this article is for you. We will tell you in detail how to mow your own lawn, how to take care of it and how to solve the inevitable problems.

How to make a lawn with your own hands?

The most important thing when making a lawn in Ontario is not to save money. Neither on the cost of seeds, nor on the time to prepare the site. Believe me, then you will be sorry for your efforts.Because an economy of $2 per square meter can end up with having to reseed your lawn several times during the season, rake and redo the site or the grass will fade in the first winter.  It’s better to do it right the first time and then just maintain the beauty.

Lawn soil in Ontario – site preparation
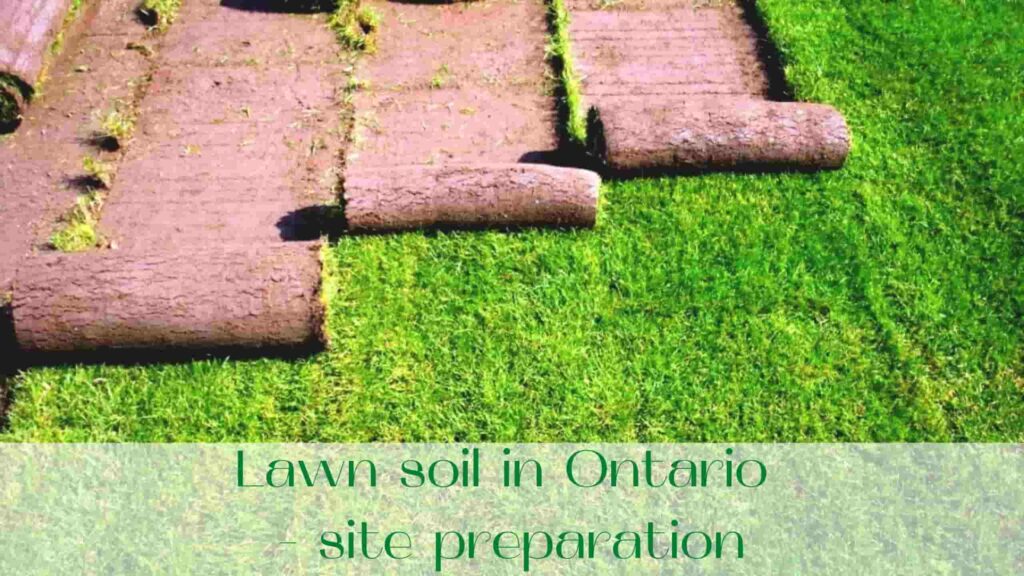
image-Lawn-soil-in-Ontario-site-preparation

The foundation for the lawn – it’s like the foundation for a house. The most important and responsible stage. For the lawn to develop in the best way, to be lush, strong and healthy, it is necessary to create optimal conditions.

  • First of all, examine the entire area under the lawn. If for some reason water stagnates somewhere after the rains or in the spring, you should make good drainage. In the future, this will save your lawn from a lot of problems. The soil must be well permeable to water and air.
  • Next, we mark out the area under the lawn.
  • Remove all stones, bricks, concrete bases from the plot.
  • Uproot all the plants on the site: grass, flowers, shrubs and trees, if it is provided by the plan. In some cases, trees can be left behind, carrying out all the necessary work under them.
  • If the site was already covered with some grass, you will have to get rid of it. There are several ways: the first is to treat it with herbicides, the second is to remove the top layer of turf. The choice of the appropriate method is up to you and depends on your personal preferences. If you are loyal to herbicides, you know that you have to treat the site at least 2 times with an interval of 3 weeks. And the seeds of lawn grass can be sown no earlier than 6 weeks after the herbicide treatment. A good compost can be made from the top layer of sod. Cut the top layer to a depth of around 5-8 cm, remove it and place it in a compost heap with the roots upwards. To speed up the rotting process, you can water the compost heap from time to time with biopreparation solutions.
  • Next, the plot should be digged to the depth of the bayonet of the spade. It is not necessary to make a turnover of the layer. The main task is to fluff up the bottom layer. And for this purpose, an ordinary pitchfork will also be suitable.

Important: Do not dig over the area when it is raining or after it has rained. This will cause excessive compaction of the soil. Wait until the weather is relatively dry, when all the water has already been absorbed.

After digging, you can work on improving the soil, if necessary. Remember, if plants and grasses have been growing and thriving on the site, do not reinvent the wheel and do not bring in new soil. By the way, about the new earth is a separate conversation. It is only appropriate where it is formed naturally, i.e. in the steppe regions. If you bring the land on your dried up swamp, then your plot will again turn into a swamp, all the advantages of the land will be washed away by the first rain.

If you want to improve the properties of the soil on the site for the lawn – put compost, fertilizer, bring fertile soil, typical for your region and your climate.

  1. The next important step is to level the area. You will not be able to properly care for the lawn if you have hollows and humps. Therefore, the entire plot should be carefully levelled with a rake or a special technique.
  2. After the first stage of leveling the soil should be compacted. Otherwise, after the first watering or rain in some places in the lawn may form depressions. For compaction it is better to use a special roller. If you do not have such equipment, use some kind of plate or boardwalk. It is important that the load on the ground was even and tangible.
  3. Then go over the site in small steps. Those hidden cavities that were not identified using the roller and plank, you can find another way – under your weight loose soil will sag and even fall through. In such newly detected depressions you need to add soil and recompact.

After the second stage of compaction once again pass over the site with a rake and level the ground.

It is best to start laying rolled lawn in Toronto from a corner of the plot. Unroll accurately so as not to damage the sod.The very technology of laying implies that it is necessary to fill the area gradually.  Neighboring rolls should be placed evenly with a minimum gap.

Lawn grass seeds in Ontario
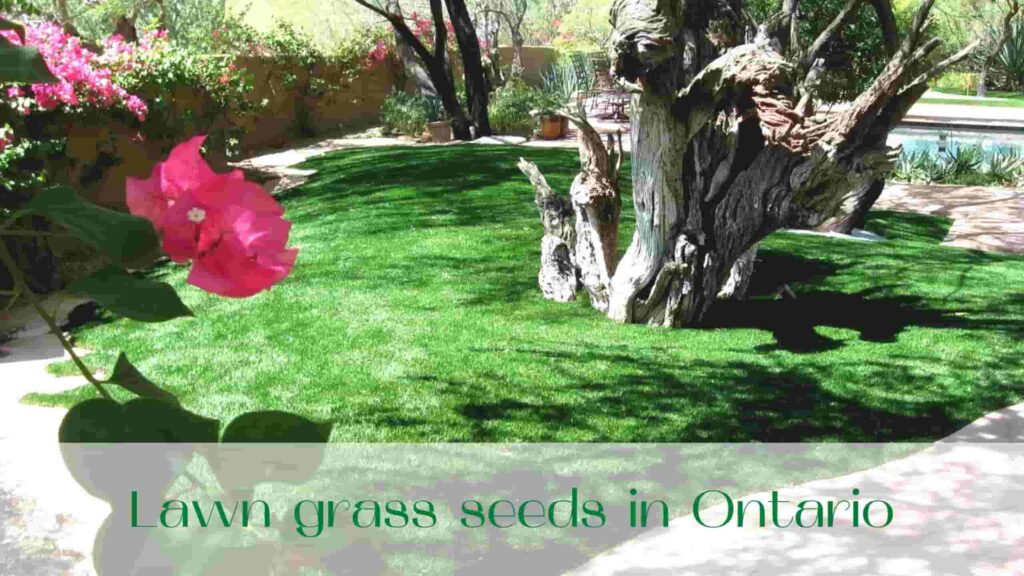
image-Lawn-grass-seeds-in-Ontario

After preparing a lawn plot, seeds are the second thing you should not skimp on. First, only buy seeds from reputable companies with a high germination rate. Second, select the variety mix best suited to your climate and region.

Lawn seeds consist of several varieties of grasses that complement each other in different characteristics. Depending on the conditions: sun or shade, what type of soil on the site are selected different varietal mixtures. Exactly the purpose of the lawn: Is it merely decorative or does it have to withstand negative factors, such as trampling on the sports lawn?

If you don’t want to waste time fighting disease and mowing too often, then only buy lawn grass seed of the highest quality. This purchase will more than pay off in saved nerves.

How to sow a new lawn in Toronto

It is best to sow the lawn in autumn or spring, when the soil warms up to 12 ° C. Do not sow in the hot summer, immature lawn grass shoots will simply die, forming sparsely.

  • The compacted soil on the plot should be slightly loosened with a rake to a depth of 1.5 – 2 cm.
  • Next, we take the seeds at the rate of 30-50 grams per 1 m.sq.m. Divide them into two portions-halves. First, we sow, passing along the plot, and the second portion of the seeds – across. This way the seeds will be distributed more evenly.
  • Now you can apply the granular multi-nutrient fertilizer and then gently tap the seeds and fertilizer in with a rake to a depth of 0,5 to 1,5 cm.
  • Roll the seeds with a roller, so they are not blown away by the wind. And the contact with the soil will be better.
  • The first watering is one of the most important. To ensure that the seeds are not washed out, it is better to use a fine sprinkler. About 20 liters per square meter will be enough.

The top layer of soil must be constantly moist until the first friendly shoots appear. Seeds are almost on the surface and cannot extract moisture from deeper layers of soil. So if necessary, in hot, dry weather you will have to water the lawn every day.

Rolled lawn laying in Toronto
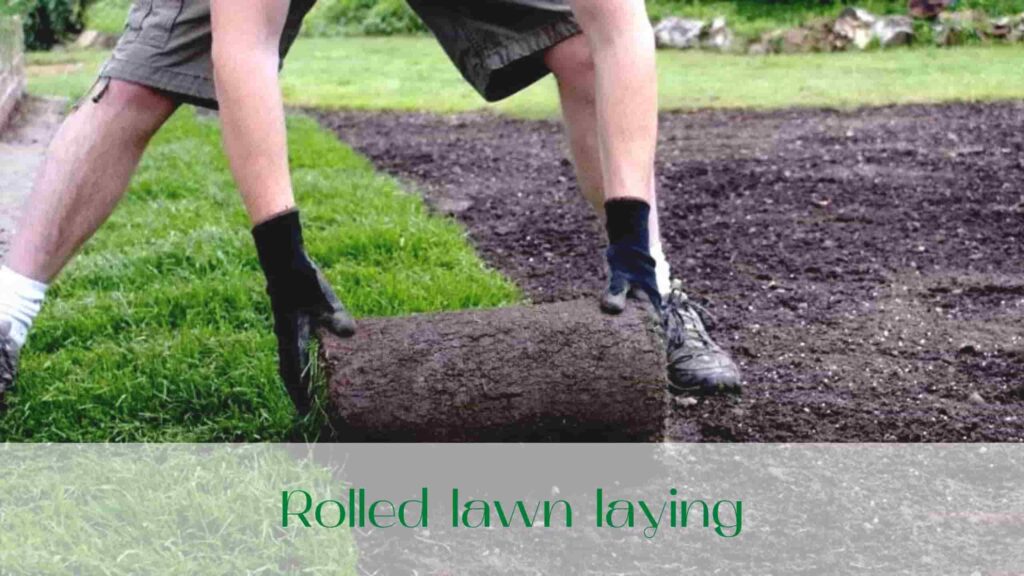
image-Rolled-lawn-laying-in-Toronto

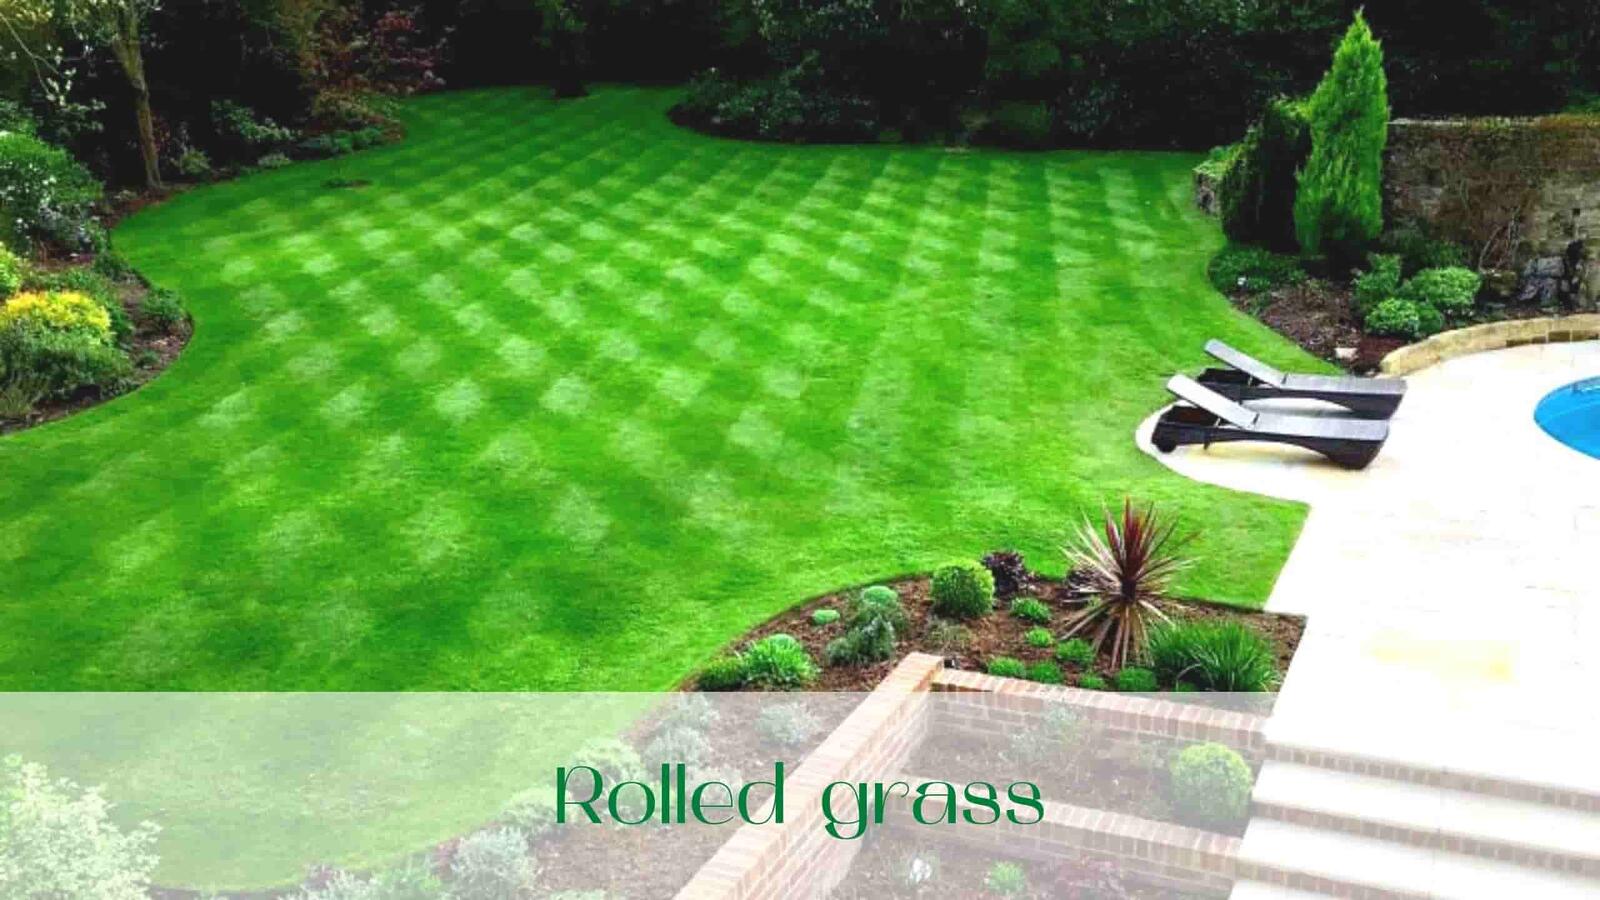
Many people have a question “what kind of lawn is better? A seeded lawn or a rolled lawn?”. The answer is always the one that is well looked after. If you don’t have time to deal with sowing lawns from seed, you can order ready-made turf in rolls.

 This will reduce time and increase costs. Non-specialist will not be able to determine by eye – a quality or substandard turf roll he had brought. Therefore, you will have to trust the professionals.

The first stages of laying lawn rolls are no different from the arrangement of the seeded. It is also necessary to prepare the site, level and roll it.

It is best to start laying rolled lawn from a corner of the plot. Unroll carefully so as not to damage the turf.The very technology of laying implies that it is necessary to fill the plot gradually .

 The adjacent rolls should be placed evenly with a minimum gap.

Important: Start watering the laid roll turf almost immediately after laying. Ideally, someone is still rolling out and laying the turf, and someone is already watering the lawn at the beginning of the plot. In sunny weather, start watering a maximum of one hour after laying, in cloudy weather – after 2 hours.

 If you delay watering, the turf can dry out in the sunlight and wind, and the grass will turn yellow. So better 10 liters poured in time than 30 liters, but with a delay of 3 hours.

The first watering of the lawn is performed at the rate of 30 liters per square meter.  Particular attention is paid to the edges of the plot, as well as heavily exposed sunny areas.

  • For the first week after laying turf in Toronto, water every day in the morning and evening at a rate of 25-40 litres per metre. Towards the end of the week, fresh, thin roots should appear on the underside of the turf.
  • The second week we water every 1 day. If the grass has grown to a sufficient height, carry out the first mowing.
  • The third week, water 2 – 3 times a week and mow the lawn a second time if necessary. Only now cut at an angle opposite to the first cut.

After the fourth week, the rolled lawn in Toronto is completely ready for use. Remember that for the first few weeks after laying you should not walk on the lawn or do any other active activities.

Lawn care

The lawn should be cared for – this is an axiom. If you think “now I’ll throw grass seeds here and will not do anything else, they themselves will grow and will be beautiful”, then you can not even bother to think about a beautiful lawn. Leave everything as it is – couch grass will grow, it will be beautiful. Green even surface of the lawn, casting malachite – the result of painstaking and regular care.

Mowing the lawn: When to mow, how to mow and to what height

Lawns need to be cut not only for aesthetic reasons but also for practical reasons. Regular cutting regularly regularly stimulates the growth of the grass, new shoots are constantly being produced and the grass is germinating. This keeps the lawn green and yellow for a long time, even in late autumn.

Turf also grows as a result of mowing. And the stronger and thicker it is, the more successfully it can hold back weeds. Thick turf withstands more stress and is more resistant to trampling.
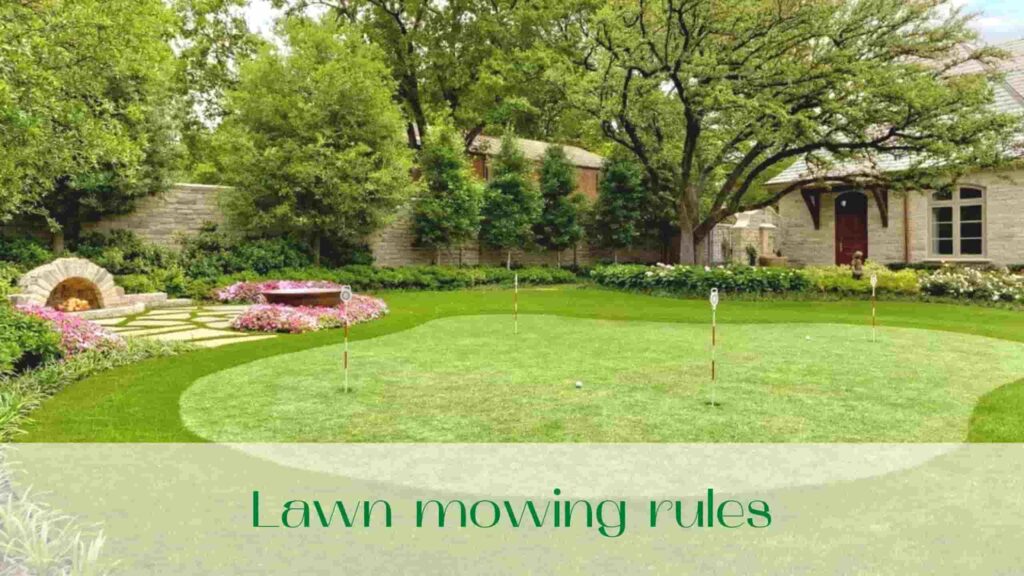
image-Lawn-mowing-rules

Lawn mowing rules:

  • The lawn should be mowed every week. But there are times when it is necessary to mow more often, up to every day. This is the case with sports lawns, for example. The rainy season is also a reason to mow more often.
  • Not less than 5 – 6 cm should be mown on a regular lawn and not less than 3 cm on a parterre lawn.
  • Never cut more than 1/3 of the stem height in one cut. If you have started up your lawn and it is now 12 cm high, the first cut should be at a height of 8 cm. The second cut after 3 to 5 days should be 4 – 5 cm. This is due to the fact that mowing is a great stress to the grass. And if you immediately remove a large part of the vegetative stem, the lawn can fade and get sick.
  • Each subsequent mowing of the lawn should be in the opposite direction from the previous one. It is for this purpose to make schemes of the passage of the lawnmower on the site. To do the opposite next time. Changing the direction of mowing stimulates the even development of grass, compacts the turf.
  • Only mow in dry weather. Then the mower does not get clogged with wet grass, the wheels do not slip and do not leave traces.
  • The blades must be sharp. Dull blades injure the stem and cause the grass to turn brown.

After mowing the main strip of lawn, the edges and any difficult areas – around trees or other obstacles – should be carefully trimmed. Garden shears or a trimmer can be used for this purpose.

The optimum time to mow your lawn depends on the region. It’s best to look at the temperature. If the average daily temperature is above +10 ° C, then you can mow. This applies to the border moments of spring and autumn.

Dry grass combing – scarifying

It is necessary to comb out the lawn in order to allow the grass to develop normally. The dense felt that forms after the winter can prevent air from getting to the grass roots. It also causes water to stagnate on the surface of the lawn, thereby increasing the risk of fungal disease.

Scarifying should be done when the topsoil is dry. You can use both an ordinary fan rake and special equipment.

At first, combing movements should be done along the plot, and then across it. The combed felt will make excellent compost.

Aeration – piercing the sod

Only dense turf should be pierced. If your Toronto lawn is only six months old, you won’t need this drastic measure. As the lawn develops, its turf gets denser and thicker.

Sooner or later there comes a point where the roots stop growing, and with them the green grass becomes less and less dense. Also, dense turf can prevent the penetration of moisture and air into the lower layers of the root layer.

An ordinary pitchfork will be good for the aeration process. It is necessary to pierce to a depth of 8 – 10 cm, with pitchfork spacing also about 10 cm. Due to the general loosening of the soil, the roots begin to grow intensively, the inflow of air and moisture to the roots increases.

Lawn watering
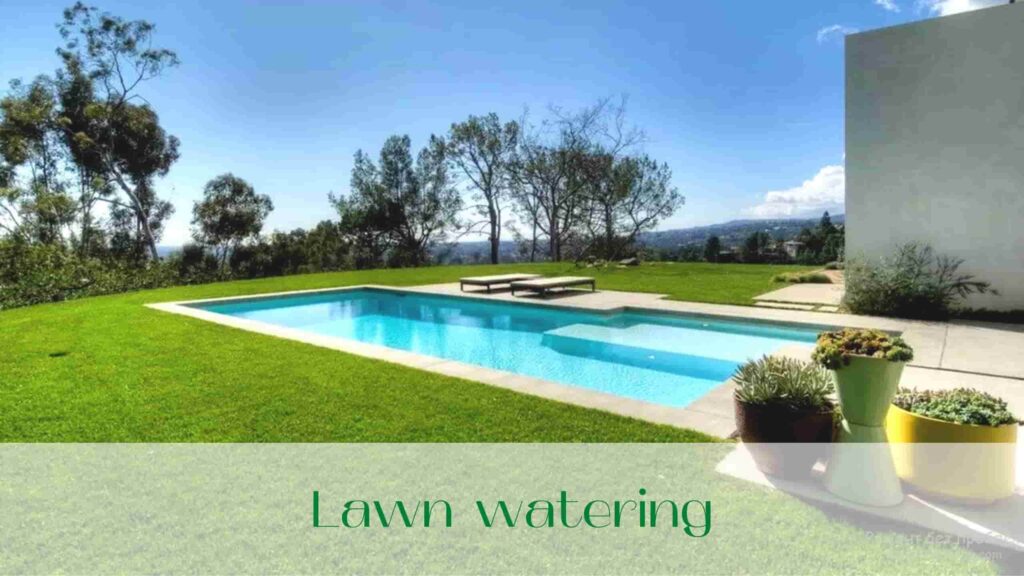
image-Lawn-watering

If you want your lawn to always be green and fresh, you can’t do without extra watering. Do not rely on natural processes. Over time, the grass will begin to wither, lose its luster, begin to dry out, and the entire lawn will turn gray or even brown.

In addition, with a lack of moisture, weeds proliferate abundantly, and lawn grasses are not able to suppress them.

  • During normal times, 1 to 2 waterings per week is enough. At the rate of 20 to 40 liters per square meter. Or you can orient in another way: the soil should be well soaked to a depth of 10 cm.
  • Evening is the optimal time for watering. Water is well absorbed and evaporation is less.
  • In dry weather, watering should be no more than 3 – 4 times a week.
  • Remember that too much moisture is scarier than too little. Water your lawn only when it has dried out.

Small sprinklers should preferably be used for watering.

Mulching

Lawn mulching in Toronto is not obligatory, but it does increase air and water permeability and encourages the growth of young grass shoots. In addition, mulch is a natural source of nutrients. A mulched lawn suffers less from the scorching sun and slows down the evaporation of moisture.

Peat and sand can be used as mulch.  Mulching material should be evenly spread over the entire surface of the lawn at the rate of 1 – 2 kg per square meter.

Mulching should be done either in spring or in autumn – before the lawn goes to winter. The main thing before mulching you must mow and prick the turf.

Scarifying

Under the scary word “scarifying” there is such a thing as a vertical cut of the turf. When dense, overgrown turf stops letting water through properly, nutrients, air and water cannot reach the lower layers where the roots live. And on the surface, where water stagnates, fungal diseases can run rampant.

Cutting through the turf vertically allows water to seep into the cuts. The site as a whole is affected as a rejuvenation procedure.

Scarifying can be done only once a year – in the spring at +10 ° C, using special equipment. It is obligatory in dry weather.

During the season, the lawn can be fertilized, using complex mineral fertilizers. Remember the main rule – quick nitrogen in spring, phosphorus and potassium in autumn. Do not forget that after fertilizing the lawn must be watered.

All these recommendations are just a canvas, the basis for growing a beautiful lawn. But there are always private cases, diseases, moles and other problems. Especially from them suffer in early spring, when the snow comes off and the eye opens an unsightly picture.

A beautiful green lawn is the result of care and maintenance. Remember this. Even in winter there is work for you to keep your lawn beautiful and healthy. A lawn on a slope requires special attention.

Lawn restoration after winter – solving problems

Situation familiar to many: all last season you admired the beauty of their green lawns, and the spring, when the snow melted, your eyes appeared a dismal sight – here and there spoils, grass has faded or turned yellow, and piles left by moles. Do not be sad, the former beauty of your masterpiece can be restored.

First and foremost, you should know that many problems could have been avoided if you took care of your lawn properly during the winter:

  • When the lawn is covered with snow, it should not be driven on or actively traversed. Under the footprints or wheels of a car, the grass can become crushed and dry out. When the snow level is above 30 cm, you can walk on the lawn, but very carefully. By the way, if the winter is not very snowy, it is advisable to increase the amount of snow, setting snow stops. A thick layer of snow will perfectly protect the lawn from freezing.
  • With the beginning of spring an ice crust begins to form on the surface of the snow cover – you should definitely break it up. Under the ice crust the air exchange stops, this will inevitably lead to the grass drying out.
  • During the period when the snow is melting massively, you can not allow water to accumulate in the hollows. If you see a puddle, use a pitchfork to cut into the ground about 10 cm down the middle.
  • If snow drifts have accumulated on the lawn, they should be spread evenly over the area.

Remember that the area in the lowlands, where water always accumulates, must be equipped with good drainage.

Lawn problems in spring
image-Lawn-problems-in-spring

So spring has sprung and you can see an unpleasant picture.

Yellow spots.

There can be several reasons for yellow spots on the lawn: Gasoline or oil were accidentally spilled when you filled up the mower, dog urine might have scorched the grass on the lawn or you yourself poured too much fertilizer containing quick nitrogen and then walked over the patch. Lack of moisture could also be the cause of the yellowing, which is unlikely after a snowy winter.

What to do? Profusely water the site with water, soaking the ground for 20 cm. When the grass has recovered, mow it. If the yellowing has not gone away, water and mow several times. If after 3-4 watering/mowing procedures the yellowing has not disappeared, then the area will have to be reseeded.

And you must teach your dog to go to the toilet on the lawn, otherwise yellow spots and even bald spots will be a permanent problem for you. Make a special place for it and be prepared for the ground to be bare.

Moss on the lawn is removed with an ordinary fan rake. Not only moss is combed out, but also old felt and fallen leaves. In places where moss has settled thoroughly and combing (scarifying) does not help, it will be necessary to remove the top layer of turf and reseed the area.

Piles of earth after earthworms can simply be swept up with a broom. Some experts recommend getting rid of earthworms on your property, but trust me, the benefits they bring to your whole property are not comparable to the effort you would put into simply sweeping the “ugly” piles off your lawn.

Make sure that compacted patches of grass on your lawn are “fluffed up”. A normal pitchfork is best for this. Use them to penetrate the ground to a depth of 8 – 10 cm and do not trample over the matted areas.

If you do not solve the problem of compacted areas, over time, the grass will simply grow out and disappear there. The fact is that dense felt and turf do not let water and air to the grass roots. It is advisable to aerate with a rake several times a season.

Lawn Spots
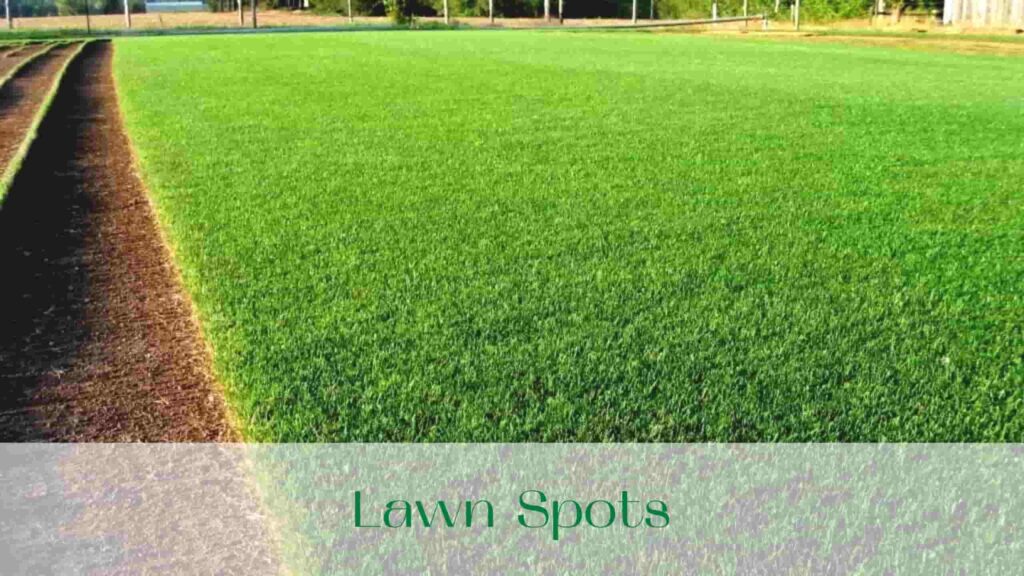
image-Lawn-Spots

There are several reasons for lawn spits:

  • Places where ice or snow drifts have accumulated – become extinct first.
  • Places where water accumulated during mass snowmelt – get soaked.
  • Unsuitable varieties of grasses were sown. For example, bluegrasses do not take root in the shade.

How to deal with thawing is described above. It can be simply avoided by carrying out certain procedures in winter. For shady areas, choose special grass mixes called “park grasses.”

If there is already a gaps, it is necessary to perform a “patching” repair.

  • Cut out the spoiled section of sod.
  • Pour fresh fertile soil.
  • Sow seeds in a layer of 1 – 1.5 cm evenly.
  • Deepen into the ground with a rake.
  • Water.

Be sure to use seeds of the same variety mix as the whole lawn, otherwise the newly sown area will be different in color.

Moles in the lawn

Piles of soil after moles, like hills in the steppe, do not add beauty to the green lawn. To discourage moles from the site can be different ways: sound deterrents, mothballs, it helps if you sow along the perimeter of the site leguminous grass.

Earth hills can simply be carefully collected with a shovel and taken out of the plot, the rest of the soil should be pushed into the burrow. Then the site should be observed. After the first rain, the soil may settle. Then simply top up the soil and sow new grass.

A beautiful green lawn in Ontario is the result of care and attention. Remember this. Even in winter, there’s work for you to do to keep your lawn beautiful and healthy.

A beautiful green lawn is the result of care and attention. Remember this. Even in winter, there’s work for you to do to keep your lawn beautiful and healthy.

And “Captain Handy” company will help you with any difficulties connected with your lawn and will do the lawn laying quickly and qualitatively.

Read our blog and call us!

image-Rolled-grass-in-Toronto-and-Ontario

Sources of rolled grass are specialized farms – sod nurseries. For landscaping slopes and slopes, sod from natural meadows (rough turf) is used. This method of making rolled grass is often used in landscaping. Applying in landscaping important elements of the layout of the object – in the design of critical areas in front of buildings, in central squares, when framing flower beds, paths, the device of sports grounds, decorative slopes.

For the renovation of facilities use areas of cultural turf in gardens and parks, allocated for reconstruction.

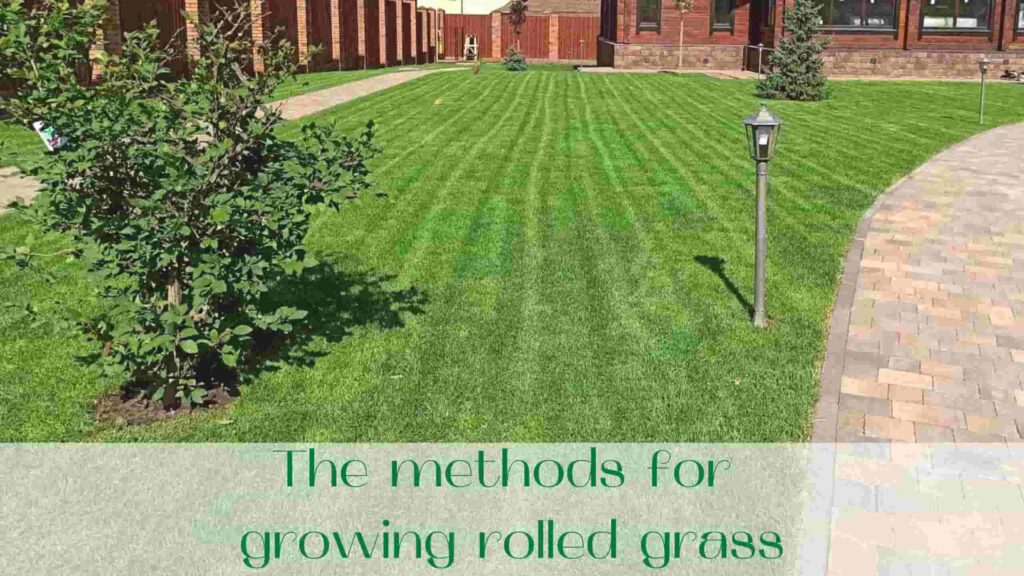
The methods for growing rolled grass in Ontario

The methods for growing rolled grass in Ontario are varied. The simplest is the formation of rolled lawns on the basis impermeable to the roots of grass, for example, on a polyethylene film, spread out on the densely rolled soil, on a concrete or asphalt pad. On the basis of a thin layer of substrate placed upland and lowland peat mixed with fertile soil (in a ratio of 1:1) or peat and compost (ratio 4:1). The thickness of the substrate should be up to 10 cm.

The substrate is prepared in advance. If the reaction of the mixture is acidic, lime must be added. The optimum acidity of the substrate should be 5.6 – 7.5.

In prepared mix mineral fertilizers to the following rates, kg / ha: potassium – 36; phosphorus – 40; nitrogen – 60 – 90 (1.5 kg of superphosphate, 1 kg of potassium nitrate and 0.5 kg of ammonium nitrate per 1 m3 of mixture).

Seeds of lawn grasses such as bluegrass, fescue, ryegrass are sown on the substrate, the rate of seeding is increased by 2 times. Seeding is done in spring. Optimal temperature for grass growth is 15 – 24 ° C.

Seeds are watered thoroughly (especially in the first two weeks) – 2 times a day at the rate of 3-5 l/m2. As the grass grows and the root system strengthens, the plants are irrigated once at a rate of 10 l/m2.

Watering can be combined with liquid fertilizer. After the grass grows to a height of 12 – 15 cm, mowing is carried out (mowing height is 4 – 5 cm). Rolled grass is considered ready for sale when it is easily detached from the base of the beds in monolithic plates and well rolled.

 The mass of 1 m2 of turf should be 23 – 27 kg. The weight of a 2.5 m long monolith should not exceed 50-60 kg. Ready-for-sale turf should be evenly colored, without gaps and free of weeds. Root system should form a continuous network of intertwined roots, many of which are white.

Ready-made turf is cut into rolls 2.5 – 6 m long or more and 1 – 1.5 m wide. Cut Rolled grass is rolled into rolls using special rods and transported to the place of loading on vehicles. When selling turf in the root-containing layer of soil, the relative humidity should be at least 60% of the full field moisture capacity.

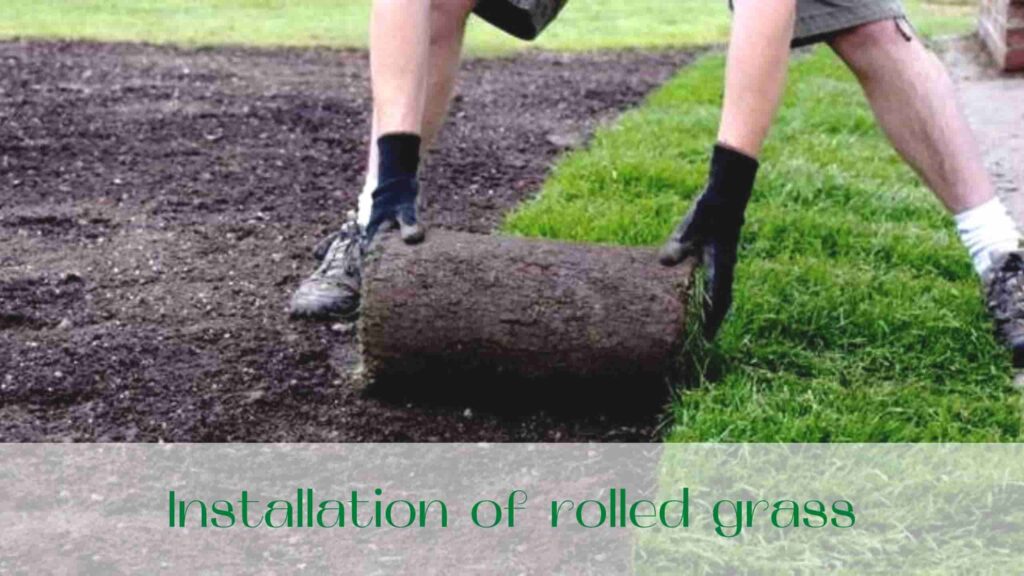
Installation of rolled grass

The optimum timing for making rolled grass by laying turf on the surface of the site are: spring and summer (from May 15 to June 15) and autumn (15 August to September 15) – for the forest zone and forest steppe, from July 15 to August 15 – for the northern regions of the forest zone. This is the time of the most intensive shoot formation in lawn grasses.

The soil should not be frozen, too dry or saturated with moisture. In dry weather, irrigation of the base (approximate rate – 5 – 6 l/m2) is required to avoid drying and death of turf roots.

The plot to be sodded is planned according to the design marks, mark the edges of the borders by pulling cords. The soil of the plot should be well moistened. Rolled grass in Toronto  is spread on the prepared surface.

 Tapes of “turf carpet” are spread in strips, tightly fitted to each other, carefully compacting each row with a specially made press of thick boards on a crank.

Rolled grass should end with a whole ribbon or half of it. Seams (gaps) between the strips are filled with plant soil of sandy loamy mechanical composition, which facilitates the interlocking of the rolled grass strips. Workers are on the tapes themselves while laying the turf, but they must stand on a specially lined wide board.

Experience shows that after 10 – 12 days the rolled grass will grow into the soil. The first mowing of the regrown grass should be done after 15 days. For mowing it is recommended to use light mowers, the best ones are on an air cushion.

 If you mow the grassland in the autumn, apply a quick-acting nitrogen fertiliser (such as urea) the following spring. During the season, it is necessary to keep the soil layer moisture at 60 – 70% of the full field moisture capacity.

And you can order rolled grass from Captain Handy. We are engaged in all kinds of landscape design services for not the first year, and our specialists have great experience in this business.

Read our blog and call us!

image-Rolled-lawn-or-seeded-lawn-what-to-choose

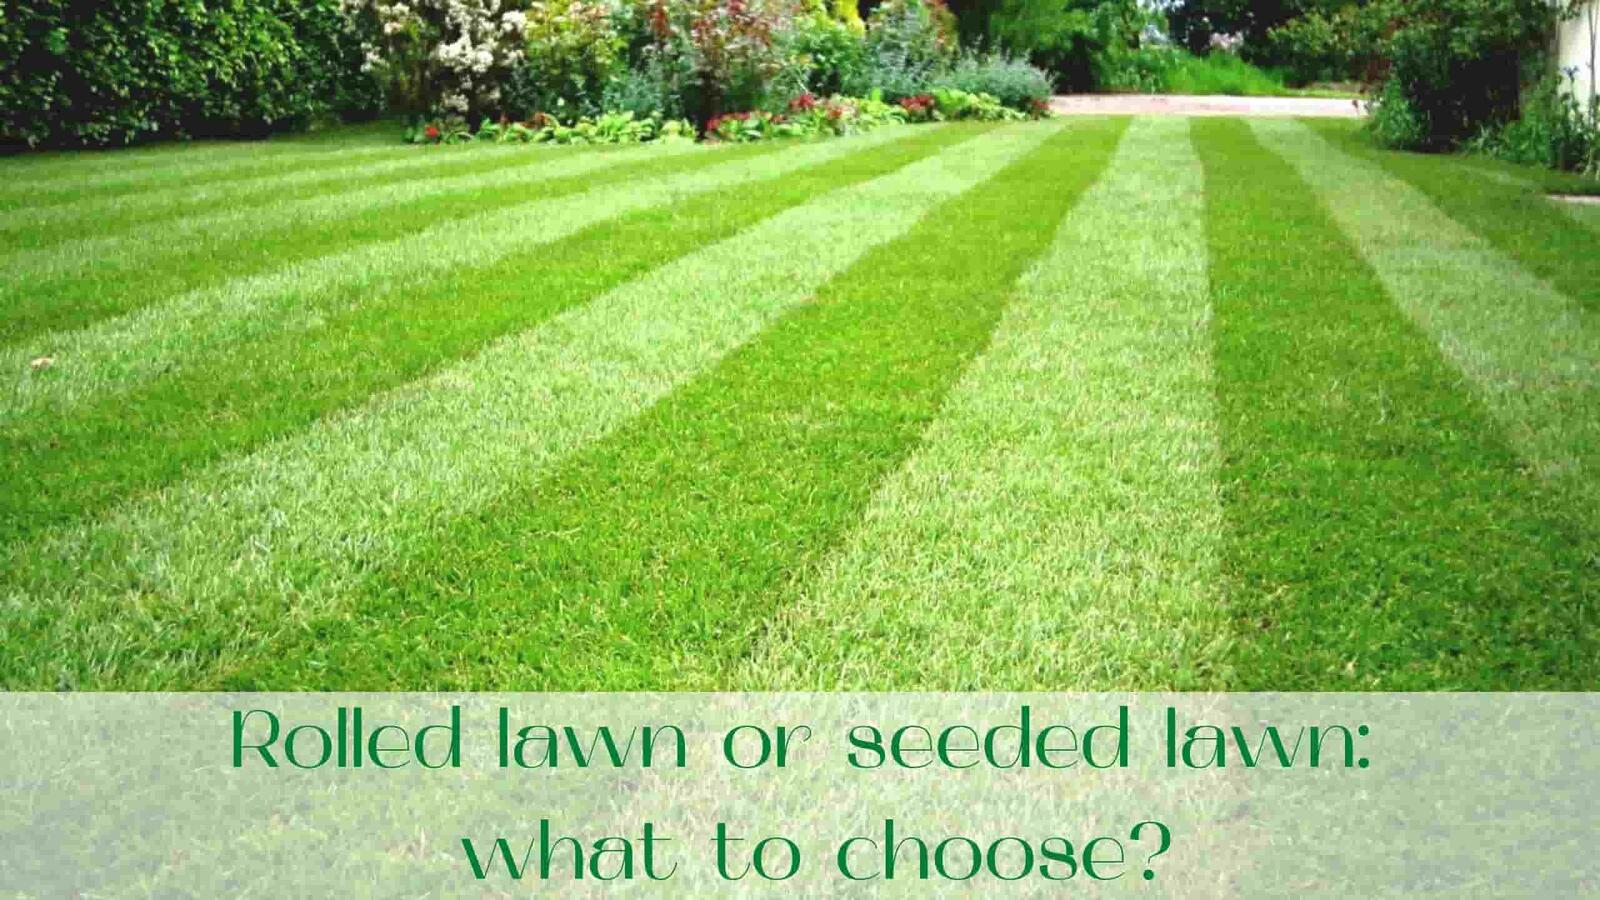
The season is about to begin, and we are getting questions about lawns. One of the most popular questions is about the technology of lawn creation, or rather the choice between seeded and rolled lawn. Which to choose and what is the difference?

Purely biologically…

there is no difference. Rolled lawn is the same as a seeded lawn, just that it has grown in the field, under the supervision of experienced agronomists, with constant careful care for at least two years.

Its turf has had time to form, has become resilient and dense. That’s why it can be cut and rolled – you can’t do that with freshly sown turf. “Proper” turf should not be thicker than 2 cm, and it does not crumble even if it is rolled up and unfolded several times.

Rolled lawn or seeded lawn in Ontario.

Grass composition.

Both roll lawn and seed lawn consist of the same grasses: it is bluegrass and fescue. The features of a particular type of lawn are determined by their shares: each of these grasses has its pros and cons, so they try to combine them. Fescue easily tolerates shade, undemanding to care, bluegrass looks great throughout the season, feels good in the heat and in the cold, has a beautiful dark green color, but he has his weaknesses: he is more demanding to care and does not like shade.

For the production of rolled lawn in Toronto use these types of grass. They are durable, slow to develop and give a dense entanglement of rhizomes. The best are considered purely bluegrass lawns, consisting of different varieties of bluegrass, although some landscapers dispute this.

Grass mixtures for seeded lawns usually include, in addition to bluegrass and fescue, some ryegrass. The point is that he germinates very quickly, and so the lawn begins to green up just as quickly. The life span of ryegrass is short, but just in that time the bluegrass has time to get stronger.

Just a matter of time

Rolled lawn is designed specifically for fast landscaping. Rolled lawn is laid on the day of cutting, so your area is literally transformed before your eyes.

Norm of laying for the crew – 5 hectares per day; you can estimate how much time your territory will be covered with a green carpet.

Seeded turf, of course, does not sprout so quickly. It will take 2-3 weeks before the first grass shoots out of the ground. After 3-4 weeks there is already something to look at, but the grass will not be as dense as a roll lawn for a long time: it will be bushy, not everywhere will be even grass stand, there will be a lot of weeds, etc.

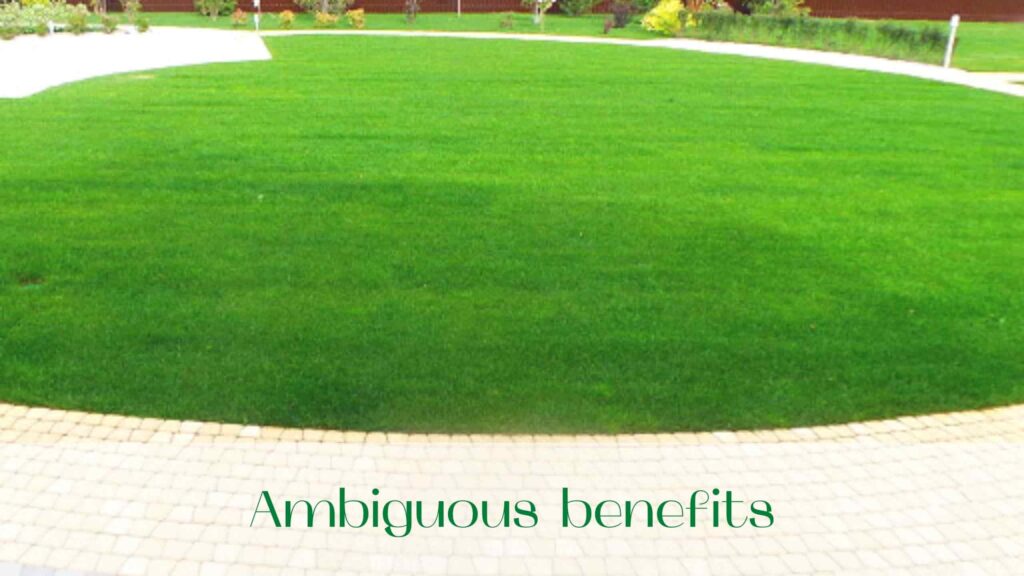
Ambiguous benefits. Rolled lawn or seeded lawn

When asked “which lawn is cheaper” at first everyone answers “of course, sowing”. But after the first sowing experience, people’s opinion changes. Why is this so?

Well, it is true that the seed price of sown turf is considerably lower than that of rolled lawn for the same area. But then there are the nuances.

First, under the roll lawn need to put not less than 10cm of fertile soil, and under the seeding – 15-20cm, 1,5-2 times more. And soil costs money. As well as its delivery, as well as work on its distribution, rolling, loosening…

Secondly, the cost of care for rolled lawns is several times lower than for the seeded one. And if the care of rolled lawn is 70% aesthetics issue, it is a problem of survival for sown lawn – without timely mowing, feeding, watering, treatment of weeds, it just simply will die.

As a result, a seed lawn will take at least as much money and at least twice as much effort. There is no guarantee of the result.

Can a seeded lawn achieve the qualities of a rolled lawn?

In principle, yes, you can. But it will take at least 2-3 years of careful, competent care. Watering, feeding, mowing, weed control, combing out, sanding, aeration – these words will enter your vocabulary, if you decide to take such serious care of your lawn. It takes a lot of effort, time and money.

For a start, it’s the weeds – and not the grass – that get in first, and very actively. And fighting the weeds will require money and effort. And this is only the first part of the problem.
And there are also typical diseases of lawn grass … In the fields, they are struggling with professional agronomists, and ready rolled lawn is much less susceptible to disease than the seeded one – because in the first case, we have an established ecosystem, and in the second, it is only forming.

So the answer is yes, you can make a lawn that is as good as a rolled one. But it will take 2-3 years of serious work and considerable expense. But it is much easier and cheaper to maintain the quality of rolled lawn in Ontario.

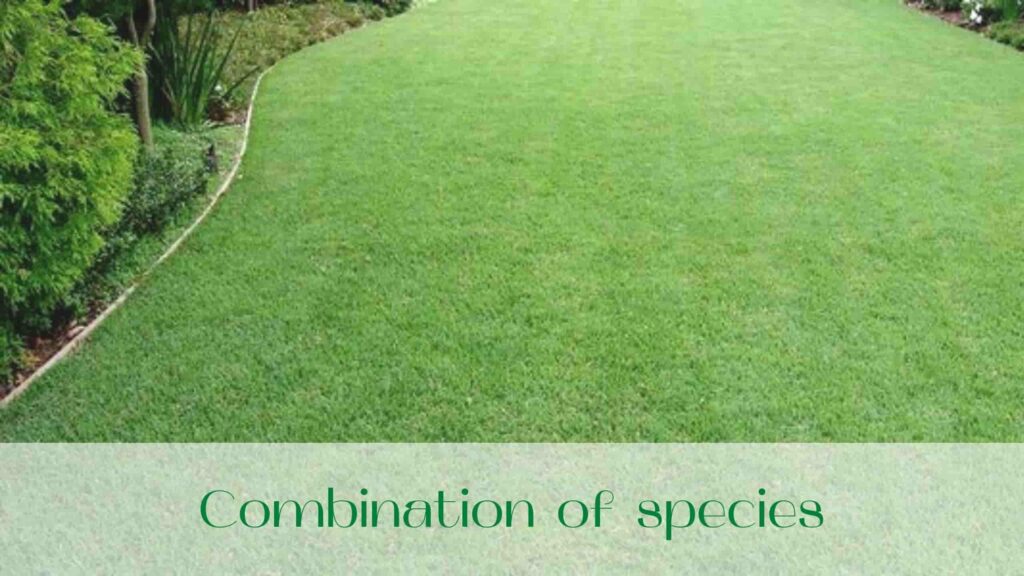
Combination of species. Rolled lawn or seeded lawn

There are two basic options to combine the benefits of rolled lawn and sown lawn.

  • First: Rolled lawn is laid in view areas, and seeding is done in background, shaded and not too important areas. All the beauty, of course, is left to the front areas, and the less important spaces simply create a backdrop. Then you can concentrate on maintaining the rolled lawn, and give the seeded areas purely formal attention.
  • Second: lay rolled lawn in Ontario, and repair as needed with seeded lawns. But here it is very important to guess the composition, otherwise the repaired places will differ in color and texture. It is best to use the same seeds that your supplier uses in the fields – then you will have a much better chance of “hitting the color” and texture, and the lawn will remain uniform and uniform in color.

To summarize:

Rolled lawn in Ontario are faster (the area is ready in 1-2 days), more reliable and easier, although more expensive at first.

Sown turf transforms the site much slower (it will take 2-4 weeks instead of 1-2 days), requires serious and competent care. It is cheaper at first, but in the end the difference is not so great.

And the reliable company “Captain Handy” will help to lay rolled lawn. To order roll lawns at a low price simply contact us by phone number in the section “Contacts”.

Read our blog and call us!

image-Ways-to-create-a-lawn-in-Ontario

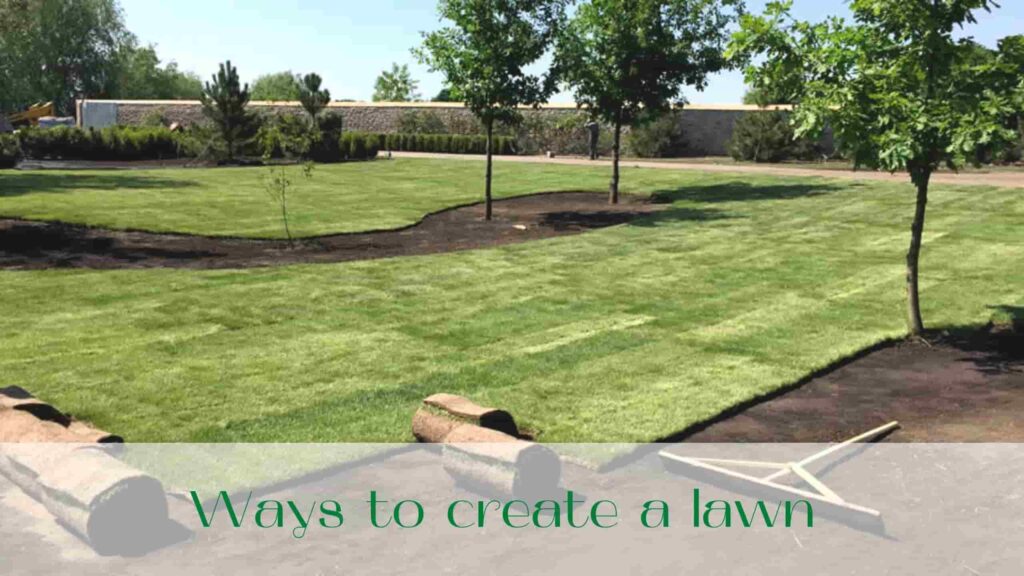
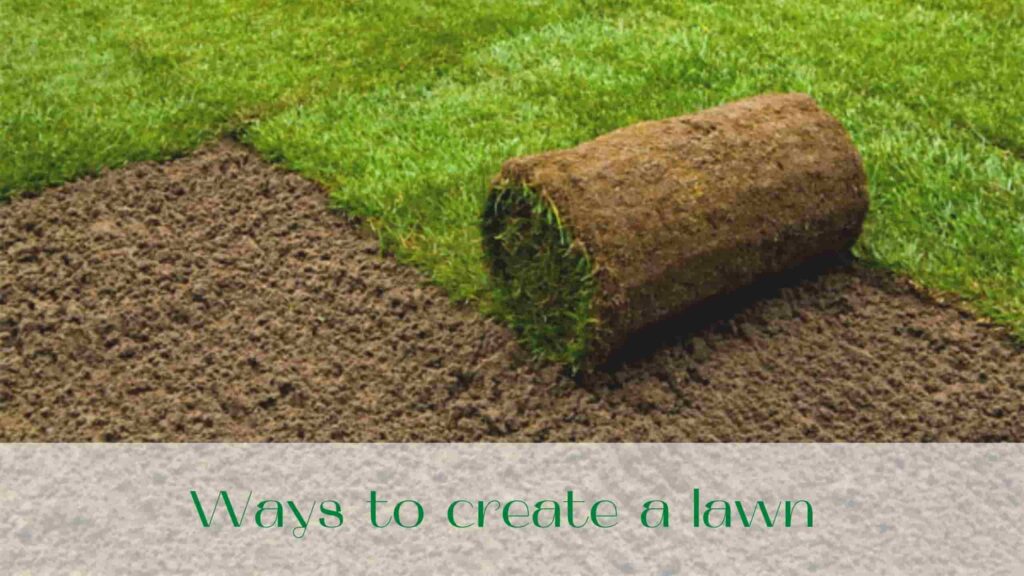
Lawns are created not only by sowing seeds, but also by turfing and vegetative propagation of grass.

Turfing in Ontario is the fastest way to create a lawn. Turf should be strong, Roll Turf laying should be flat, without rough grass, with well developed underground shoots and roots, and the soil should be light. If the soil of the turf contains a lot of clay and silt particles, the field will not pass water well, in wet weather appears muddy, and after drying the field will become very hard. It is much easier to improve the species composition of the turf after it has been laid on the field than the mechanical composition of the soil.

The size of the turf is 25 X 40, 30 X 30 or 20 X 30 cm, the thickness is 3-6 cm. Before laying the turf fertilize the soil with the following mixture: bone meal – 5 parts, superphosphate – 3, potassium chloride – 2, ammonium sulfate – 2 parts (by weight) (50-80 g of mixture per 1 m2). The soil is prepared in the same way as before sowing the seeds.

The best time for field turfing is spring, autumn.

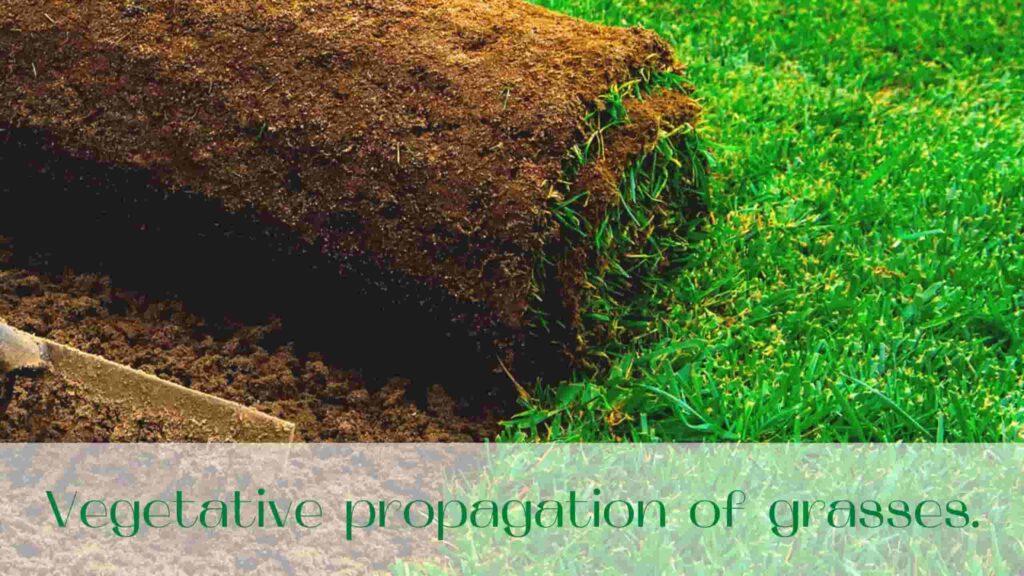
Vegetative propagation of grasses. Turfing in Toronto.

Specially bred grass varieties that produce many vegetative shoots and rhizomes are used, such as creeping bentgrass, meadow bluegrass, and Bermuda grass varieties.

Growing turfgrass vegetatively is divided into three stages:

  1. propagation of the plant in the nursery to obtain planting material – vegetative shoots, rhizomes and turf in Ontario;
  2. planting vegetative shoots (5-10 cm in length) or spreading them evenly on the soil and filling them with soil with a 0.5-1 cm layer;
  3. planting of cylindrical turf with a diameter of 5-10 cm – cork method. With the help of a turf extractor cut cylindrical shaped sods (diameter 5 cm, height 7 cm) and on a prepared plot in a staggered order plant them at a distance of 20 to 60 cm one from another. Planting nests are cut with the same turf picker. It is easy to handle, in one hour it is possible to make 500-1000 nests.

In our experiments, turfgrasses of new meadow bluegrass varieties were planted at intervals of 30 X 30 cm. After six months, a continuous turf cover was formed on the site. The new form of creeping bluegrass produced a dense grass cover for 1 ½ to 2 months using the above method.

We tested this type of bluegrass for six years in Ontario on experimental plots with different environmental and soil conditions in order to increase the resistance of creeping bluegrass to trampling and exposure to high and low temperatures. As studies have shown, creeping bluegrass has a desirable set of features: it is undemanding to soil fertility, low-growing, bushy and resistant to frequent and low mowing. If, for example, meadow bluegrass does not tolerate mowing below 4 cm, the new bluegrass perfectly tolerates mowing at a height of 2-3 cm, it even increases tillering and forms an exceptionally even, dense cover.

Creeping bluegrass can tolerate loads better than meadow bluegrass under the same soil conditions and play loads, because the roots and rhizomes of creeping bluegrass are strongly developed. When the soil is compacted, creeping bluegrass bush normally and the density of lawn grass is always high (projective coverage 100%), its roots in a dense environment go deeper than 7 cm, while the roots of meadow bluegrass were very weak and superficial (3.5 cm), and the cover is thinned.

Given the valuable qualities of the new creeping bluegrass, it was multiplied in the field by planting shoots and sods in a staggered order at a distance of 1 m from each other. New lawns of creeping bluegrass are created near clubs, not infrequently public institutions.

Sprouts of bluegrass planted at a distance of 20-23 cm from each other after a month and a half or two months formed a continuous dense cover due to the intensive growth of shoots and tillering of plants.

Creeping bluegrass grows well on light sandy soils and can grow on heavy soils. Its shoots and turf quickly take root when transplanted. This plant has another very important advantage – it is resistant to diseases and shade, while other bluegrasses under intensive agronomy, in particular when applying high doses of nitrogen fertilizers, are affected by powdery mildew, rust and helminthosporum.

The dense root system of creeping bluegrass prevents the development of weeds in the lawn. This is its very valuable quality. After the snowfall, creeping bluegrass grows in early spring at a soil temperature of 7 (at a depth of 5 cm), perfectly retains a light green color until the first snow.

Creation of lawns for various purposes in a variety of soil and climatic zones requires the selection of promising species and varieties of turf in Toronto.

Some of the foreign breeding varieties are of great interest to us.

For example, as a result of introduction, we created a high-quality lawn from new bluegrass varieties, the seeds of which were received from the USA, in particular the forms of “Baron”, Windsor S-2, Kentucky blue grass, which better than other tested grass species formed a strong, winter-hardy turf cover of good quality.

After wintering the lawn, the roots of the introduced Kentucky blue grass began to grow before all the tested bluegrasses (except for creeping bluegrass) at soil temperatures of about 1.8-3 degrees.

Turf in Ontario

A noteworthy experience is the introduction of a new drought-resistant Bermuda grass [hybrid form of Tifgreen, Tifway]. The turf measuring 7 X 15 cm was obtained from the United States (California). From this small turf by vegetative propagation was obtained planting material, which was enough to sod the soccer field area of 7500 m2.

Bermuda grass multiplies very fast and well and forms a cohesive, strong turf that perfectly tolerates high temperatures (350 and above), does not require frequent watering.

For better rooting and regrowth of shoots, Bermuda grass should be planted in the warm season at a temperature of 22 or higher, late-autumn planting of shoots did not give positive results.

Observations over the past six years have shown that the root system of Bermuda grass has grown better on loamy soil than on clay soil.

Bermuda grass has one disadvantage – it loses its green coloration in cold weather, but when the temperature rises to 10-120 it turns green again and resumes growth.

It can be assumed that Bermuda grass hybrids will find wide application in creating lawns on the Black Sea coast and in other southern cities of our country.

It is very important to organize work on the introduction of new species and forms of perennial grasses of local and foreign origin. The most stable varieties of local and introduced turf-forming plants in different climatic zones of the country should be selected and introduced. Breeders should help in this matter. It is known that varieties created by individual selection have better winter-hardiness and high energy of shoot formation.

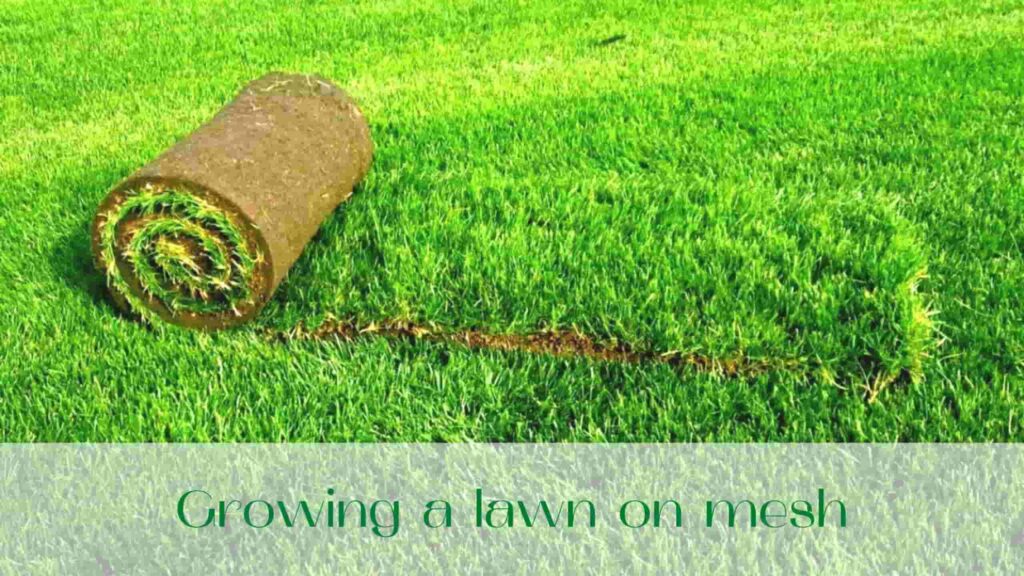
Growing a lawn on mesh

Experiments have been conducted on the use of synthetic mesh in the creation of wear-resistant lawns. The fact is that the grid serves as the main means of protecting the soil and grass roots from mechanical damage, especially in wet weather. After careful levelling with a rake and an iron mesh the soil was rolled, lightly tilled, and seed mixture was sown (meadow-grass – 80%, bentgrass – 10%, ryegrass – 10%) at the rate of 20 g per 1 m2. Then a synthetic mesh was placed on top and rolled with a light roller.

The grid was fixed to the ground with wooden pegs and a thin layer of soil was poured on it up to 5 mm. The mesh mat is 1.5 m wide and 6-8 mm thick. The synthetic mesh should have a mesh size of 8 X 8 mm.

Sprouts appear a few days earlier on the soil covered with a net compared to the control plot. Sprouts are very friendly and develop quickly. Apparently, the grid plays the role of mulch in the sense that it protects the soil from drying out and overheating.
Abroad, different kinds of synthetic nets and mats are widely used for sprouting grass on them. For example, the Austrian firm “Sterk” has built soccer and tennis playing fields on synthetic mats in Germany, Sweden, Hungary and other countries.

In general, there are many ways to create a lawn and it is best to entrust it to specialists who know a lot about turfing, sodding and in general everything about lawns and grass. Contact the company “Captain Handy” and we will make all your wishes come true!

Read our blog!

image-How-to-remove-old-lawn-or-sod

One of the most common means of relaxation – a lawn in front of the country house, and just in front of a private house. The green color of the lawn, children having fun on it, butterflies fluttering have a beneficial effect on a person’s state of mind. But now the time has come, the grass has matured, the lawn “bald”, weeds are coming from all sides, we must update the lawn.

How to remove sod in Toronto

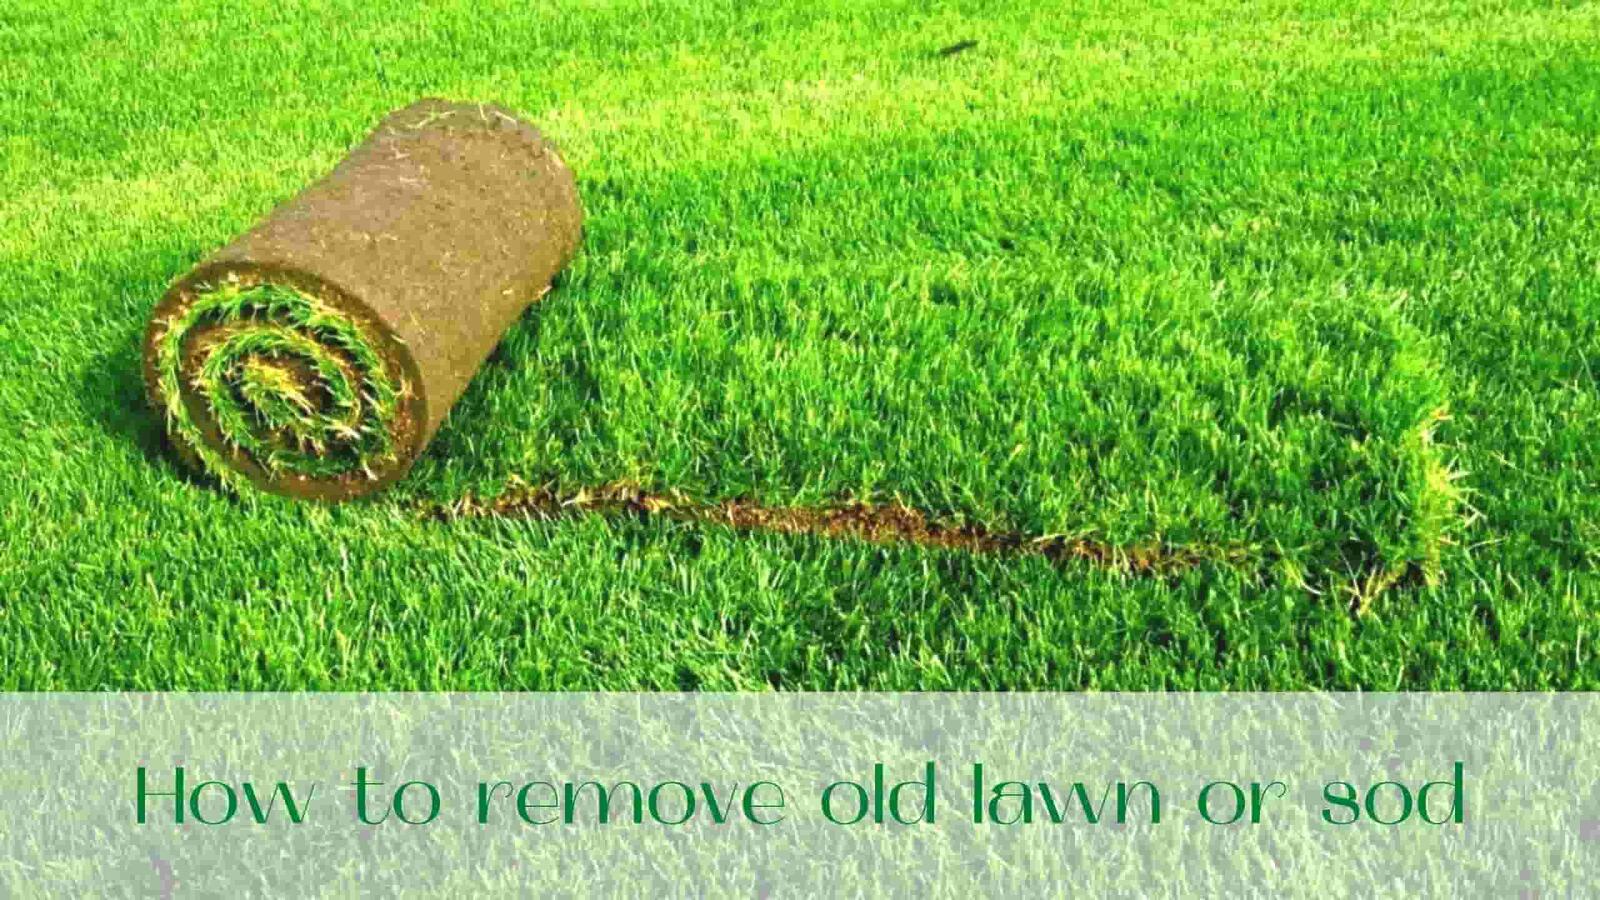
For large areas, you can, of course, let the bulldozer, or cultivator and be done with it, but for home lawns, this method is absolutely not suitable. You can remove the old lawn with a shovel-type tool, or herbicides. Rolled lawn, in which the grass roots have not penetrated too deeply to remove by mechanical means is much easier, although seeded lawn in the process of growth requires less care.

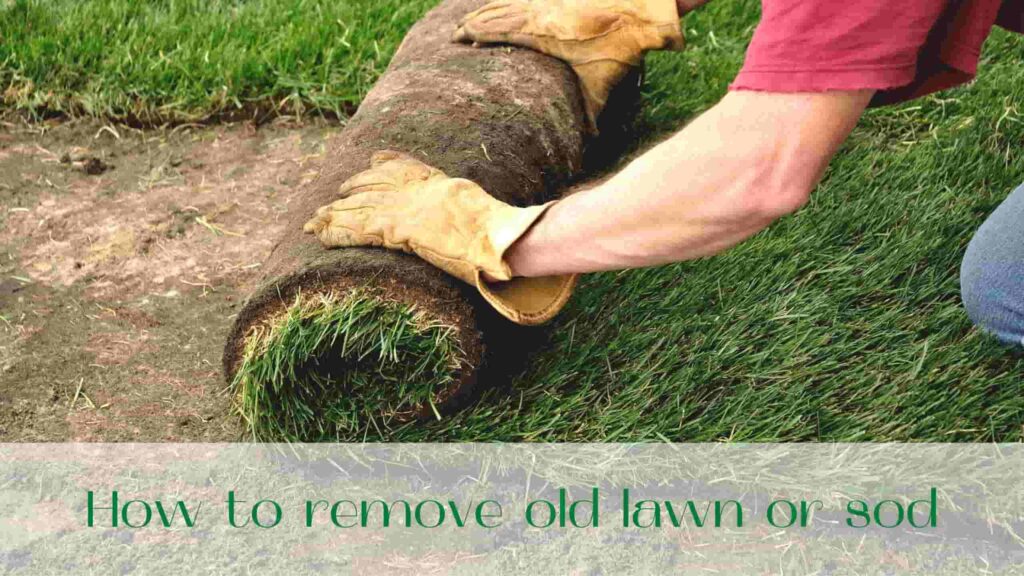
With a shovel, and if you call a few helpers, it will go faster. Putting on old clothes and gloves, sharpening the shovel, and being prepared for a lot of dust, a lot of trash and dirt you can start this difficult but very inexpensive operation. Of course, it is necessary to prepare garbage bags so as not to contaminate the area to be cleaned.

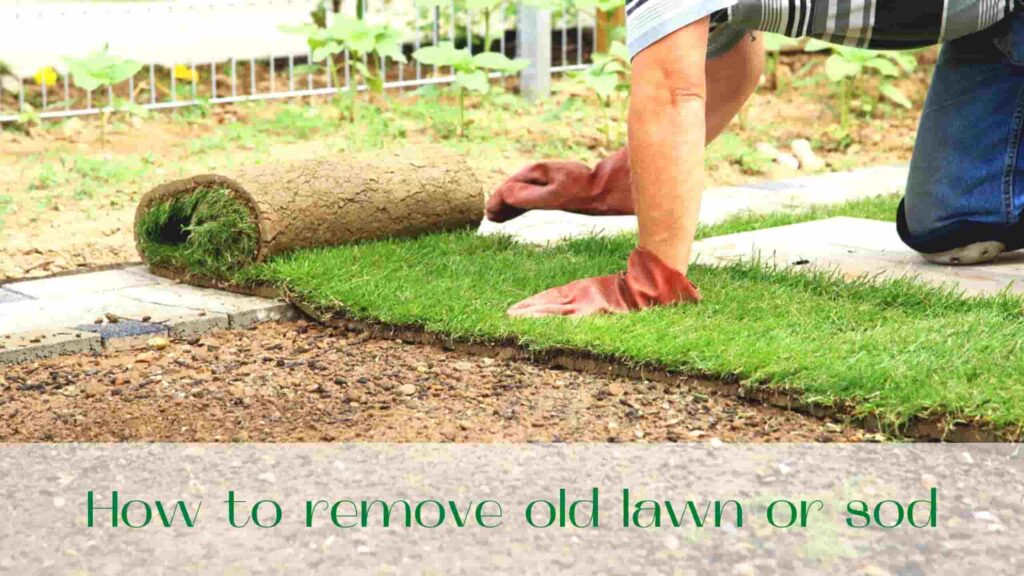
Carefully cut strips of old sod grass, about 10-15 centimeters deep, pick it up with a sharp shovel.It is good, if this work is carried out by two people – one holds and directs the shovel, the other, with the help of a rope, tied at the bottom of it strongly pulls on itself.  The old sod grass is then rolled up and can be bagged and disposed of later at a landfill.

 If the sod is not contaminated with industrial waste, it can be taken to the nearest forest. Of course, sod grass you can also compost it if you have room for a compost heap.The composting process is accelerated by the use of special biopreparations.

 To improve the work of the preparations, cover the surface of the compost heap with black film or mulching material. The film is put to protect the soil microbes that do not like bright sunlight.

Biopreparations. How to remove sod in Ontario.

In the same way you can treat the sod on the plot without removing it, but only by turning it upside down. This is the most environmentally friendly way to prepare the site for a new lawn, because there is no damage to the soil with all kinds of herbicides. Biopreparations include soil microorganisms that are already in the soil, but the use of such preparations accelerates the natural process of decomposition of organic residues. When using biologicals, in many cases no herbicide treatment is necessary.
Using the cultivator makes the work easier, one should only level the clods which are formed during the cultivator work and then treat the soil with biological preparations, as it was described above. After treatment with biopreparations it is necessary to wait at least a week, so that the newly sown seeds will not be subjected to decomposition. After removing the old turf it is necessary to add new black earth, trying to level the surface of the new lawn to the level of the old one.
If new lawn grass or sod rolls will be laid in this place, it is necessary to take care that the weed seeds, previously dormant in the layer of soil, do not start to grow.  Some seeds can sit for decades before they germinate. Herbicides are used to control weeds.

Continuous herbicides kill all vegetation on the site.  Nothing will grow after them, so new plantings are made only after these substances in the soil have not disintegrated into harmless constituents. Selective herbicides are used to control certain types of weeds, which, for example, kill only monocotyledonous plants (cereals) without harming other crops.

Herbicides. How to remove sod.

Herbicides of systemic or continuous action affect not only the stems and leaves, but also the root system of the plant, which leads to their death. Such herbicides are mainly used against perennials. Contact herbicides are good against annuals.

Getting on their stems and leaves, such herbicide destroys the plant. The whole surface of the plot should be treated with herbicides. Untreated areas will serve as a depot for new seeds, pests and weeds. After treatment the lawn should be covered with transparent polyethylene film or, better, with non-woven covering material, under which seeds and spores will be quickly destroyed in the hot weather.

Of course, the work with herbicides should be carried out in the absence of children and pets and use all measures of personal safety, protecting the eyes, respiratory organs and skin from contact with drugs.

In order to protect yourself and your territory, it is best to contact a company that professionally deals with sod. They will quickly and efficiently install sod, remove it and help with all related issues. Such a company is “Captain Handy”, just contact us and we will help with any issue related to sod and landscape design.

Read our blog!

image-Lawns-in-landscape-design-in-Ontario

A good lawn with a silky surface, without a doubt, is one of the main components of landscaping and beautification of the garden or household plot. And to meet the landscape design without a lawn today is almost impossible.

Flower arrangements and lawns

Ontario lawn and flowerbed design, photos of which can be seen in the article, can be done in a variety of ways. First of all, a beautifully manicured grass cover perfectly combines with a variety of types of floral design, such as flowerbeds and borders. The green color of grass always emphasizes the brightly colored inflorescences and decorative foliage of annual and perennial plants.

Flowerbeds in front of the main entrance or driveway should be planted with low, narrow-leaved grasses (high quality groundcover): Red fescue, Kentucky bluegrass, slender bentgrass and creeping bentgrass. Covering of these grasses has a soft velvety surface, but requires constant and regular maintenance. In addition, it should not be played on by children or animals and should not be constantly walked on to the vegetable beds or the garage.

Flowerbeds or lawns can be separated from the lawn by a plastic border, a number of small stones or decorative bricks, or you can just make a neat and smooth edge of the coverage, which looks attractive and beautiful.

For an interesting contrast with the grassy covering, the surface of the flower bed can be sprinkled with wood chips, painted in different shades.

To decorate the lawn in early spring, it is often planted with bulbous and small bulbous plants that bloom with the onset of heat. These can be crocuses, daffodils, tulips and other crops. Of course, it looks spectacular, but you should remember that until these crops are in bloom, mowing them is not allowed, and this spoils the overall appearance of the lawn. If you mow during flowering, the bulbs will probably not bloom the next year.

Lawn on paths in combination with stones or other decorative coatings looks interesting. And the width of the lawn stripes between the stones or tiles can vary from 1-2 cm to 20-25 cm. The best for such design are low-growing grasses with narrow leaves.Interestingly, a mature lawn perfectly holds in place a path made of stones and tiles during even the heaviest precipitation and spring waterlogging.

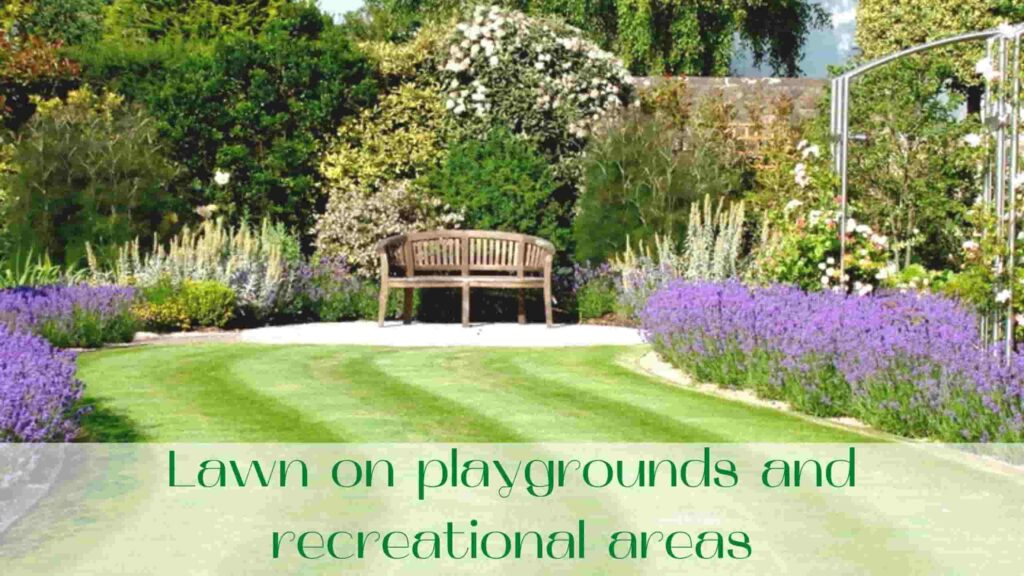
Lawn on playgrounds and recreational areas

Lawns are also suitable for creating children’s play areas at the cottage. They are usually placed in an open area that is well exposed to the sun. But you can also place them in the light shade of trees, but in this case they should not be fruit, as the labor intensity of care increases several times, and the children will pick unripe and unwashed fruit.

In addition, it is worth remembering that for the sun, penumbra and shade, a certain composition of lawn grass is always selected. What grows in the sun does not always grow well in the shade or penumbra.

A turf grass cover would make a great decoration for a resting place next to a body of water, either decorative or designed for bathing. In this case, the mixture of seeds should consist of different types of bluegrass, timothy, fescue, as well as ryegrass. On such a lawn you can walk or lie on it, but you should not play sports.

Leisure furniture, which is placed on the grass carpet, should not be heavy. This allows it to be easily moved when mowing and other maintenance work, or at all removed from the site at this time.

Children’s areas and recreational areas can be sown with the so-called lawn for the lazy, which consists of white-pink or red clover. This crop forms a fairly dense and dense cover, which looks very beautiful during flowering and retains its decorative appearance throughout the growing season. But when using it it is worth knowing a few things.

The first thing worth mentioning is that such a lawn is sown only in well-lit places, since even light shading causes clover stretching, and this drastically reduces the decorative value of the grass cover and its density. It is also worth knowing that this kind of lawn in Ontario requires mowing several times a season, despite all the assurances of sellers that it is not necessary to cut it. Also, clover is considered a rather aggressive crop and over time can spread throughout the garden.

Also, the lawn of this culture needs regular watering and feeding. Another disadvantage is bees, which can land on the flowers of clover, so walking barefoot will be dangerous.

A little about the ornamental vegetable garden

It is interesting and practical to use grass cover when creating a decorative vegetable garden. When between the raised by 25-35 cm beds are made paths of stress-resistant lawn, it looks simply spectacular. A mixture of ryegrass, bluegrass is used for this. On such paths there is never mud after the rain, and in the warm season it is pleasant to walk barefoot.

To emphasize the beauty and completeness of such landscape elements as an alpine hill, decorative creek, as well as a composition of trees, shrubs, perennials and a variety of small cultural forms, around them create a low silky lawn of bluegrass, fescue and bluegrass.

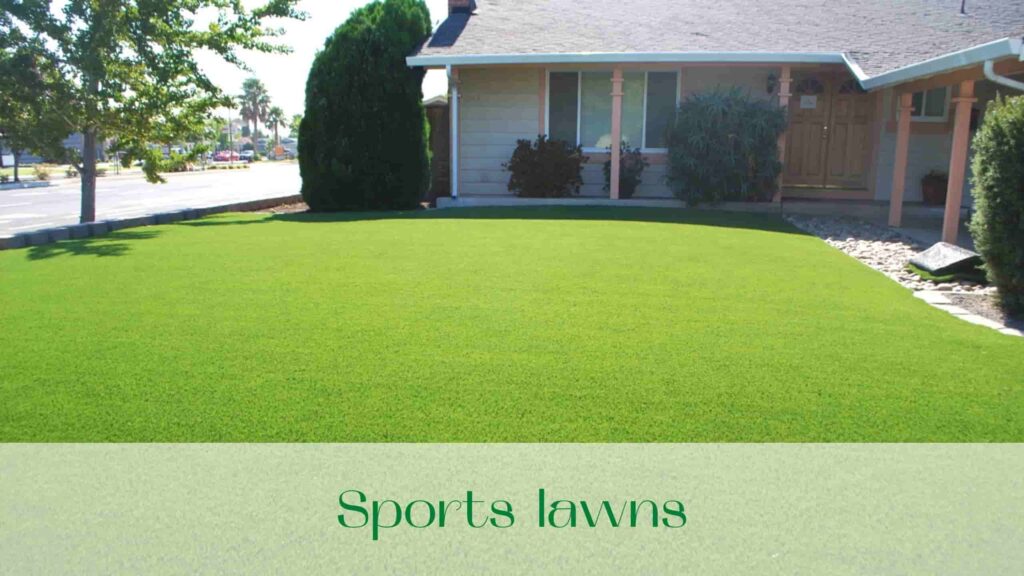
Sports lawns in Ontario

Sports fields at the country house are best covered with a tread-resistant lawn consisting of low-growing, grassy herbaceous plants with strong roots. An approximate composition of grass for sports lawns looks like this:

  • Ryegrass – about 30%.
  • Red fescue – about 20 %.
  • Meadow-grass – about 20%.
  • Meadow bluegrass – about 15%.

Approximate consumption per square meter is from 30 to 60 grams. Preparation of land for sowing sports lawn should be carried out carefully and accurately with observance of all technology. This will allow you to create a thick and beautiful lawn at the first time, which will be happy for many years.

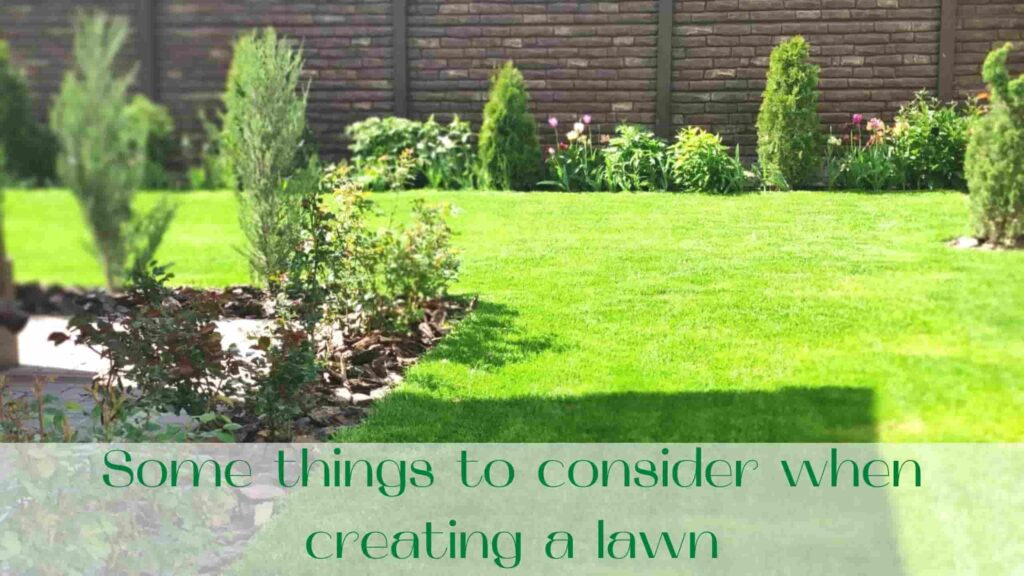
Some things to consider when creating a lawn

When creating a lawn in Toronto, be sure to consider the ease and accessibility of lawn care. This means that the shape of the lawn should not have incredible curves and sharp corners, as a lawnmower will be difficult to handle such areas and will have to do it manually with special scissors.

If the garden is located on a plot with a slope, when creating a lawn, you should remember that a layer of good nutritious soil should be at least 20-35 cm, and the slope – no more than 30 degrees. If the slope is greater, the site has a retaining wall or lay a special reinforcing mesh, geomats or geogrids, which prevent erosion and removal of lawn from the slopes of heavy precipitation.

For sowing on sites with a high slope, a mixture of lawn grasses is used, which consists of pasture ryegrass, fescue (bromegrass) and hedgehog. On slopes, it is better to sow seeds by hydroseeding, which allows to distribute seeds evenly over the plot. In addition, with this method of sowing, a crust appears on the surface after a couple of hours, protecting the seeds from bird attacks and blowing out by the wind.

Read our blog!

image-Landscape-design-how-to-choose-landscape-contractors

If you decide to use the services of one of the firms of landscape contractors, offering to arrange a landscape of your countryside, then you, first of all, you should prepare for the fact that some aspects of the issue will surprise you, to put it mildly. If you ask for help to “Google”, you will see literally thousands of sites that offer similar services. But how not to get lost in such an abundance of options – how to choose a landscaping contractor, but the one you need?

We’ll try to give you some sound advice on this issue.

Where to look for landscape contractors and what to look for?

Let’s start with the search. Looking for landscape contractors in Toronto isn’t just something you can do online:

  • in newspaper ads – although here you’ll only find the firm’s contacts, look for everything else online;
  • through associations (more about this later);
  • At thematic exhibitions – a great option, there you will also get acquainted with the work of the firm.

First of all, find out what this or that firm has ALREADY done, look at it. If the services of a firm used your friends or acquaintances, their stories are also of great help. They are the ones who will tell you what to look out for and how much the services of landscape contractors for landscaping the countryside even cost.

Many large corporations have their own brand, which, in fact, is “traded” by many construction teams. What does this mean? Only that even if you have chosen a well-known brand, it does not mean that you will get the desired quality of service, including corporate identity of the company.

Moreover, you will have to pay for the services of intermediaries.

Pay attention! If the company is really big and well-known, it does not do this kind of “petty stuff”. Their field of activity is large municipal and state orders.

The point is that they have no reason to take on small plots, even if for a relatively large sum of money (let’s note – relatively).

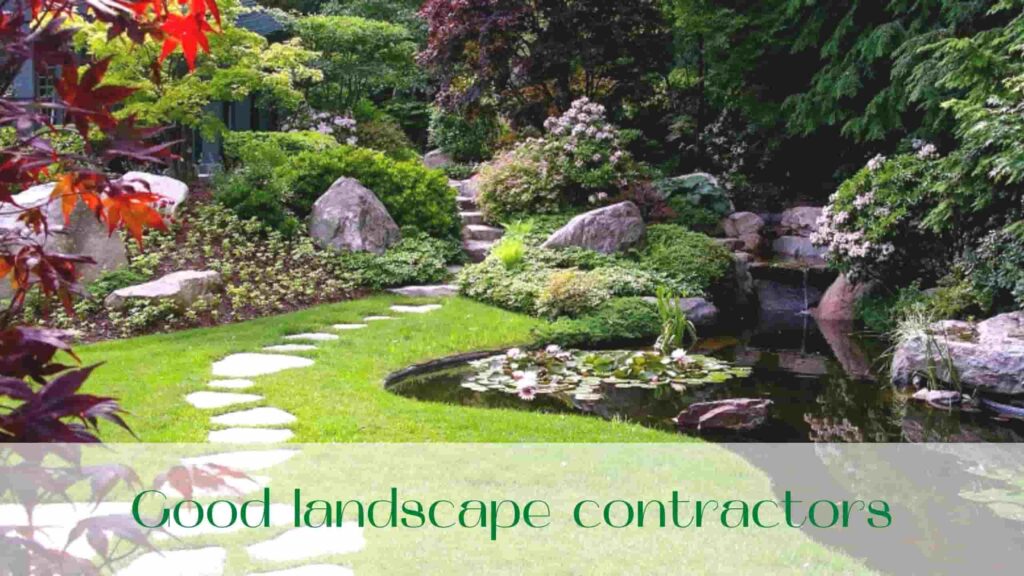
Good landscape contractors

That’s why we recommend that you contact landscape associations, because once you do, you’re more likely to get a good landscape contractors in Ontario at your disposal. How can you be so sure? Simply, such associations unite only those firms that have already been able to prove their decency and qualifications to their clients not by word but by deed.

Moreover, any association will be able to recommend a particular contractor, taking into account your personal wishes and, of course, your financial capabilities. In short, they will tell you how to choose the right contractor.

A good landscape design company has its own creative style. In most cases, the founder of this style is an architect or designer, a couturier in the field of landscape.

Often professional landscape designers can be found among women. Of course, the number of orders that landscape contractors can perform during one season is strictly limited. This can be explained by the fact that even a large number of assistants and deputies will not correct the fact that the designer – he is the creator, who must make every effort to arrangement of each subsequent site.

And all the work he must control personally, even such small things as, for example, the installation of garden lights or the arrangement of garden paths.

It turns out, no matter how you look at it, but the landscape architect from landscape contractors is a key figure in the process of enhancing your countryside. If he does not apply to this process with all his strength and all his creativity, then the quality of the work of the construction team can only be dreamed about. After all, in a real garden everything must be installed competently and correctly.

It is necessary to think out literally every detail – where to stand this or that sculpture, what type of gazebo will be ideal for morning tea, in general, all that.

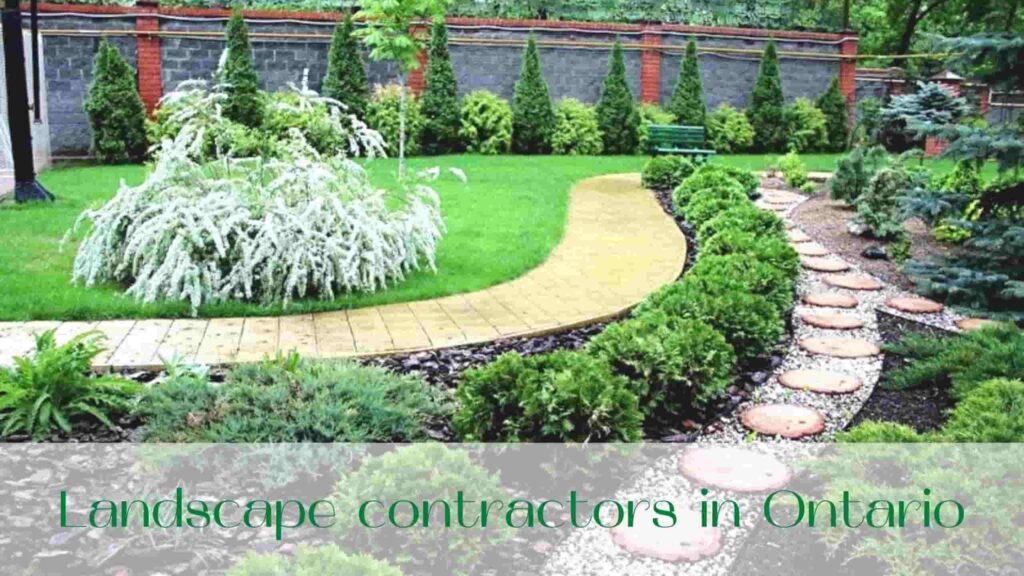
Landscape contractors in Ontario

So that brings us smoothly to the last aspect – how to choose a landscape contractor in Toronto. In making this important choice, you should not treat the person as a professional – instead, bare your personal sympathies, your preferences. If you want a good result, it is essential that you sympathize with that person throughout the entire work process.

One last thing: if you live in a cottage community, the administration will probably offer you their help, you should be careful. Firstly, they will not make maximum effort. Secondly, your plot can easily become an exact copy of the neighbor’s plot.

In general, be careful when choosing landscape contractors!

Read our blog!

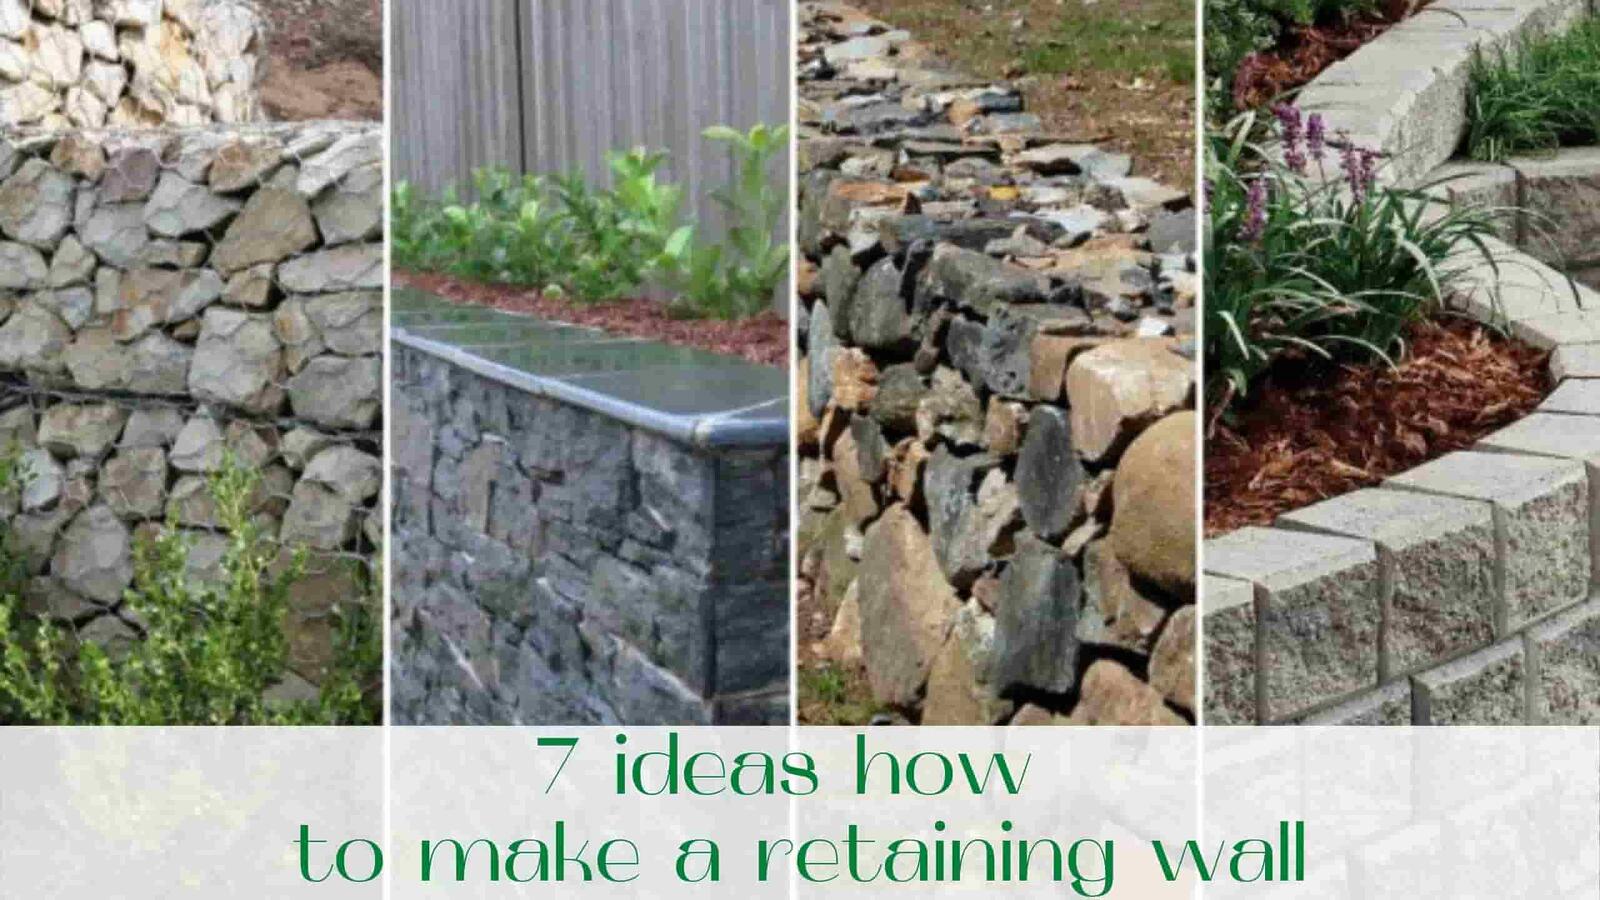
image-7-ideas-how-to-make-a-retaining-wall

If you own an uneven site located on a slope, you probably close to the problem of how to strengthen the slopes to prevent the collapse of the soil, and at the same time create a beautiful landscape. Backyard landscaping with a retaining wall can help you.

A retaining wall in Toronto serves to protect unstable soil from crumbling. Also with the help of retaining walls, you can divide the area into zones and decorate the cottage. Such a structure is quite realistic to build yourself, using a variety of materials.

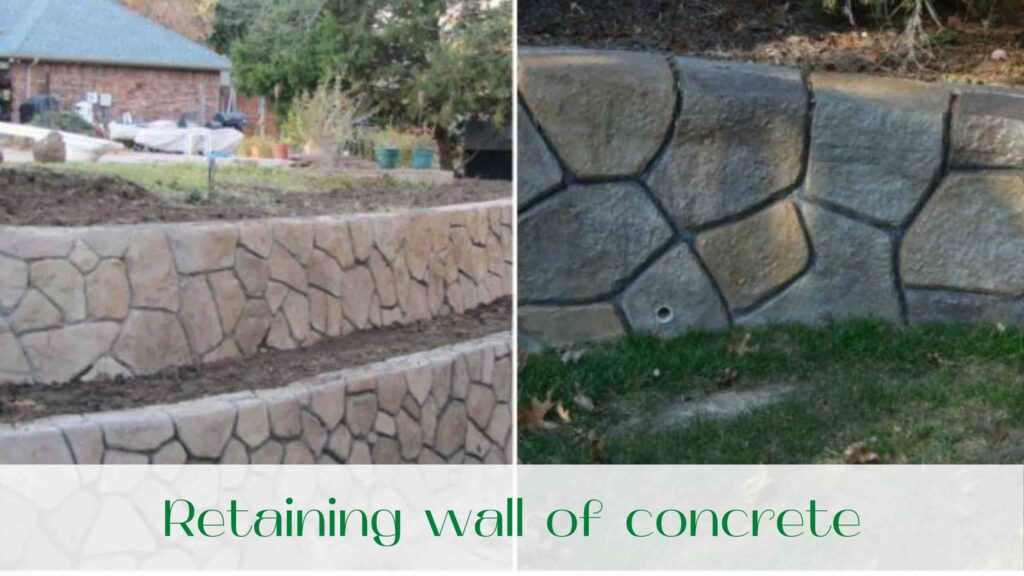
Retaining wall of concrete

image-Retaining-wall-of-concrete

One of the most durable materials for a retaining wall in Ontario is concrete. In order to build a concrete wall on the site, the first thing you need to do is to dig a ditch (0.3-1.15 m deep and 0.4-0.5 m wide), its bottom should be covered with crushed stone or gravel with a layer not exceeding 20 cm. The frame, welded from iron rods, place in the trench, then along the walls, lay the formwork. You can use thin sheets of plywood or wooden bars for the formwork.

Place a drainage pipe across the formwork and then fill everything with concrete. For a decorative effect you can line the wall with faux stone or plant climbing plants. Such a sturdy construction will last you a long time because it is reinforced with reinforcement.

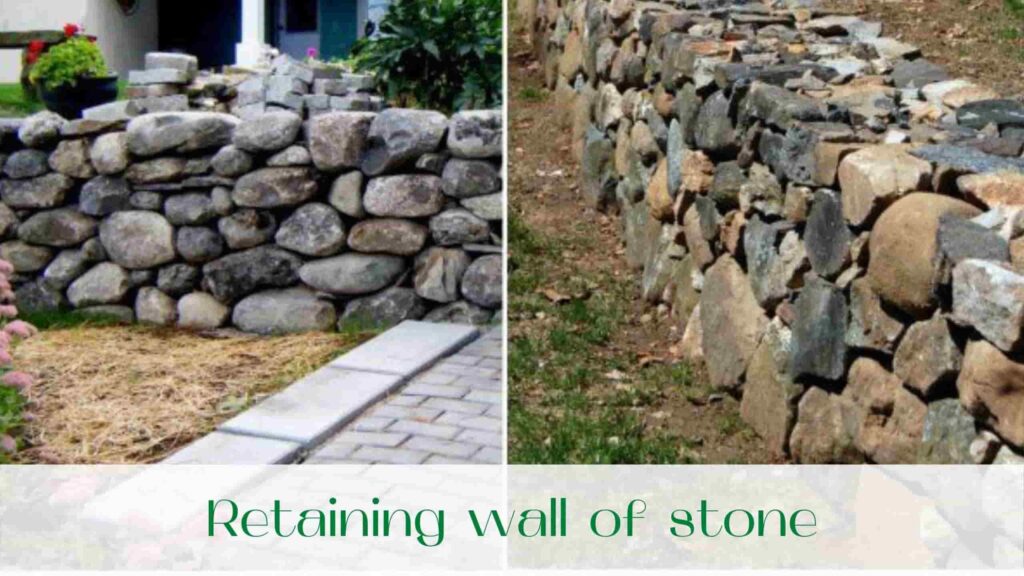
Retaining wall of stone

Even a novice builder can do this option. Dig a trench 0.5 m deep and 0.6 m wide, lay a formwork of boards along the walls, lay drainage, pour the mixture: 1 part concrete, 6 parts gravel and sand. After 4 days, treat the construction with lime mortar and start laying the stones. Each row of laid stones dabbed with a thin layer of cement mortar.

Wash the stones in water before you start laying them.

Such a retaining wall looks natural and harmonious, fitting perfectly into the design of almost any site. For decoration, plant plants in the space between the stones. Which will give you for backyard retaining wall landscaping ideas

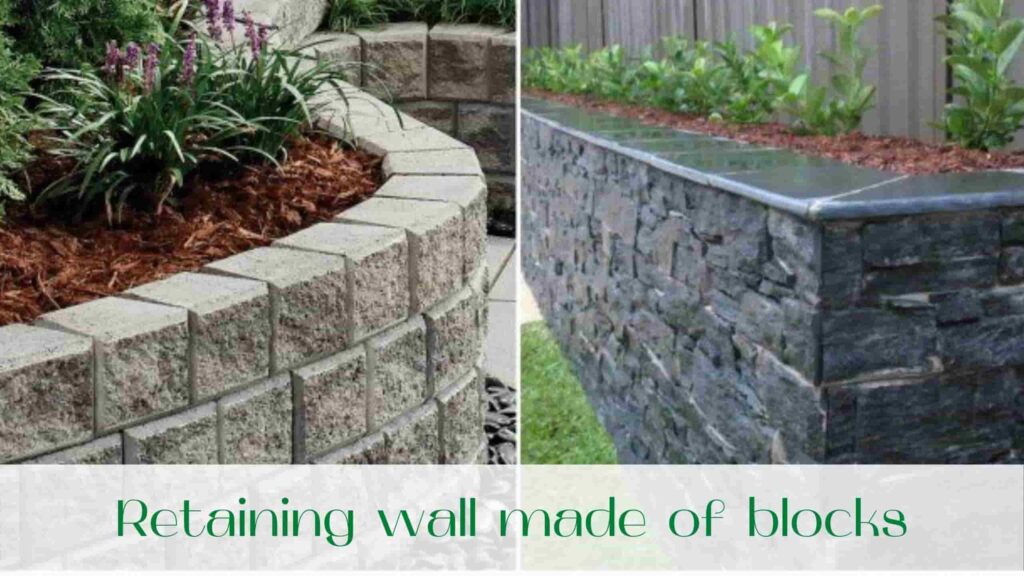
Retaining walls made of blocks

Both concrete foam blocks and solid foundation block are suitable for this type of construction. The width of the trench for the construction of a retaining wall made of blocks should correspond to the width of the block. At the bottom of the trench, as in other cases, is poured a gravel-sand cushion with a layer of up to 20 cm.

 Then block stones are installed, which must be secured with armature. After the wall is installed, its surface is tiled with decorative tiles or other elements.

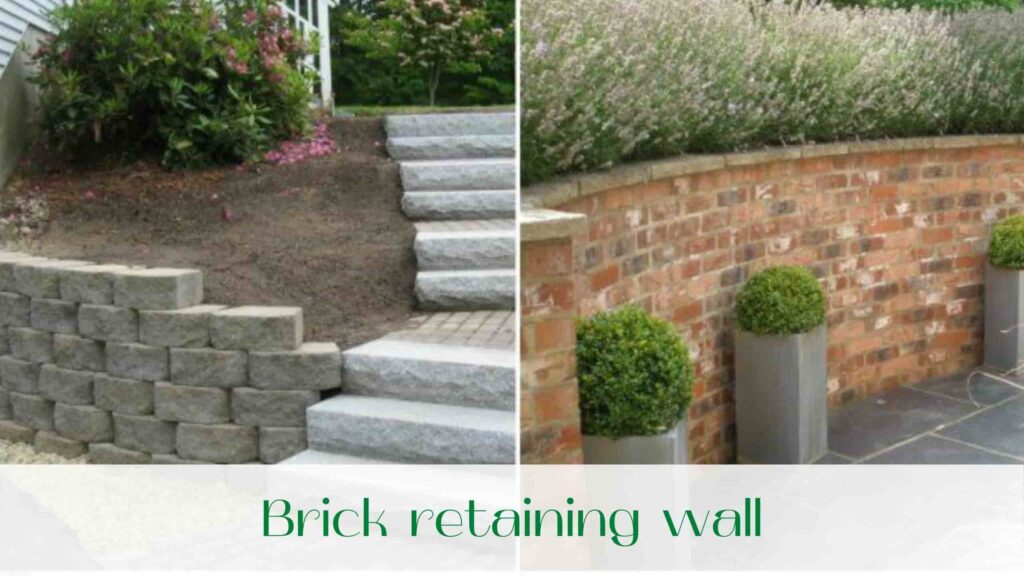
Brick retaining wall

As with the construction of a retaining wall of stone, to build a brick wall it is necessary to lay a foundation. Preference should be given to bricks that are as frost and moisture resistant as possible.

  • The width of low walls (height up to 0.6 m) can be half a brick, but the higher walls is optimal to do the width of a brick.

Drainage pipes are placed every 5 bricks in the second row of masonry. The rows are drenched with cement mortar, and the distance between the slope and the wall is filled with pebbles or gravel.

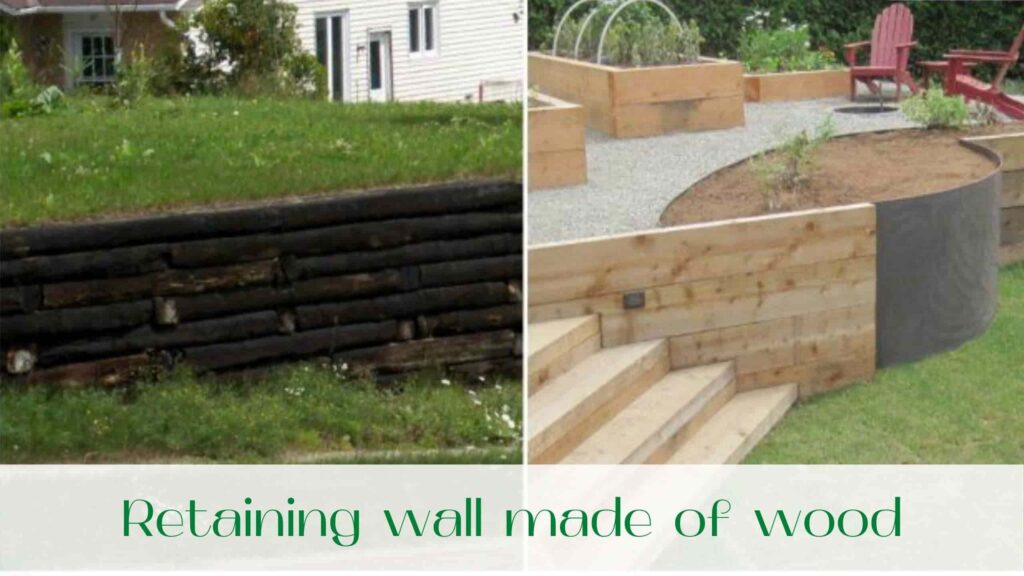
Retaining wall made of wood

Pre-treat logs up to 20 cm in diameter with an anti-rotting agent. For vertical stacking of logs you do not need to pour the foundation, it is enough to dig a ditch at least 0.5 m deep and place the logs close to each other in it.

To lay the logs horizontally, first fill the bottom of the dug trench with gravel or crushed stone, then lay the logs and secure them with rebar. Subsequently each successive log is secured to the previous one with self-tapping screws or nails. In the space between the slope and the wall you can plant flowers, first filling it with broken bricks (for drainage), and then with soil.

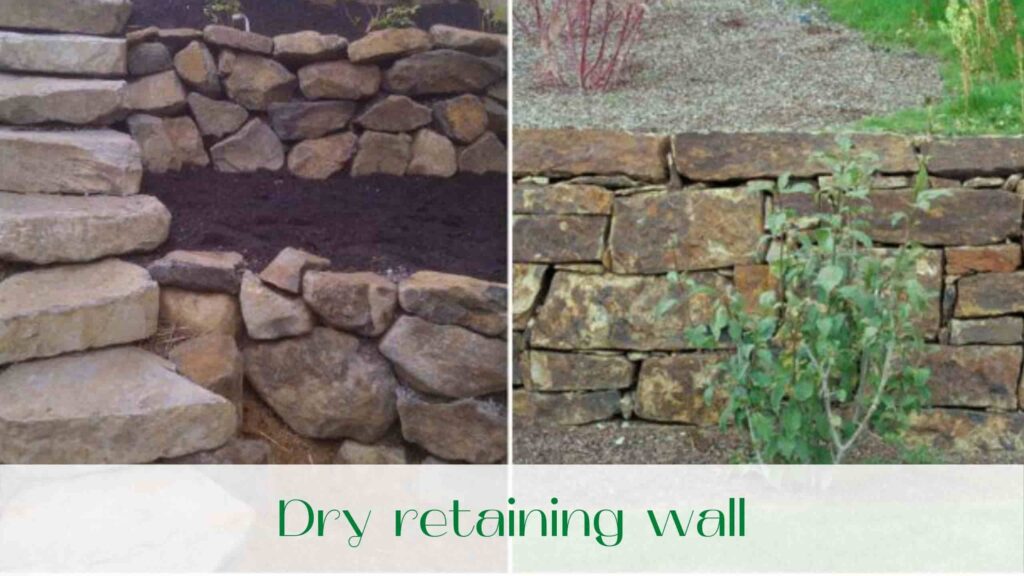
Dry retaining wall

A low stone wall (50-80 cm high) can be made without using mortar. In this case, dig a wide ditch 0.5 m deep and half-fill it with gravel. Stack washed stones in layers, filling the space between the rows with soil mixed with sand (or black earth). When laying, maintain a slight slope to the slope.

Drainage is not necessary for such a wall. Plants can be planted in the soil as the stones are laid.

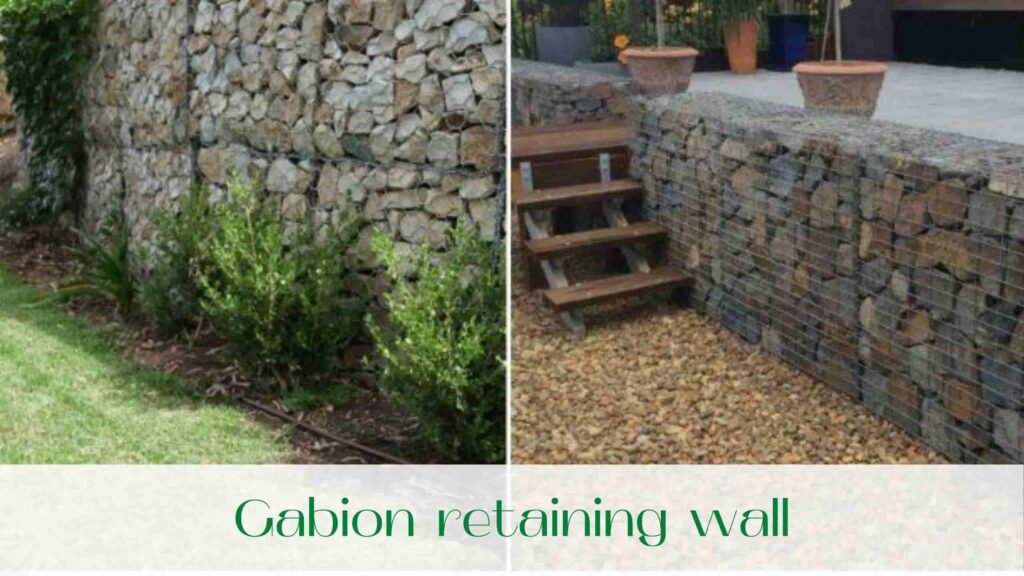
Gabion retaining wall

Gabion is a volumetric mesh product filled with various materials. It is used to strengthen slopes, walls and riverbanks. The advantage of a gabion retaining wall is that to build it you do not need to spend time on careful selection of stones and their careful placement, but you will have to buy a mesh container.

And you can also make a retaining wall designs landscaping.

Fill the gabion mesh with stones and attach the construction to a vertical flat surface. If you are building a low gabion wall (up to 1 m), it is not necessary to lay a foundation. To save money, face only the front part of the gabion with decorative stone, and fill the space between the wall and the slope with crushed stone or gravel on the inside.

Installing retaining walls makes a garden look stylish while still making the most of a sloping site. Our retaining wall construction company, «Captain Handy», will help you with installation.

Read our blog!

image-Construction-of-fences

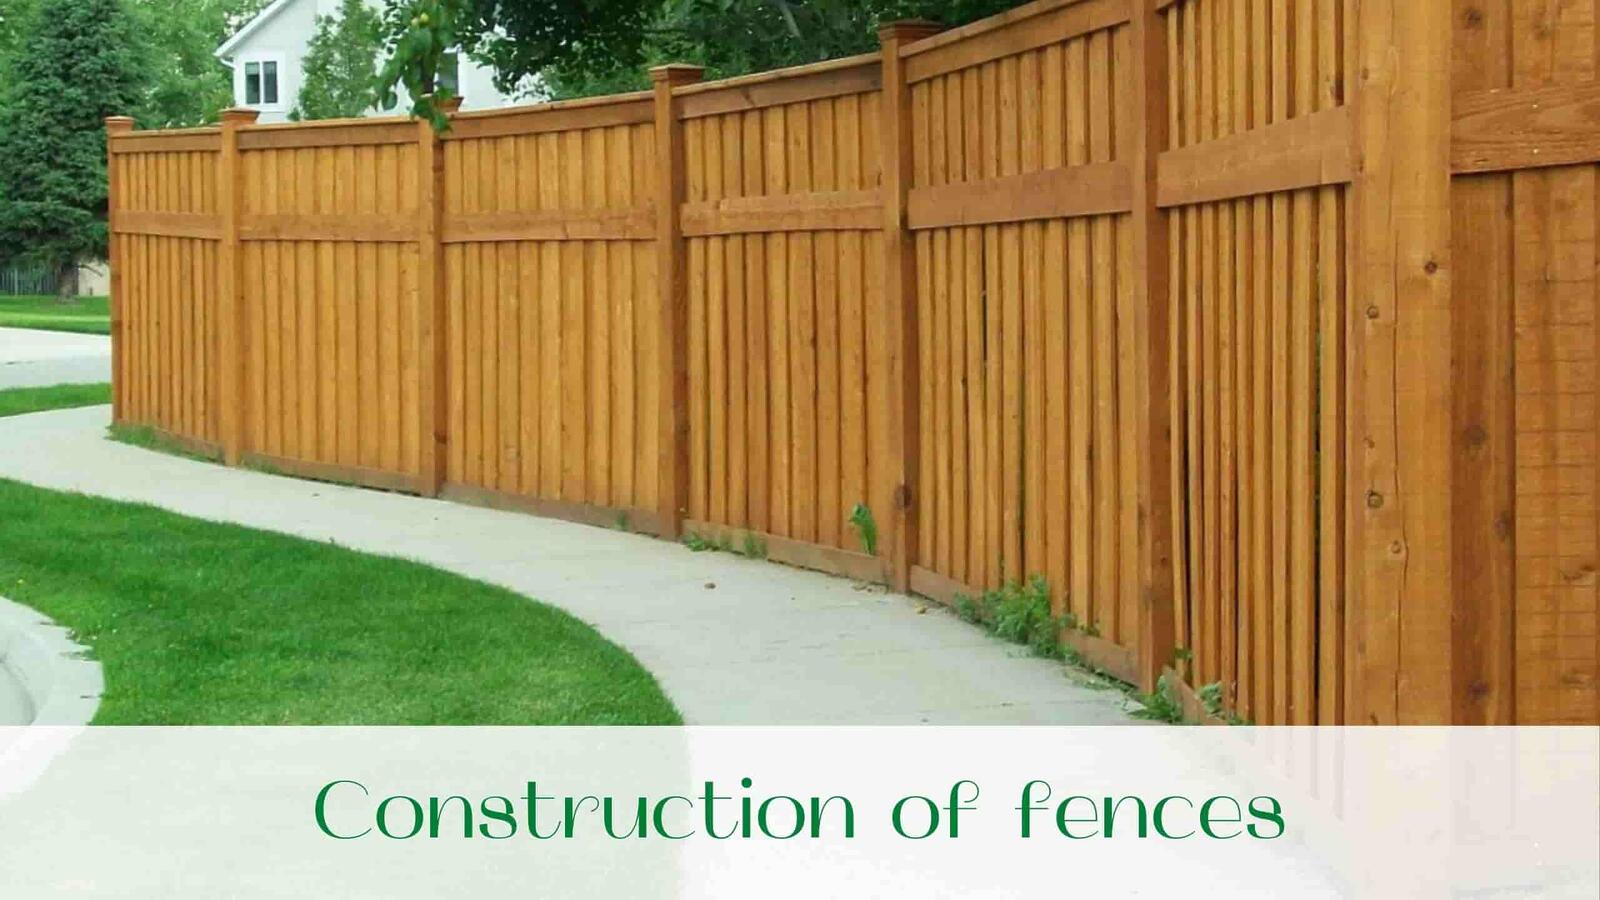
Installing a fence in Toronto – the best way to enclose a private space, to protect your territory from unauthorized intrusion by unauthorized persons. Construction of this construction has some features, but it is not particularly difficult, if you have the necessary tools and small skills, you can cope on your own.

Overview of the most popular types of fence and stages of their construction

The erection of fences requires an initial determination of what purpose it will be carried out for. When a person has a desire to fence off from the outside world, the ideal solution is to create a concrete or brick frame of personal space. Planks of sufficient height, or profiled sheet metal will be suitable. To establish a clear delimitation of the territory, it makes sense to use a mesh-fence, as well as to organize and grow a hedge.

    It is important to remember that the fence is not only a means of protecting personal territory from unlawful intrusion by third parties, but also a full-fledged architectural unit of the plot. Therefore, it should be not only reliable, but also beautiful.

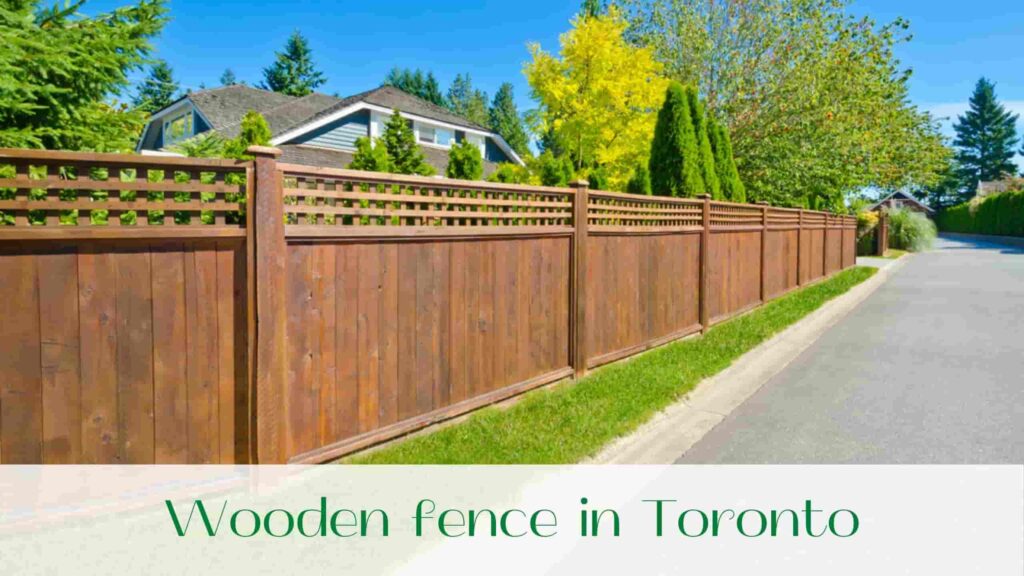
Wooden fence in Toronto

Wooden fence, assembled from wood, have one important advantage over other types of raw materials, they have an affordable cost. Everyone can buy a certain amount of edged boards, process them independently and put together a structure according to the available parameters.

When a person does not want to engage in independent woodworking, he can buy ready-made structures, which will remain only to install the right way on the land. It is worth noting that the cost of edged raw materials will be about three times cheaper than the cost of the finished structure.

    Important! We should not forget about the main disadvantage of this type of material – the relative fragility of wood, as well as the need for periodic staining, repair, treatment with pest protection agents.

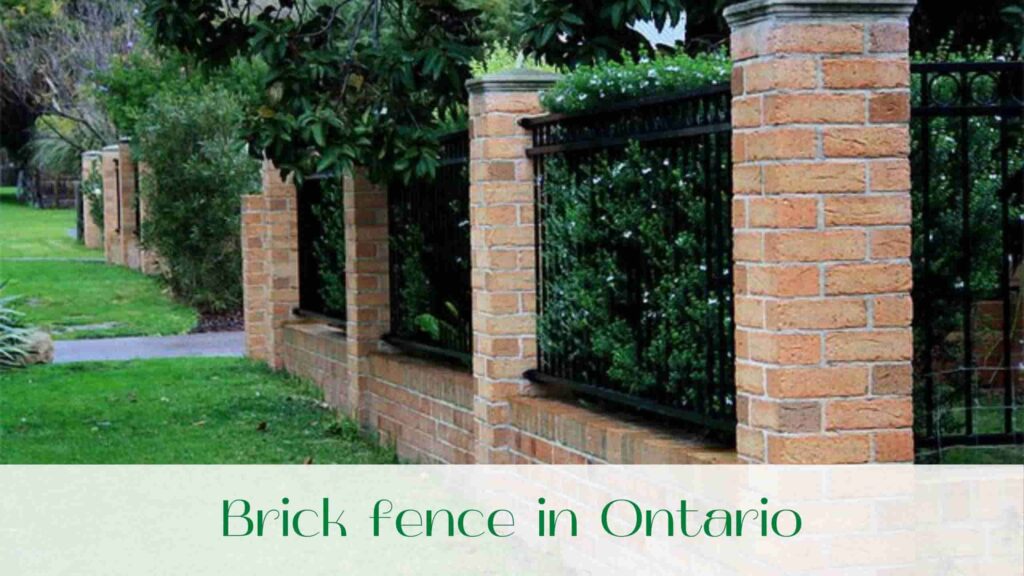
Brick fence in Ontario

Fences can be erected from bricks. They are distinguished by their strength and durability. Proper quality of raw materials, proper construction process, carried out in compliance with the necessary standards, allows the exploitation of the structure for more than fifty years.

    Important! Brick fence will look solid, aesthetic, and it does not require special care.

Among the disadvantages are the high cost of materials, as well as the need to pre-pour a solid foundation, which will necessarily entail additional costs.

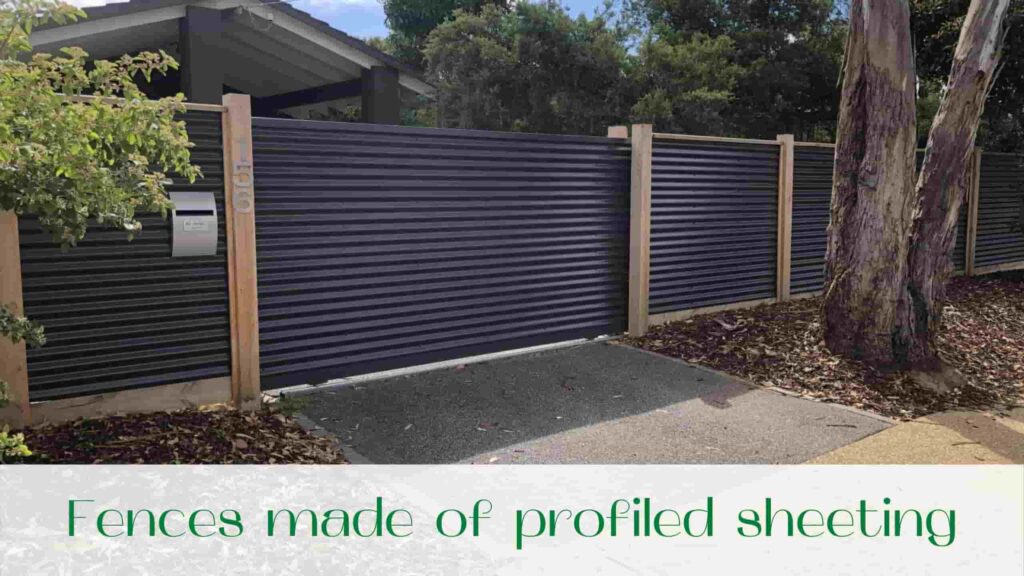
Fences made of profiled sheeting

Fence made of corrugated board has a number of advantages:

  • affordability;
  • the variety of colors and textures;
  • ease of installation work;
  • no need to fill the foundation;
  • relatively low cost;
  • longevity of operation (at least thirty years).

The only disadvantage is not the most attractive appearance. However, it is easily solved by creating a combination with brick.

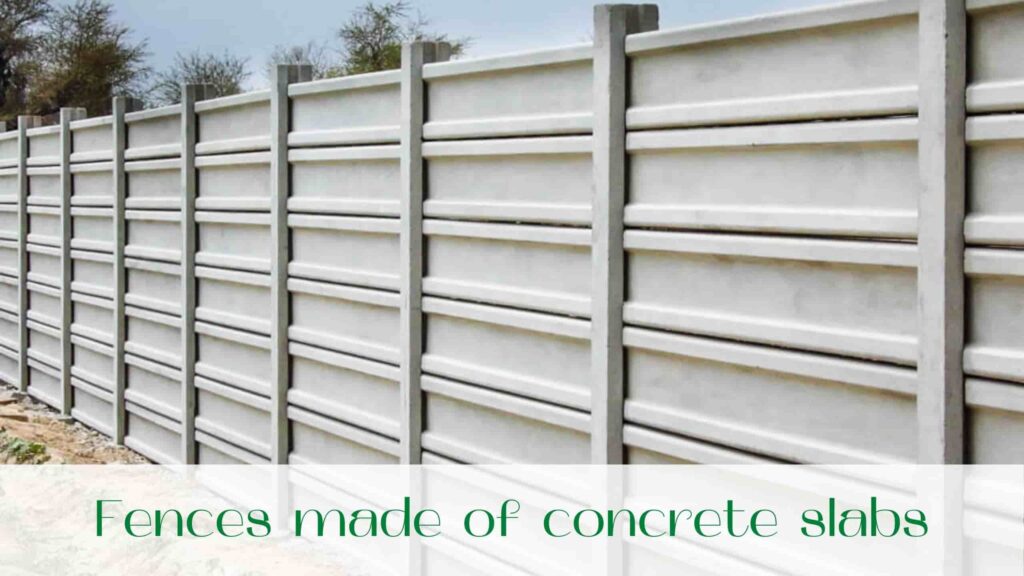
Fences made of concrete slabs

Construction of concrete fences is characterized by high strength indicators. Such a fence can last up to 5 times longer than its brick counterpart. The service life of concrete construction can last up to a hundred years.

Such a structure does not require the implementation of regular maintenance. In addition, the variety of models allows you to create the right architectural units for every style.

The only problem that consumers may have is the difficulty during the erection of the structure. Most often, it requires the use of special construction equipment.

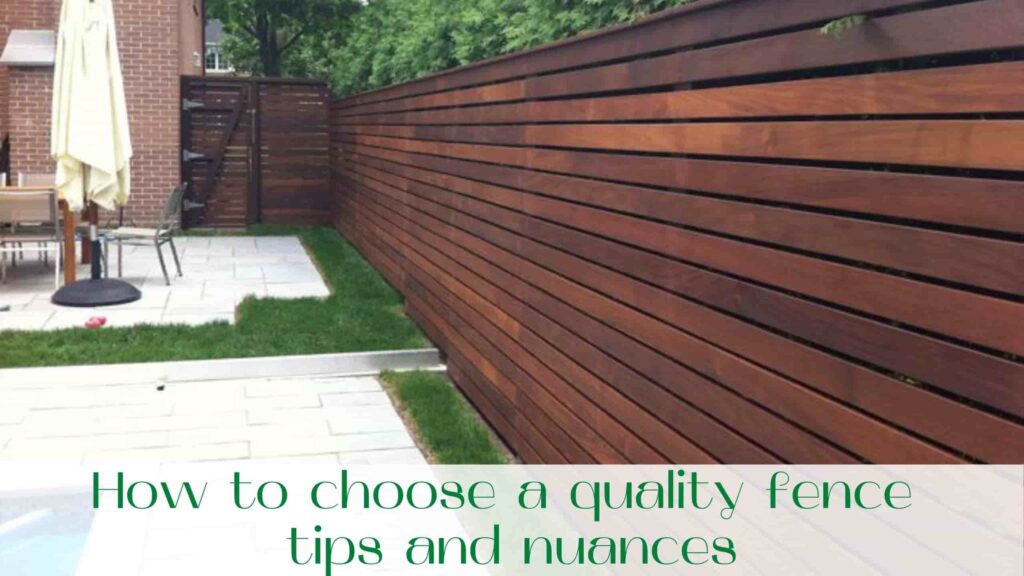
How to choose a quality fence tips and nuances

High-quality fence requires increased attention to the selection of its constituent parts. To choose a suitable raw material, it is necessary to specify a number of parameters, characteristics:

  • the location of the object of construction (a busy area or a quiet area);
  • the individual parameters of the object (fencing of private estates, vegetable garden, other structures);
  • external features (site, the timing of the work, the presence or absence of a busy traffic);
  • peculiarities of the planned works (reconstruction, restoration, overhaul, new construction);
  • creation of estimates and its parameters.

Most often, consumers choose the blind construction, erected with profiled sheet. Design meets the high requirements for wind loads, it can be further weighted with concrete or polyvinyl chloride blocks, to secure the pins from the fittings. When the building is close to the utilities, the construction is carried out with the preliminary installation of foundation blocks.

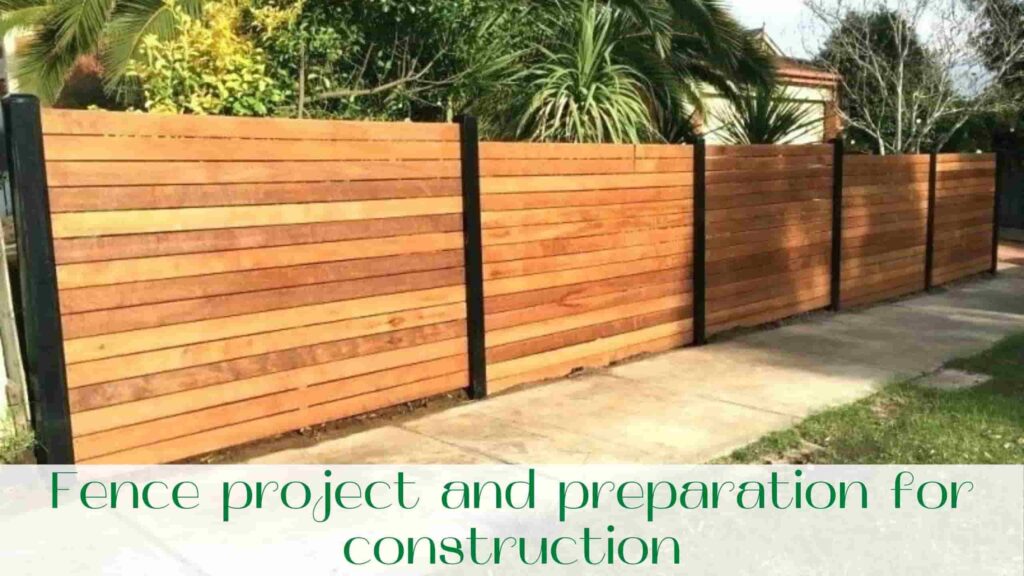
Fence project and preparation for construction

Construction of fence requires careful preliminary preparation. Any mistakes should be avoided so as not to get unplanned monetary expenses, as well as a waste of time.

For the prompt erection of the fence, it is necessary to clarify some points:

  • The type and required characteristics of the raw materials used;
  • to develop a project;
  • to carry out the calculation of the required amount of materials;
  • prepare the necessary tools, auxiliary materials;
  • Mark out the area (specifying the location of the gate, entry group, the presence of slope of the terrain).

    Important! When the main raw materials will be purchased and delivered to the place of construction work, you need to stack it, cover it with a protective sheet, so that rain and other precipitation does not affect its quality.

If you decide to build the structure of the metal profile, it is important to choose a material that is suitable in quality and cost. To choose the right type of raw material, it is necessary to specify a number of characteristics:

  • the approximate period during which the structure will be in use;
  • what will be the priority, appearance or operational requirements;
  • design features;
  • the ability to replace individual components

The size of the profiled sheet for the fence must be selected, based on some key indicators:

  • grade of raw materials;
  • steel thickness;
  • quality of galvanized base;
  • type of polymer coating;
  • sheet size;
  • profile parameters;
  • quality-price ratio;
  • durability;
  • aesthetic appearance.

Read our blog!

image-Construction-of-a-deck-to-the-house

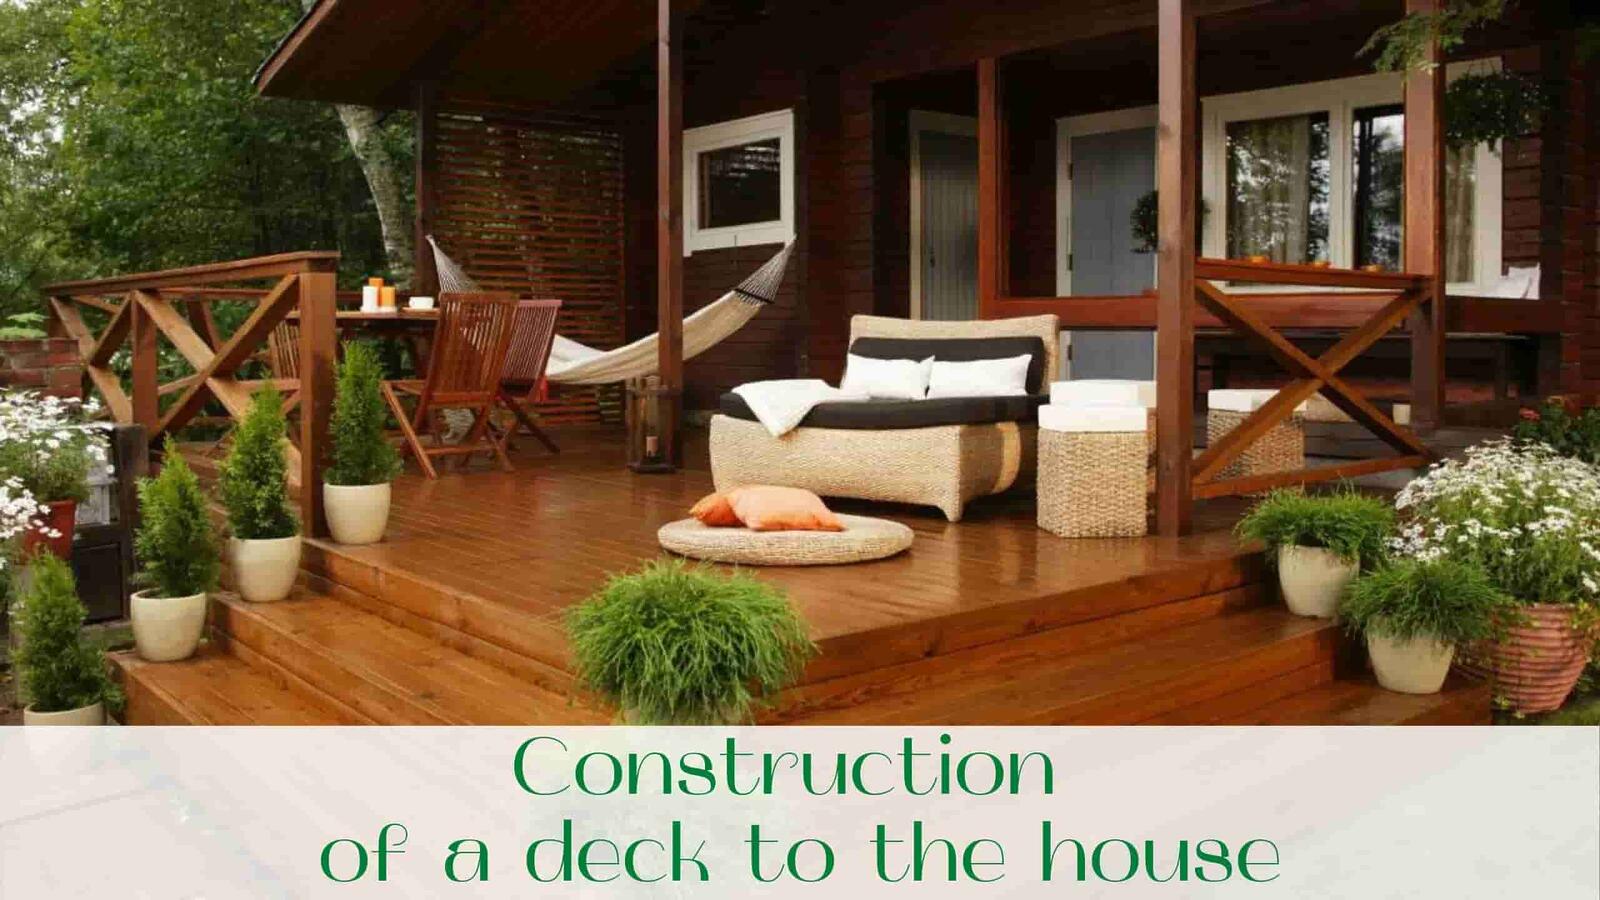
Often homeowners think about the need to have a terrace or veranda in the house after the construction is completed. In this case, the deck is most often planned as a place to relax and gather friends, rather than a living room. To perform such an extension to the house is not difficult, but it is necessary to comply with the nuances of construction of a deck in Toronto, remember about the peculiarities of building a structure near the already completed structure.

More detailed step by step instructions for the construction of a deck to the house will be discussed in today’s article.

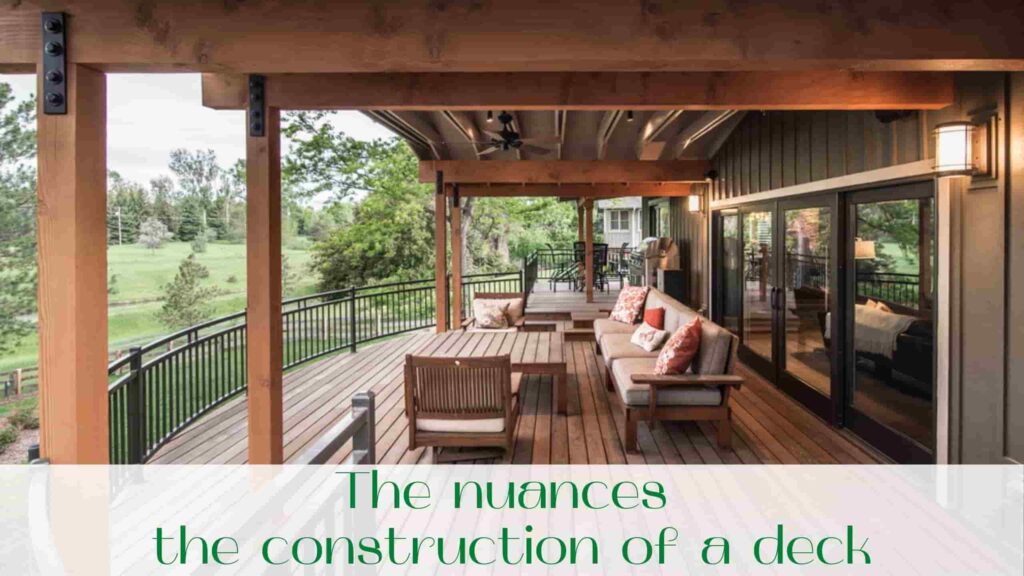
The nuances the construction of a deck in Ontario

Any construction object has its own peculiarities of construction. Construction of a deck in Ontario is no exception, especially if it is not a stationary structure, but an addition to an existing house. To begin with, I propose to understand the intricacies of building a terrace adjacent to the house.

  1. An extension to a house must necessarily include a separate foundation. The foundation of the extension performs several functions, it distributes the weight of the terrace evenly, in addition, if the terrace is left without a foundation, sooner or later, the house and the deck will start to move relative to each other, which will lead to premature wear and destruction of the walls of the structure.
  2. In order for the extension to be a full-fledged part of the house, the terrace foundation does not stand apart from the house, but has attachment points to the foundation of the main structure. A little below, it will be written in more detail how this happens.
  3. Depending on the chosen type of terrace, it is possible to reduce the negative processes of “lapping” of the two buildings. So, a deck set on the side of the house will be less stable option than a deck, girdling the façade.

Before starting to build a deck, it is necessary to analyze and answer several essential questions, among which are:

  • deciding on the materials from which the terrace will be made, as well as calculating their quantity;
  • planning the entrance to the deck: from the house or from outside, too, a door will be installed;
  • the appearance of the deck.

By default, it is considered correct in terms of design to erect a terrace from the same materials that were used to build the house. However, imagine the project visually, and do not be afraid to experiment: a terrace for a brick house is not necessarily built of brick, such a structure will lose airiness and lightness of perception.

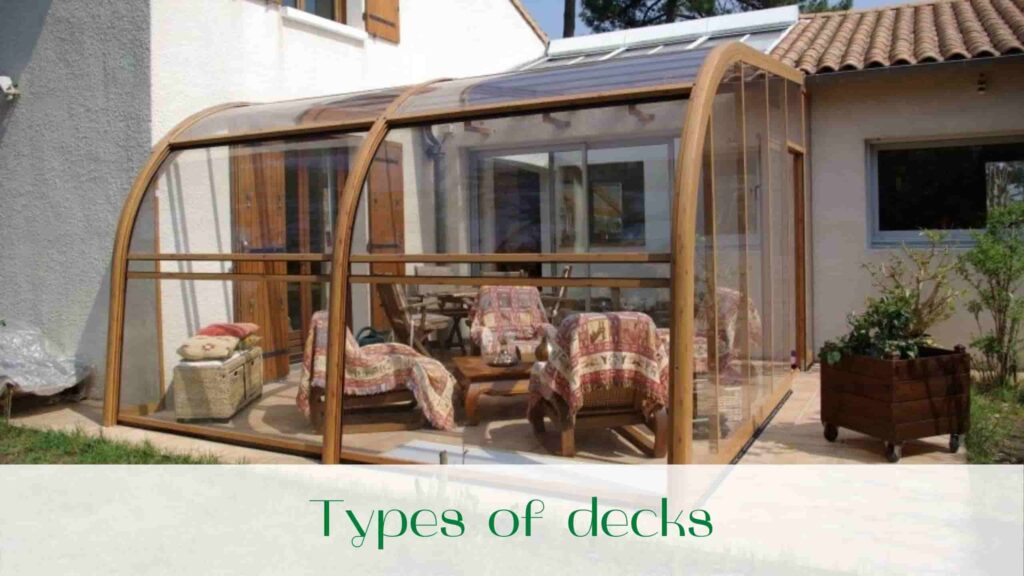
Types of decks

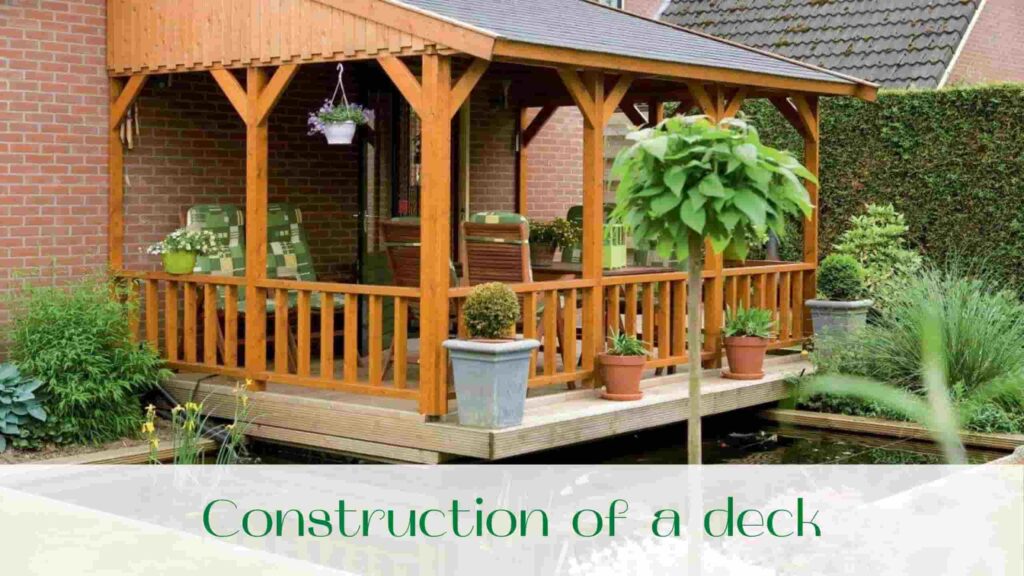
Among all the classifications of attached decks, it is most important to choose whether you are going to build an open or closed deck. The features of constructing an outdoor deck include:

  • It is the simplest structure that will require the easiest and most accessible foundation, a minimum of time, and the final structure will be a place of rest for every member of the family.
  • The optimal height of the deck floor above the ground is 20 cm.
  • Carry out the floor of the deck of rough building materials, and provide a slight slope of a few degrees outward from the house. This nuance is necessary to prevent water retention during rain and slippery surfaces.
  • An open deck provides for the installation of a fence or railing, the height of which should be at least 1 m.
  • The form and location of the deck in relation to the house – a matter of wishes and personal preferences, but remember that the rest will be better if the exit from the terrace will be made to the pond, pool or in the direction of the forest.

When building an enclosed deck, there are also a few important features to consider:

  • An enclosed deck, unlike an open one, on the contrary, is aimed at solitude, comfort and peace with yourself or in the company of close friends. Do not place it on the side of the front entrance or the noisiest part of the site.
  • If you want to use the house and the deck in winter, think about the insulation of the deck, it is easier to carry out during the construction than after its completion.
  • Enclosed terrace should be light and spacious, for this purpose, use the competent glazing terrace. Wood or plastic frames will do, use glass, double glazing or polycarbonate. But also provide quality shading of windows, especially if the deck will be used as a study or bedroom.

Construction of a deck

Preparatory work

Before you begin construction of the deck, you must perform several important steps, without which the successful completion of the idea is impossible.

  • Make a construction project. The drawing of the deck, as well as the design project – this is a fundamental step, it is with this step you need to start implementing the idea. Construction design will help you visually visualize the future construction, calculate the amount of material needed, as well as see and correct possible shortcomings and mistakes before the work begins. In the design, it is important to consider the type of deck you choose, the number and location of exits, and how you want to finish.
  • Obtain permits. Since building an addition to the house is a remodeling of the house, all changes should be documented and formalized, so that later there will be no problems in the event of selling the house.
  •     Decide on the type of material for the deck. The most economical option is metal posts and plywood cladding, a more presentable way – the use of bricks, glass or polycarbonate.
  •     Purchase the materials in the required quantity. Before you start construction, treat the building materials with the necessary mortars, after the construction is completed this work will be more difficult to do. Metal structures require protection from corrosion, wood – cover with antiseptic, which will protect against moisture and the detrimental effects of soil and environment.
  •     Prepare the site and house for construction. Remove debris, level the ground, remove stumps from trees. Remove the canopy from the house and dismantle the porch if the deck addition to the house is planned on the side of these structures.

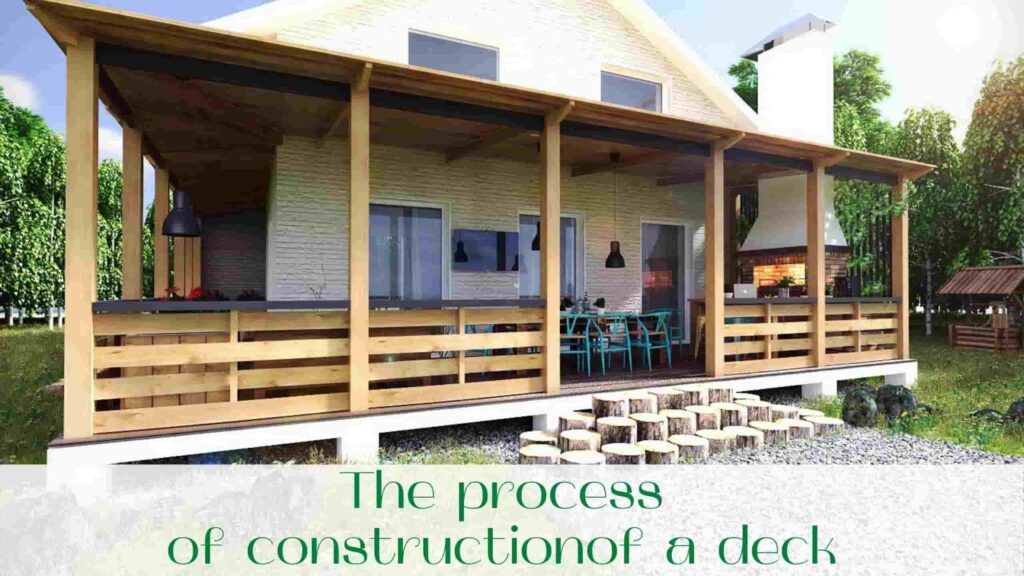
The process of construction of a deck in Toronto

Consider the construction of the extension of the deck to the house step by step.

Laying the foundation for the deck. Most often, the choice of foundation is between columnar and strip foundation. On which design to choose depends on the selected material for the deck (the severity of the construction) and the state of the soil. If the soil is a concern or the terrace is planned to be made of brick – start mounting a strip foundation. In other cases, the columnar foundation will cope with holding the deck. If the deck is made of wood and has a small area, it is sufficient to install poles in the corners of the construction. When building a long wall, keep the spacing of the posts to a maximum of 3 m.

  • Construction of the frame of the deck in Toronto. The frame is erected from wooden beams. At this stage is the fixation of the deck, the connection of the frame of the building with the house. To do this, attach a support beam to the house, the lower edge of which will determine the height of the foundation. This bar is subsequently an element of the deck frame.
  • Installation of the roof of the deck. The roof is installed on the rafter system, on top of which the installation of selected roofing material. Choosing the shape of the roof of the deck, keep in mind the precipitation, the best choice would be a single sloping roof.
  • Laying the floor of the deck. On the supporting beams place and fix wooden joists, on which later will lie the floor boards. The choice of material for the final finishing of the floor is a matter of preference, it is important to make a slight slope towards the street and be sure to treat the materials with protective solutions.
  •   Finishing the walls of the deck. This is a long phase, which includes the glazing of the building and the choice of finishing material for the walls. A popular decoration is the installation of sliding systems as a door or window, in which the lower part is made of wood and the upper part is made of glass. Using soft glazing for your deck is not a bad way to save money while implementing your plans for the appearance of the building.
  •     Deck Arrangement. Filling your deck with furniture, textiles, and decorations is the most enjoyable part of construction. Furnish the room to your liking to get a comfortable and ergonomic space.

Construction of a deck to the house with your own hands is not the easiest task. However, with the desire and belief in success, everyone is able to cope with the work.

Read our blog and call us!

FREE ESTIMATE

Award-winning Landscaping Company

CONTACT US TODAY
for a Free Estimate!

Contact us and speak with one of our service professionals to schedule a visit today!

GET A FREE QUOTE